BATHROOM RENOVATIONS · MOORABBIN, VIC
Bathroom renovations in Moorabbin: fix the leaking shower, or rebuild the wet area?
Both start with what’s under the tiles. Compare the two paths below, then see the 12 steps a full bathroom renovation follows.
— Moorabbin & nearby suburbs — Waterproofing before tiling — Describe the room in your quote request
01 / THE DECISION
Two ways to deal with a wet area
A leaking shower doesn’t always mean a new bathroom. It depends on where the water is getting through and what shape the rest of the room is in. Read each option side by side.
Option A — Leaking Shower Repairs
When it suits
The leak is limited to the shower, and the layout, tiles and vanity in the rest of the room still work for you.
What gets opened up
An assessment first finds where the water escapes: grout, silicone seals, the floor waste or the membrane underneath. How much gets lifted depends on what the assessment finds.
Which trades are involved
Waterproofing and tiling, plus plumbing if the waste or wall fittings are part of the problem.
Option B — Full Bathroom Renovations
When it suits
The layout, tiles and fixtures are worn out too, or the water damage has spread past the shower recess.
What gets opened up
The whole wet area is stripped back to the substrate, so the services, membrane, tiles and fixtures are all replaced in the right order.
Which trades are involved
Every trade in the 12-step process: demolition, plumbing and electrical, waterproofing, tiling, fixtures and finishing, run as one coordinated job.
02 / WHAT DECIDES THE OUTCOME
The membrane decides whether a bathroom lasts
The tiles, tapware and vanity are what you see every day. What keeps water out of the floor and walls is the waterproof membrane underneath, and it only works if the surface under it is sound and the floor waste is set in properly.
That’s why waterproofing comes before tiling in every Bathroom Renovation Moorabbin job. The same thinking applies whether the job is a single shower or a whole bathroom. Find it and fix it at the right layer.
Six layers, bottom to top
01 Strip-out: back to the substrate
02 Services: plumbing and electrical
03 Membrane: the waterproofing layer
04 Bedding: adhesive and falls to the waste
05 Tile: floor and wall finish
06 Fixtures: vanity, screens, tapware
LAYER 01
Strip-out
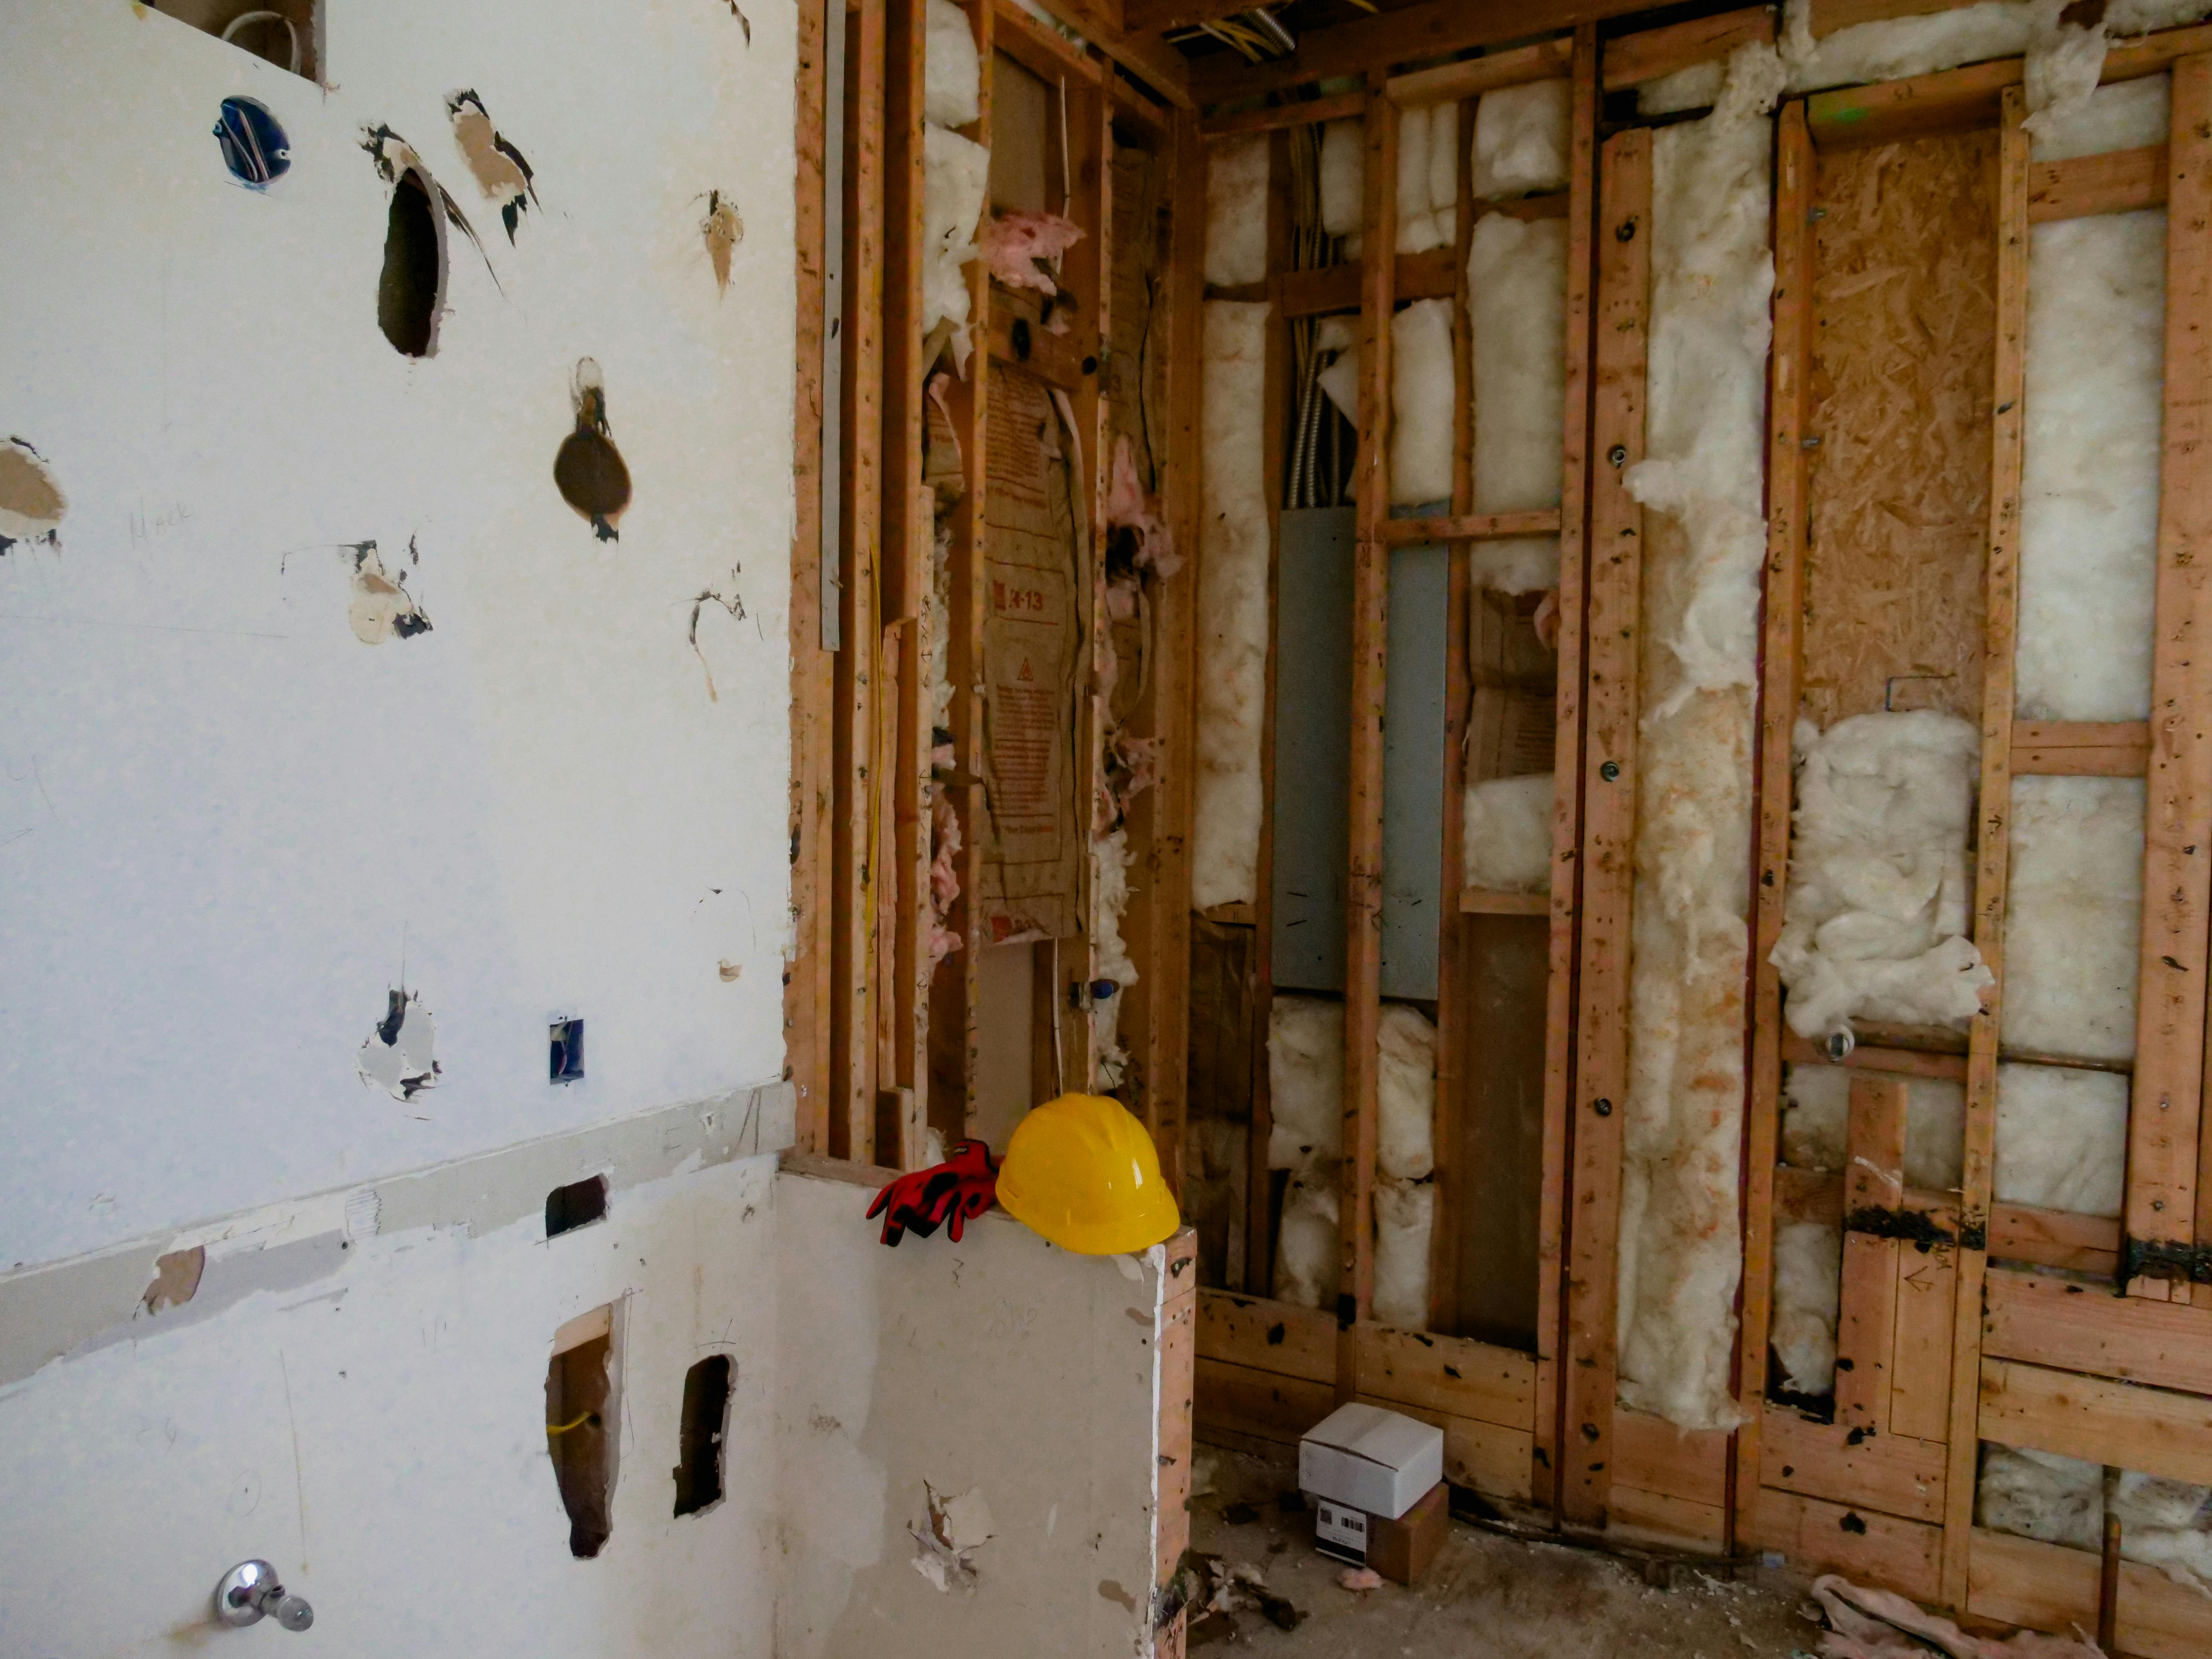
Old tiles, fixtures and linings come out so the walls and floor can be checked. This is the Demolition step. Hidden damage shows up here, not after the new tiles go on.
LAYER 02
Services
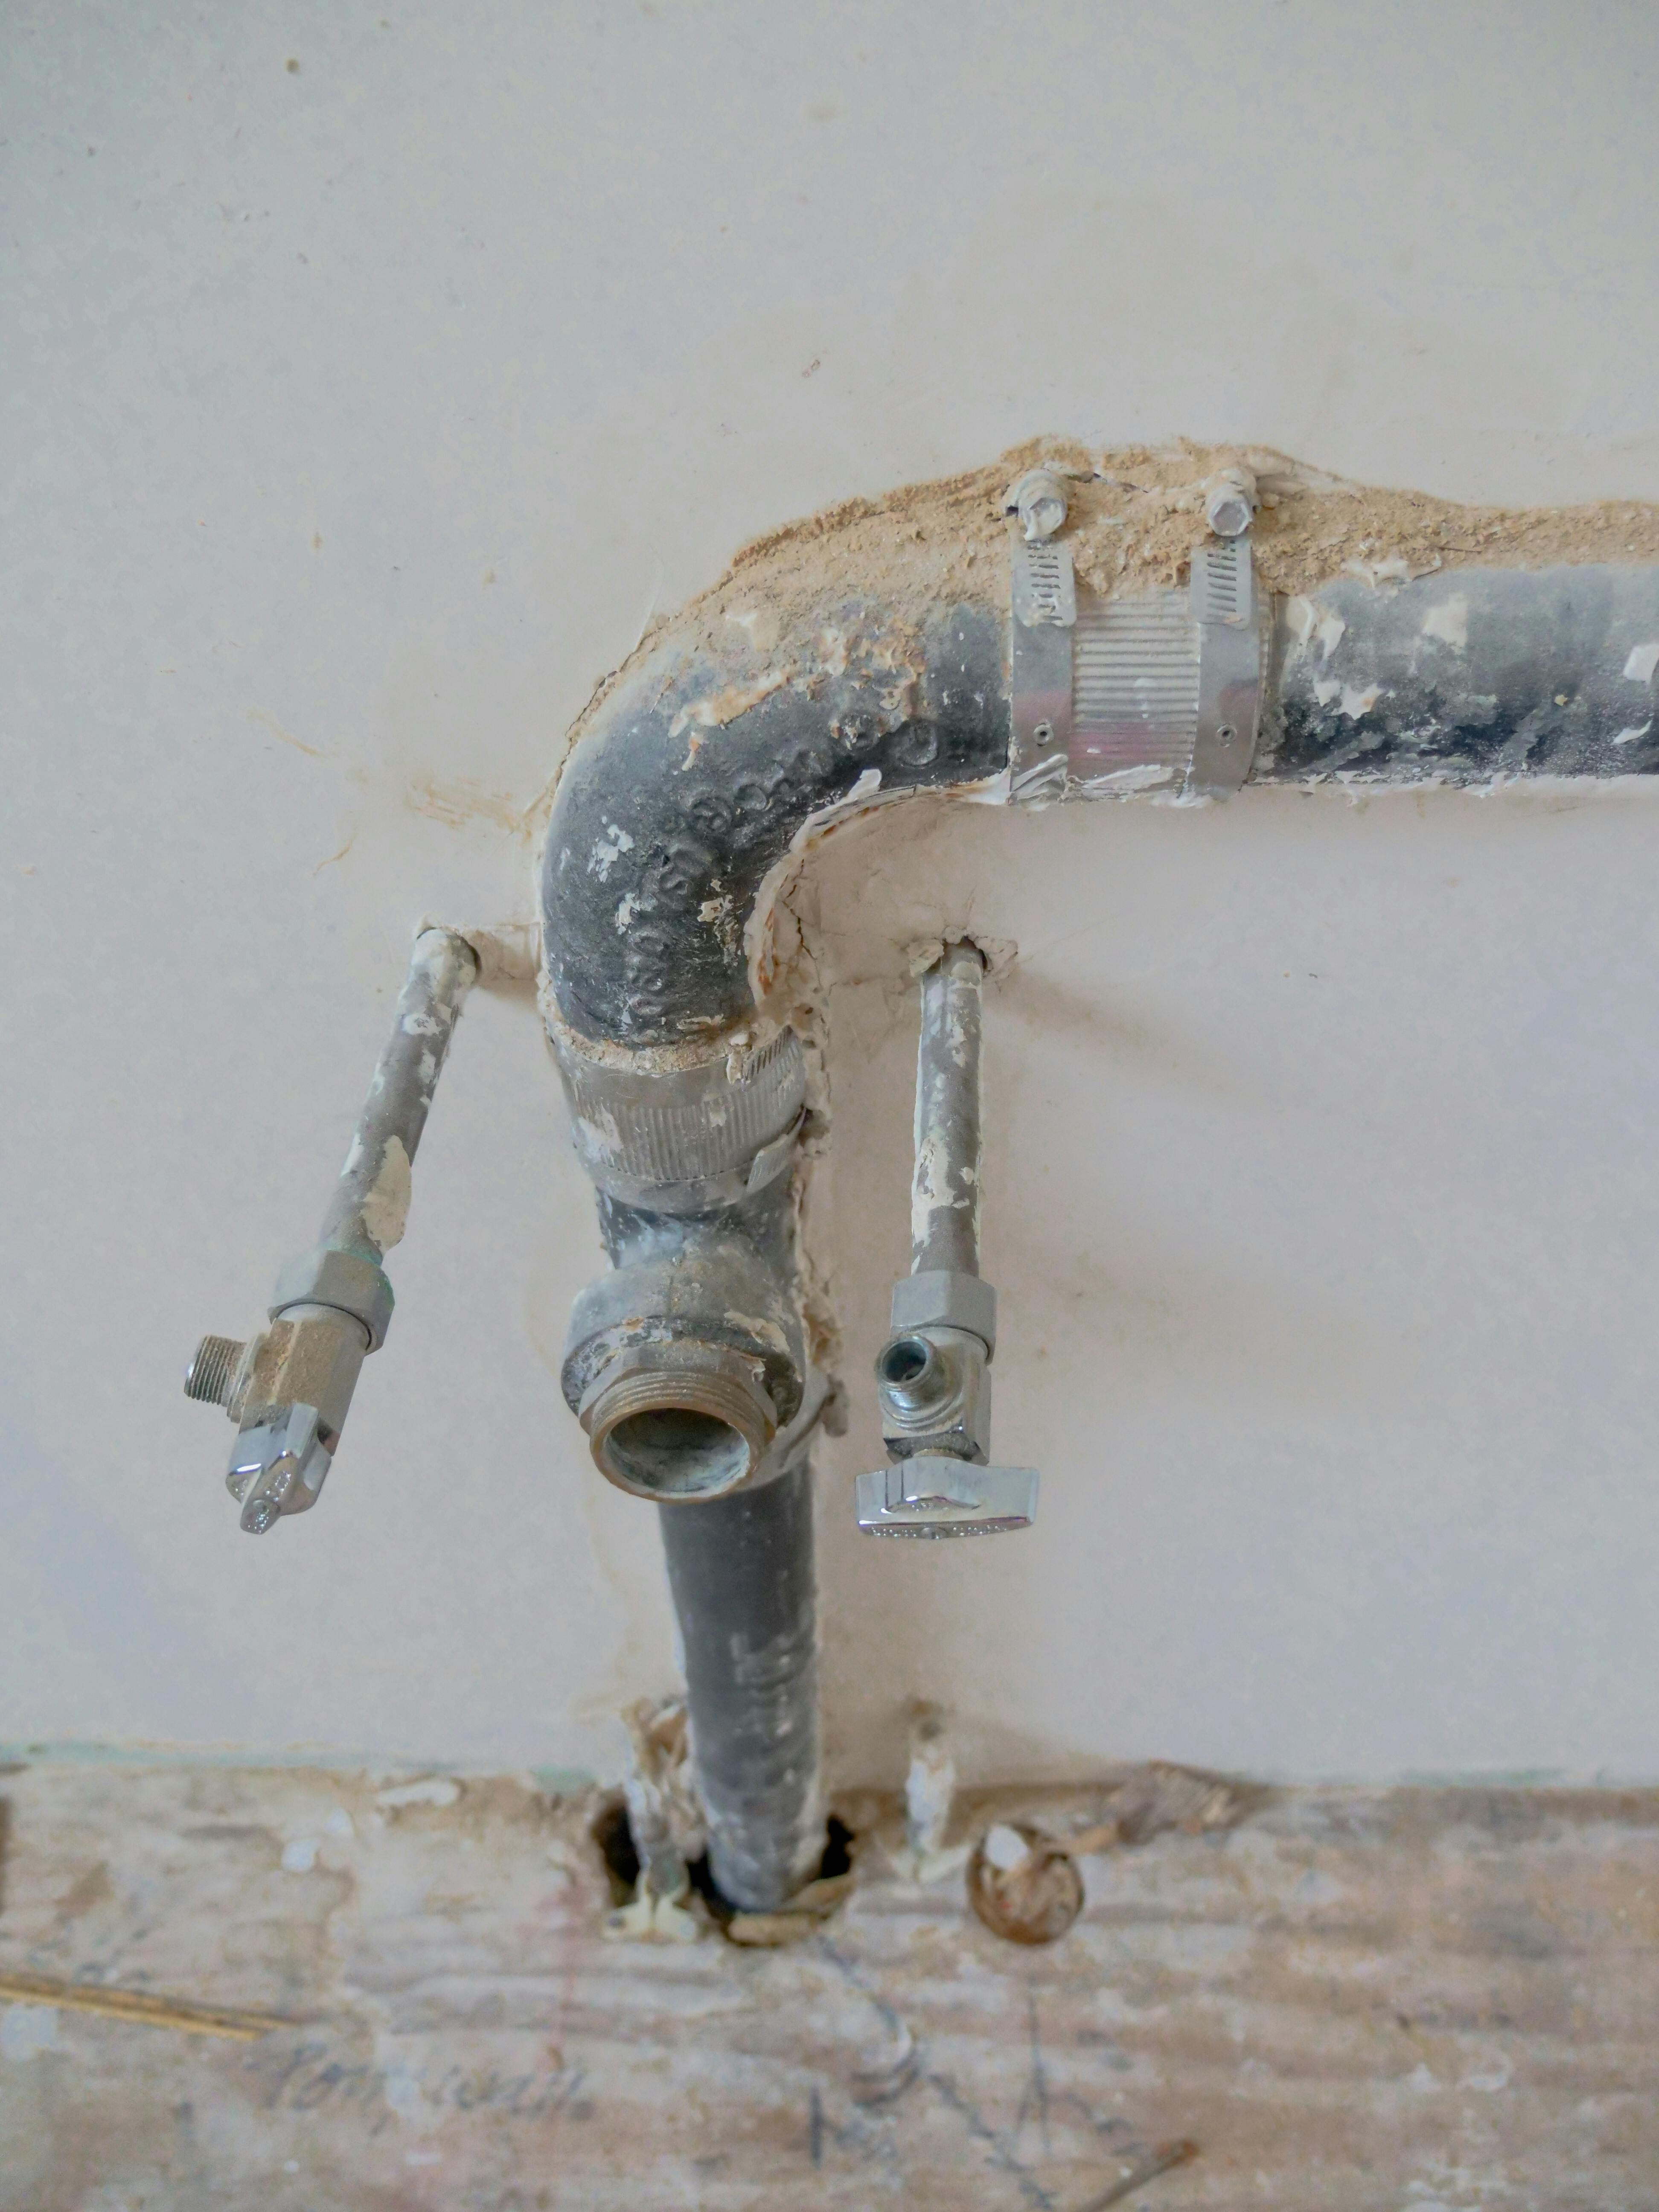
With the walls open, pipes and wiring are placed where the new layout needs them. That covers shower mixers, basin wastes and lighting. This is the Plumbing/Electrical step.
LAYER 03
Membrane
The waterproofing layer goes over the prepared floor, the corners and the shower walls. Everything above it relies on this layer, so it goes on before a single tile is laid.
LAYER 04
Bedding

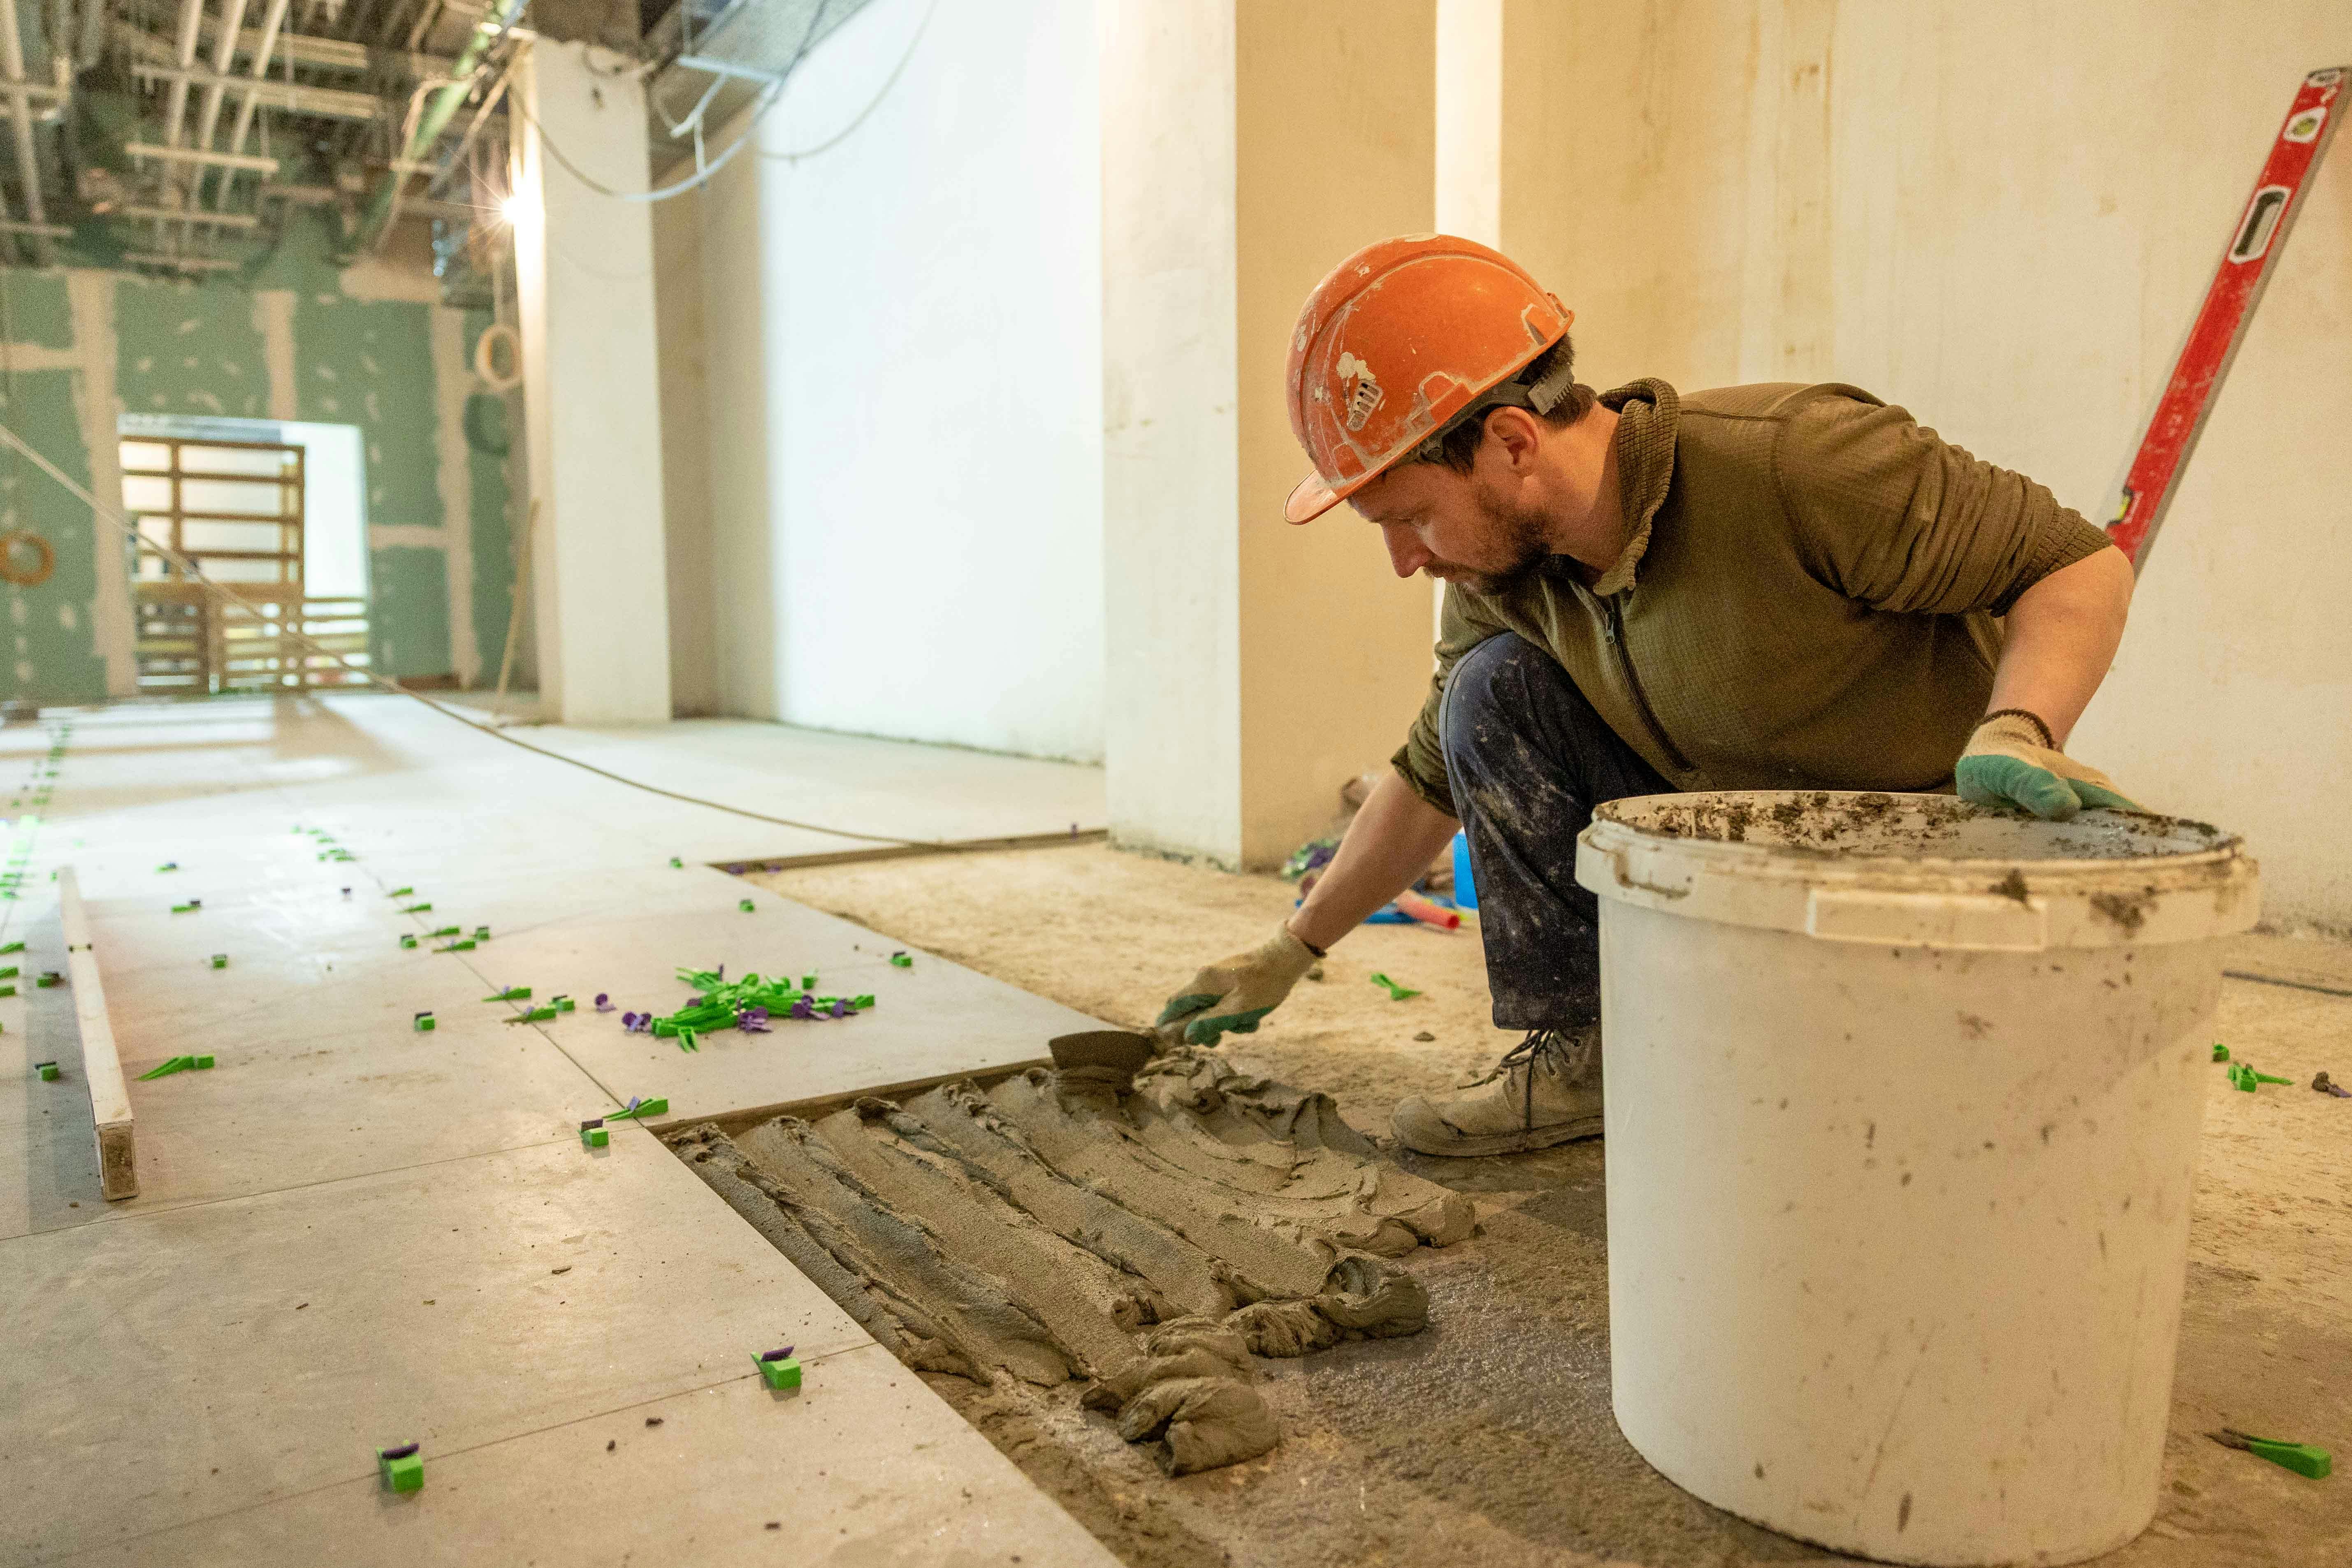
Adhesive or a mortar bed sets the level of each tile and keeps the floor falling towards the waste. If this layer is uneven, water pools on the floor.
LAYER 05
Tile
Floor and wall tiles are set out so cuts land in sensible places, then grouted and sealed at the joints. Tile size, finish and layout are all decided back in the Design step.
LAYER 06
Fixtures
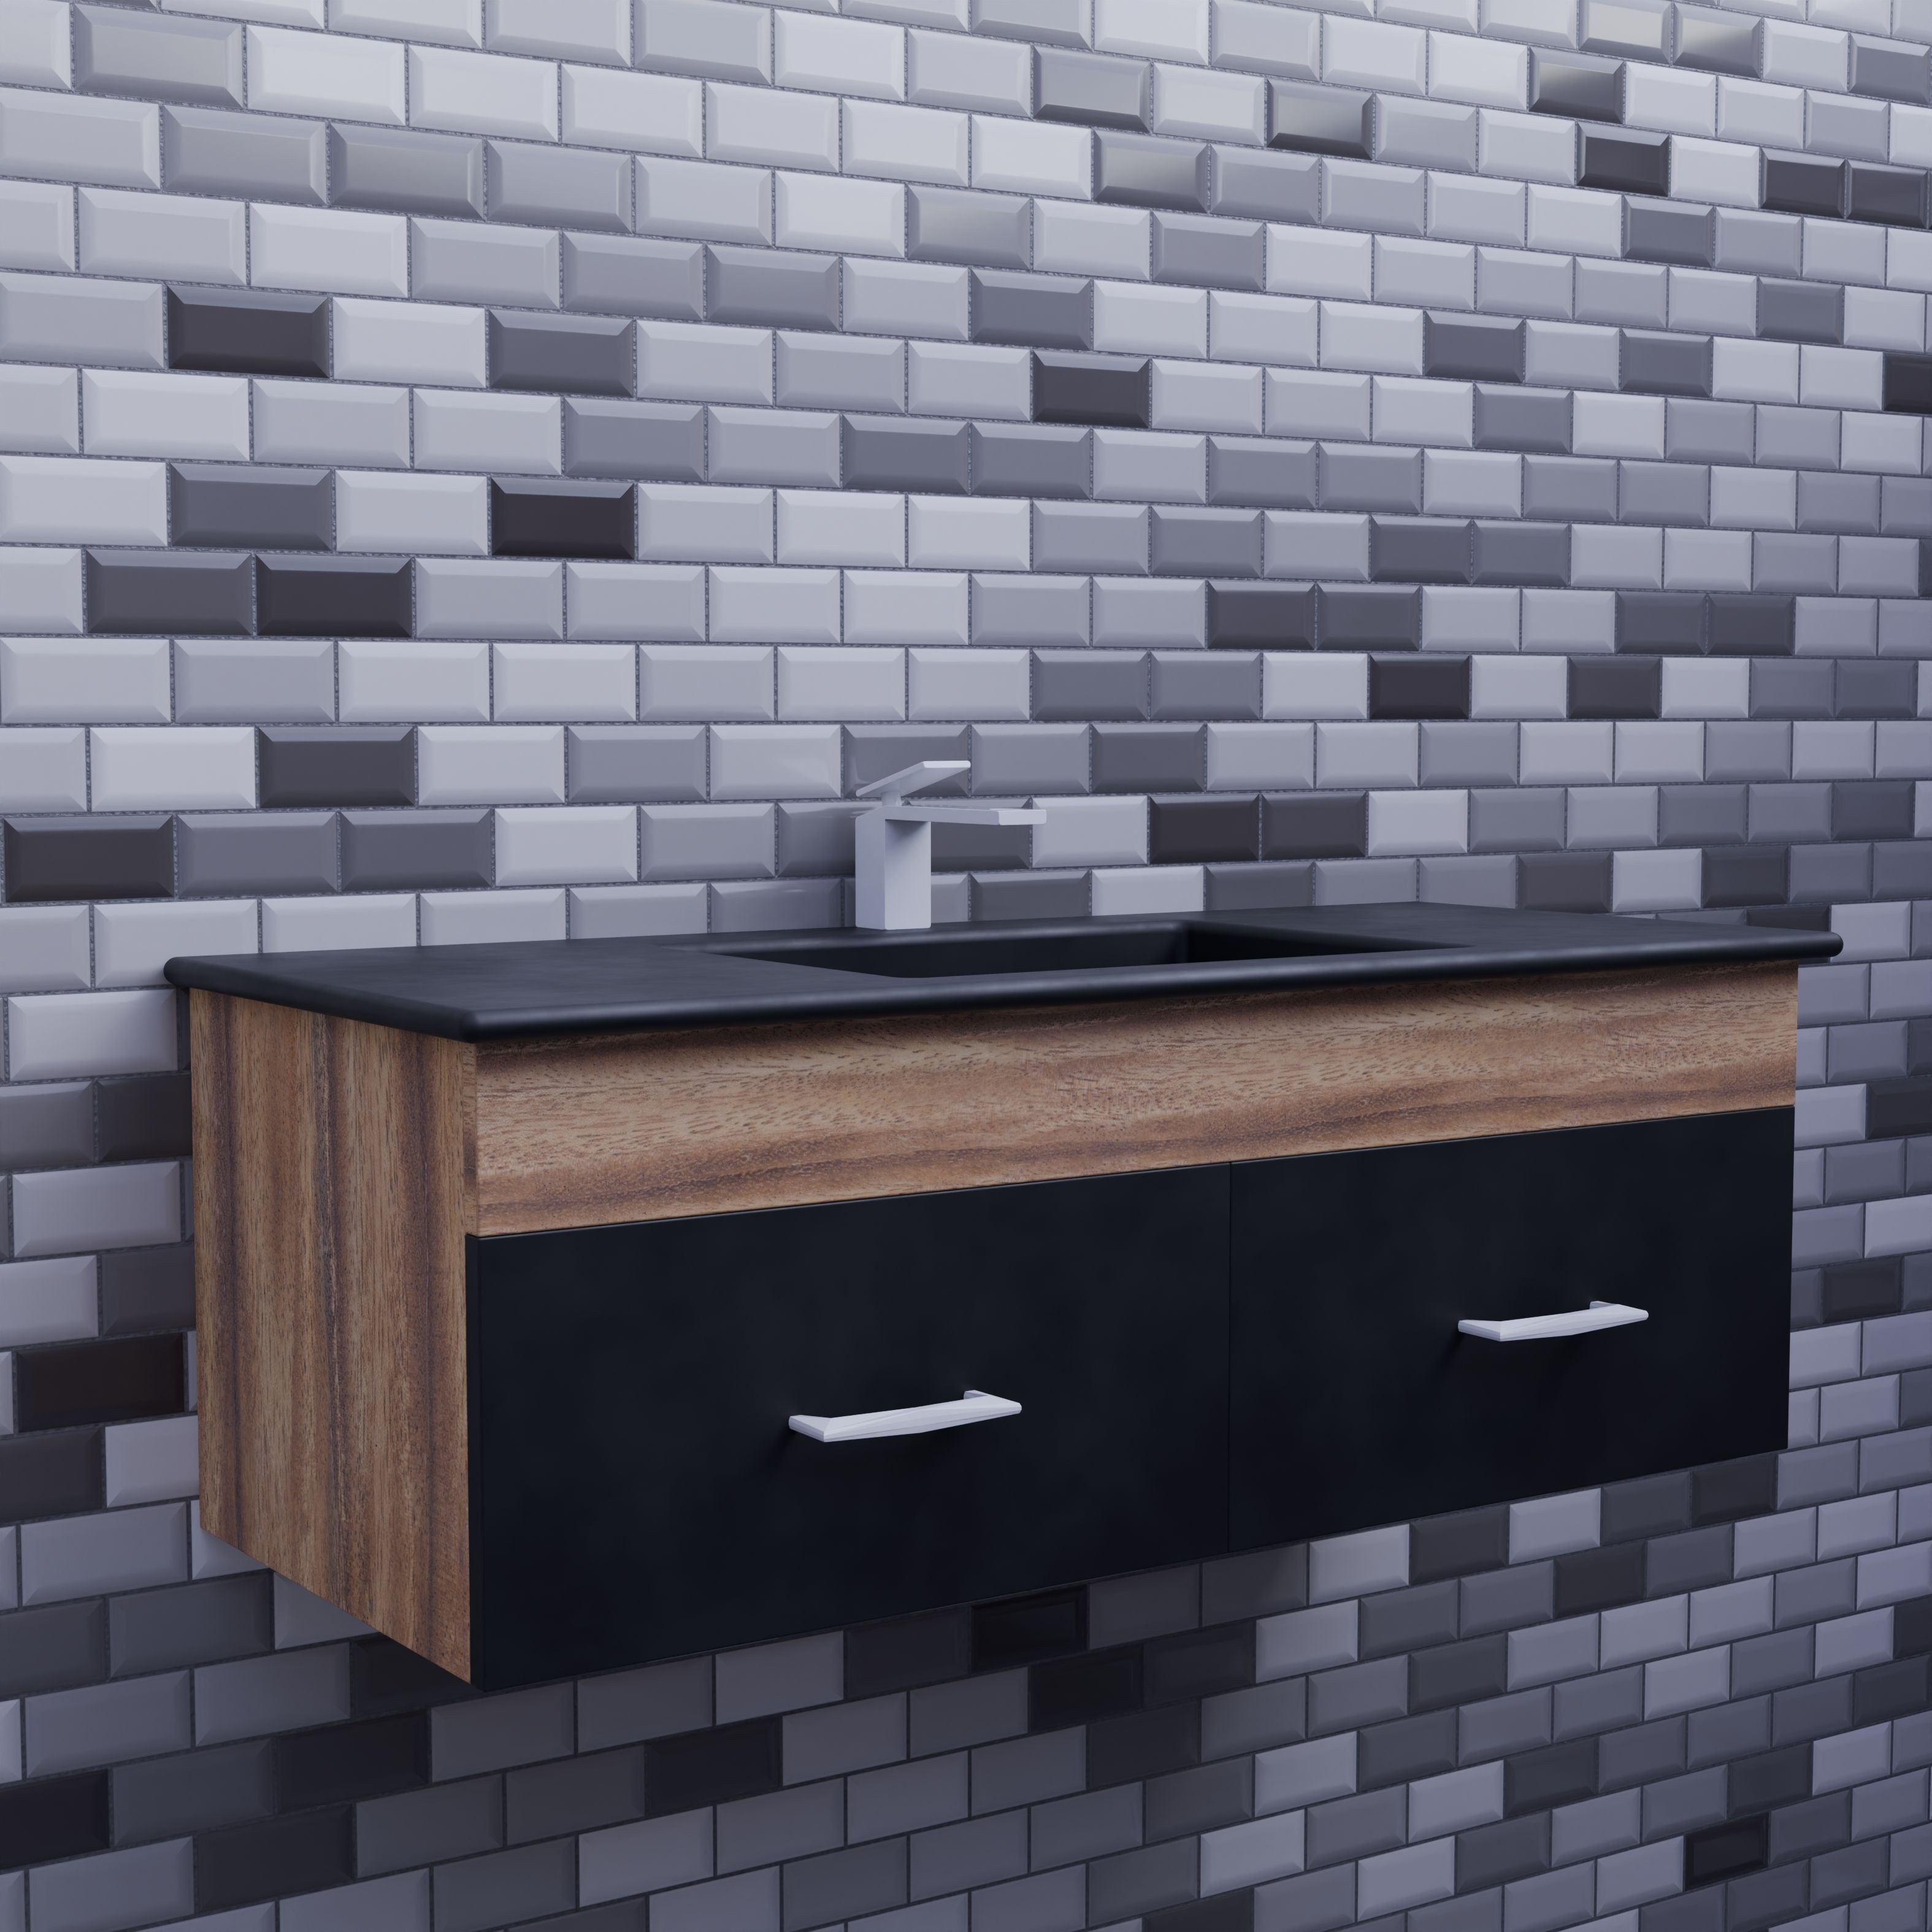
Vanity, basin, tapware, shower screen and accessories go in last, followed by finishing and a walk-through at handover. This is the layer everyone photographs, and it sits on top of the other five.
03 / PROJECTS
Before and after, recorded the same way every time
The Projects page records finished bathrooms one room at a time. Every record uses the same fixed fields, so you can compare rooms like for like and see which service did the work. Before and after images show the real room, never stock photos presented as client work.
What each project record shows
— Location
— Bathroom type
— Client brief
— Before and after images
— Design solution
— Materials
— Final result
04 / THE RENOVATION PROCESS
Twelve steps, always in this order
Every service follows this sequence, scaled to the size of the job. Open a step to see what happens at that stage.
01 — Consultation
You tell us what isn’t working, what you’d like instead and a rough budget. Describe the room in your enquiry message, and keep photos of the space on your phone to show at the consultation.
02 — Assessment
The existing room is checked: layout, plumbing positions, signs of leaks and the condition of floors and walls.
03 — Design
Layout, tile selection, vanity, shower type and fixtures are planned before anything is removed. See Bathroom Design.
04 — Quote
The scope and chosen design are priced, so you can see what’s included before you commit.
05 — Materials
Tiles, fixtures and fittings are ordered, so the job isn’t held up by a missing item halfway through.
06 — Demolition
The old bathroom is stripped out and the substrate is inspected for damage.
07 — Plumbing/Electrical
Pipes, wastes and wiring are placed to suit the new layout while the walls are open.
08 — Waterproofing
The membrane goes over the floor, the junctions and the shower walls. It’s the layer that protects the structure.
09 — Tiling
Floor and wall tiles are set out, laid, grouted and sealed.
10 — Fixtures
Vanity, toilet, tapware, shower screen and accessories are installed.
11 — Finishing
Silicone, trims, painting and a clean-up so the room is ready to use.
12 — Handover
A walk-through of the finished bathroom, including how to look after the surfaces and fittings.
05 / SERVICES
Twelve services, one set of wet-area trades
From a single leaking shower to a full ensuite, every service uses the same order of work and the same care at the waterproofing layer.
The whole room, from demolition to handover.
Updating the ensuite off your main bedroom.
Layout and storage choices for compact rooms.
High-end finishes, fixtures and bespoke design choices.
Layout, materials and look, planned before building.
Floor and wall tiling, set out and finished cleanly.
The membrane layer that goes down before any tile.
New shower areas, screens and fixtures.
Open shower designs with screen and floor options.
Choosing and fitting vanities, basins and storage.
Laundries done by the same wet-area trades.
Finding the source of a leak and repairing it.
06 / SERVICE AREA
Moorabbin & nearby suburbs
Bathroom Renovation Moorabbin works in Moorabbin, Victoria, and the Melbourne suburbs around it: Highett, Hampton East, Bentleigh, Bentleigh East, Cheltenham, Mentone and Heatherton.
Add your suburb in the Location field of the quote form so we know where the job is before the consultation. See our service areas →
07 / BATHROOM GUIDES
Two questions to settle before you ask for a quote
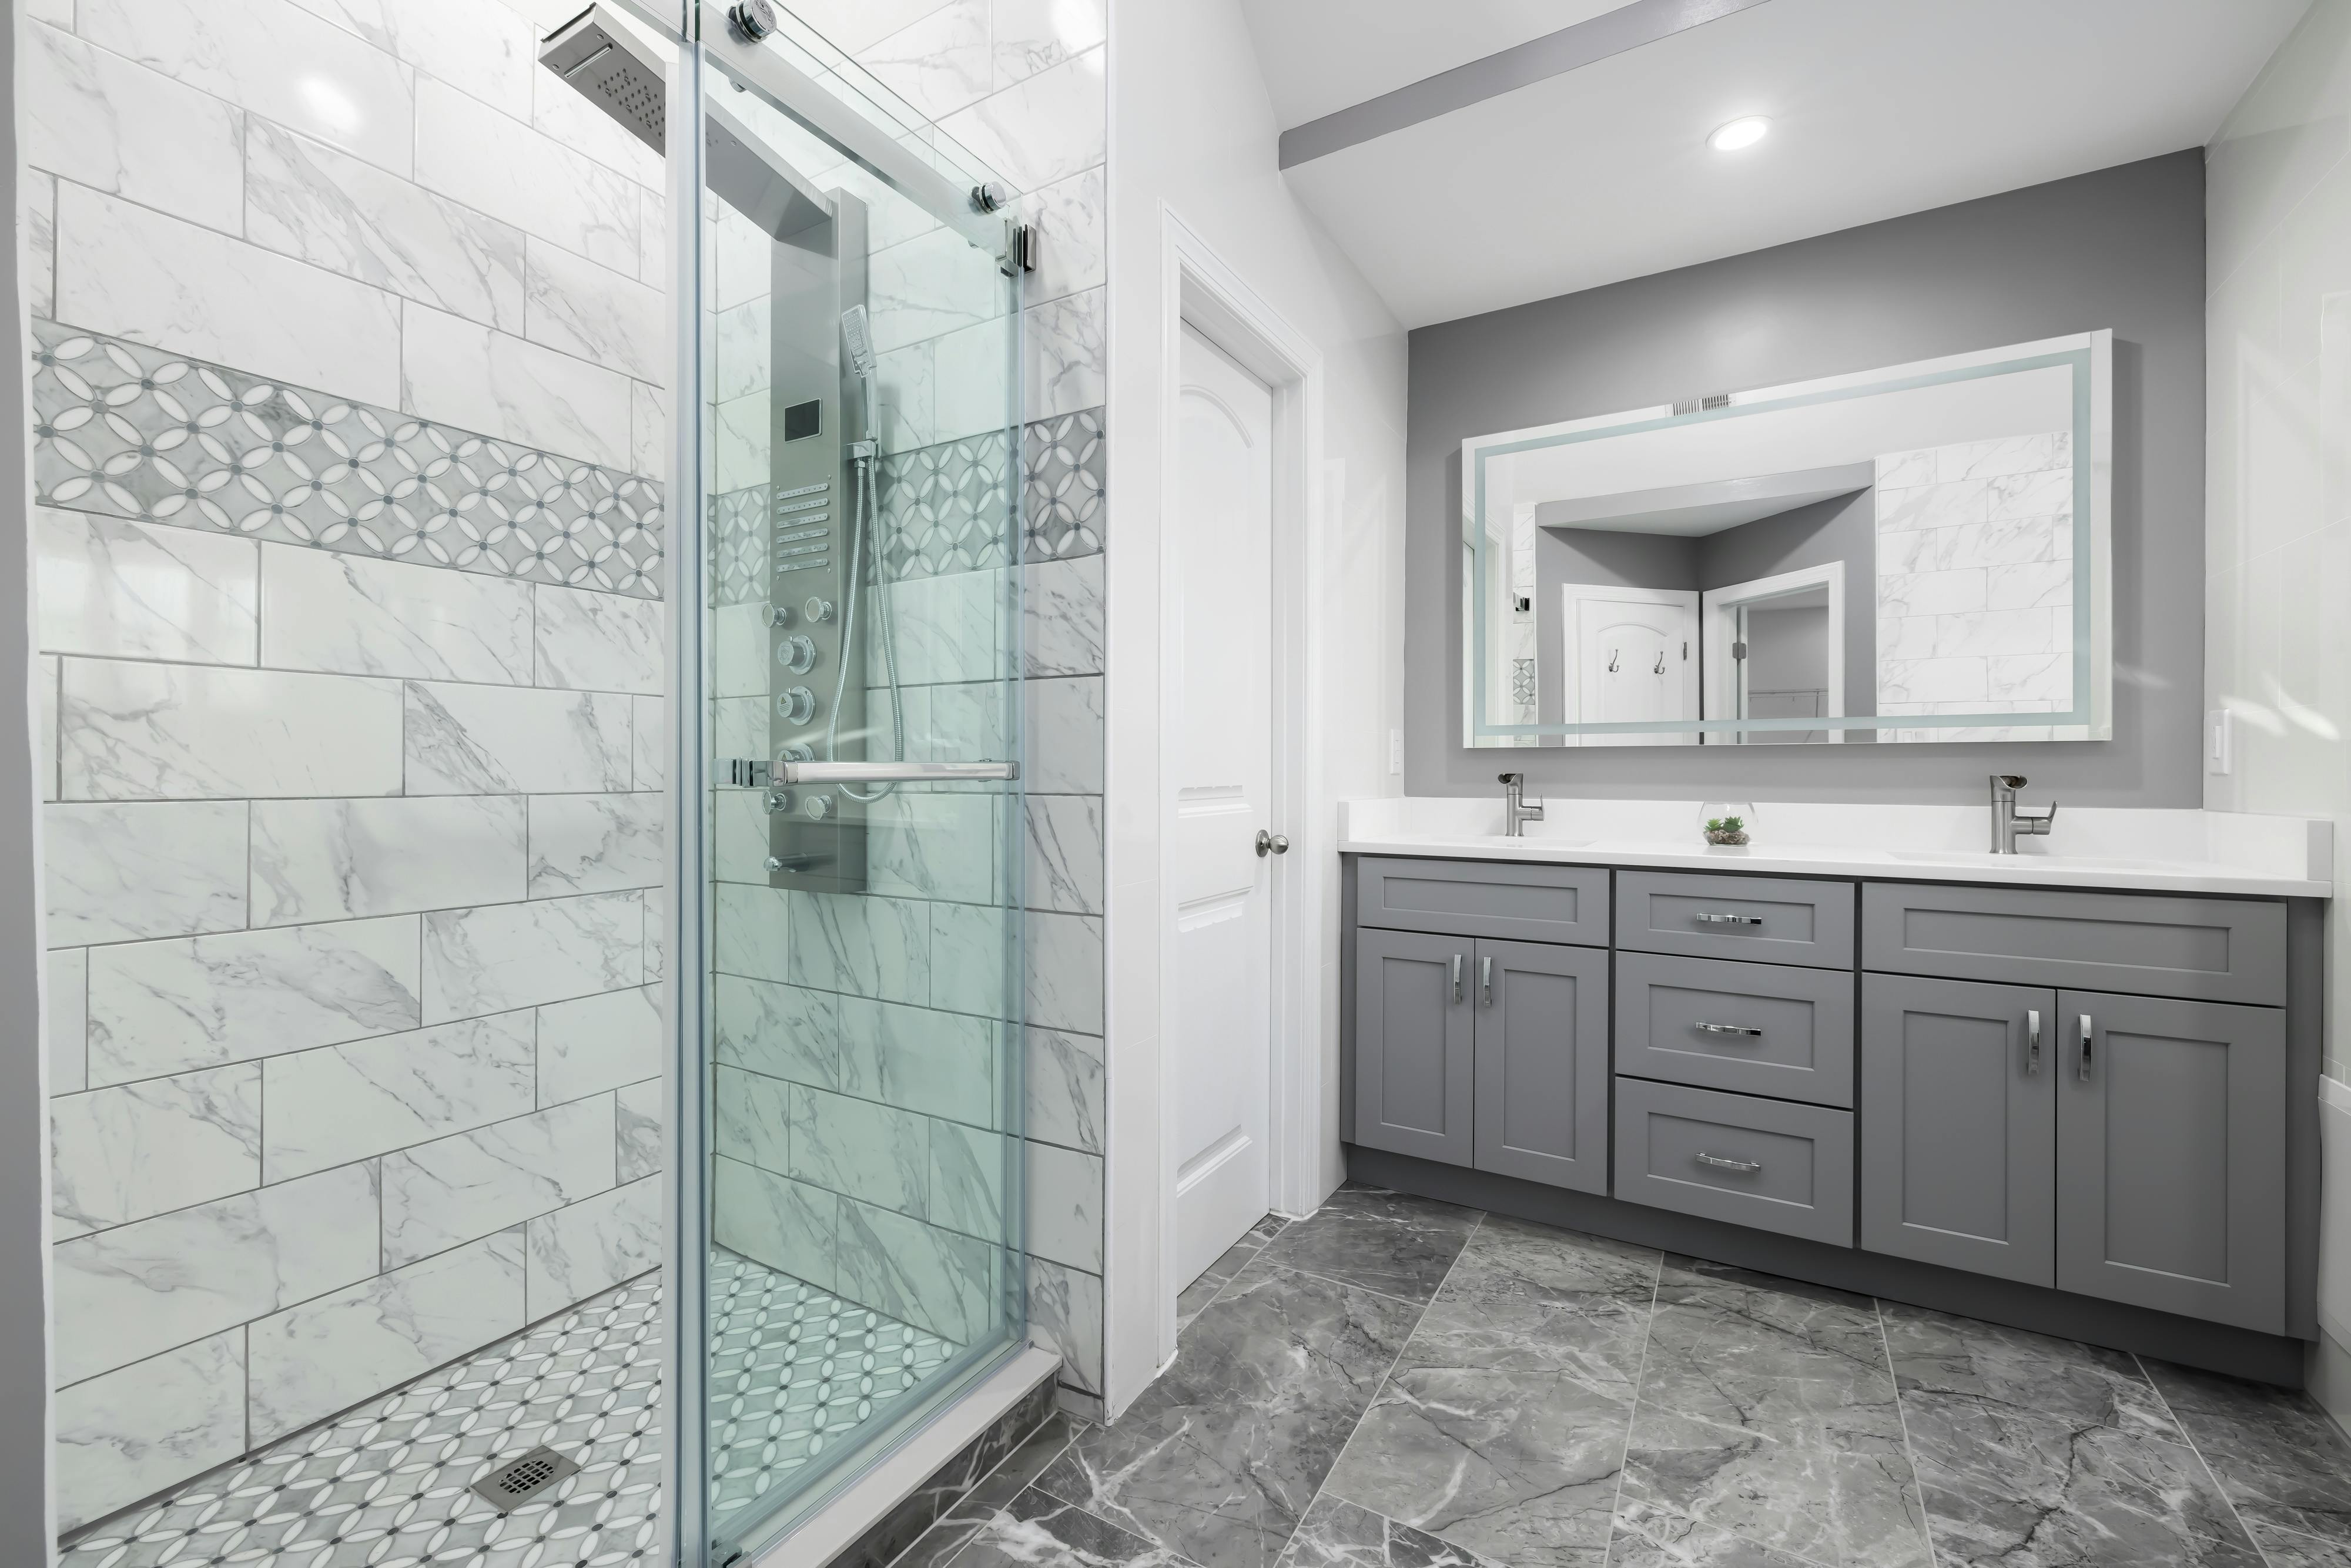
Bathroom Renovation Cost Guide
What moves the price: room size, layout changes, tile and fixture choices, and what turns up once the old bathroom is stripped out.
How Long Does a Bathroom Renovation Take?
The timeline goes step by step, from consultation to handover. It covers which stages can’t be rushed, like waterproofing and tiling, and why.
08 / QUESTIONS
Questions to settle before you enquire
Short answers to the questions that come up first. More are on the FAQ page.
Should I repair the leaking shower or renovate the whole bathroom?
It depends on where the water is getting through and the condition of the rest of the room. An assessment comes first. If only the shower is at fault, look at Leaking Shower Repairs. If the layout, tiles and fixtures are worn too, look at Full Bathroom Renovations.
Why does waterproofing come before tiling?
Tiles and grout don’t stop water. The membrane underneath does. It has to go over a sound, prepared surface before any tile is laid. The Bathroom Waterproofing Guide explains why.
How does getting a quote work?
Send an enquiry and describe the room in your message: its size, what’s worn or leaking, and what you’d like changed. Keep photos of the space on your phone to show at the consultation. The quote follows consultation, assessment and design. Request a quote →
Which suburbs do you cover?
Moorabbin, Victoria, and nearby Highett, Hampton East, Bentleigh, Bentleigh East, Cheltenham, Mentone and Heatherton. See Service Areas.
09 / REQUEST A QUOTE
Send the details once. Get a quote that fits the job.
Whether it’s a repair or a full renovation, describe the room in your message: its size, what’s worn or leaking, and what you’d like changed. Keep photos of the space on your phone to show at the consultation.
What the form asks for
Required
✓ Name
✓ Email
✓ Message: the room, what’s worn or leaking, and what you’d like changed
Optional
✓ Phone
✓ Location
✓ Subject
✓ Budget
✓ Timeframe