SERVICE 10 — VANITIES
Vanity installation in Moorabbin, fixed to what sits behind the wall
A vanity looks like furniture, but it works as a plumbing fixture. The waste, the water and power points, and the timber that carries its weight all go into the wall long before the cabinet arrives. We plan these together for bathrooms and ensuites in Moorabbin, Bentleigh, Hampton East and Mentone.
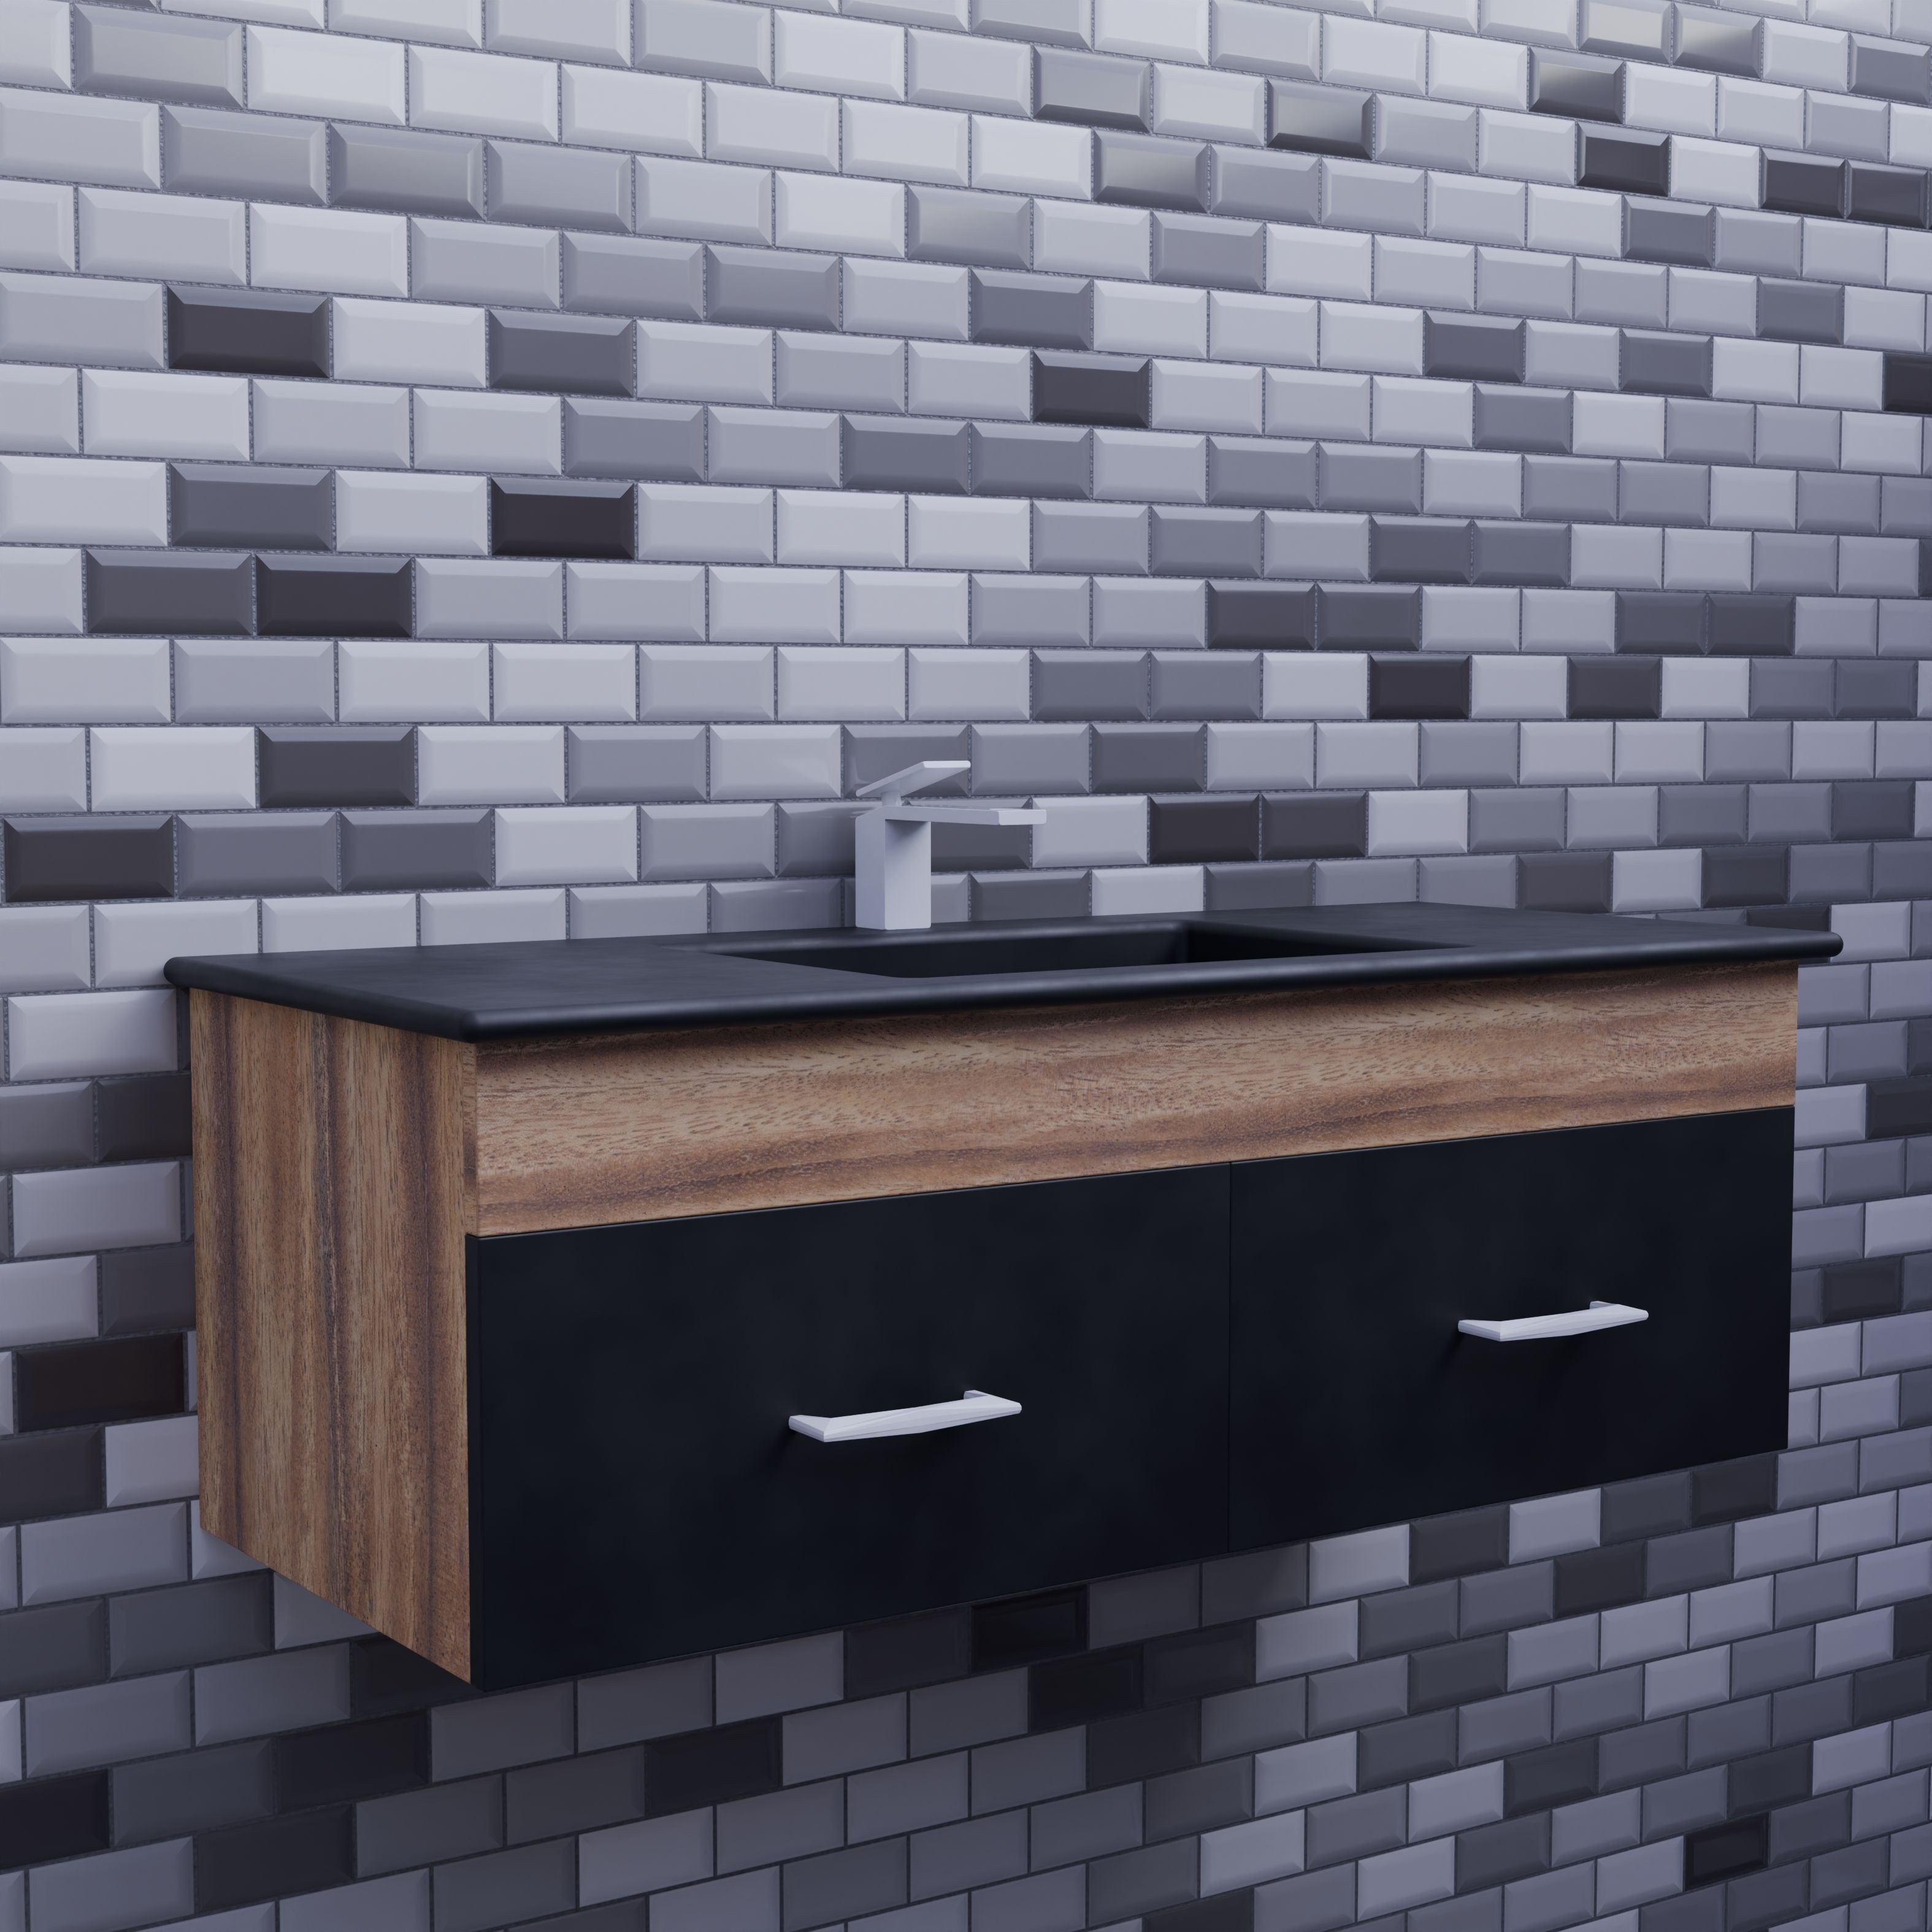
Integrated top and basin over drawers: the waste has to clear the drawer boxes below.
CHECK BEFORE YOU CHOOSE
Six things that decide the vanity
01 Width between walls, door frames and the shower screen
02 Depth, leaving the door swing and walkway clear
03 Where the waste and water points are now, and whether they move
04 Wall construction: stud frame, masonry or a mix
05 Benchtop height to suit the basin type
06 Power for a mirror cabinet, lighting or demister
10/A — MOUNTING
Wall-hung or floor-standing
How the cabinet is carried decides what goes into the wall frame and the floor. So the choice is made at design, before the walls are lined.
Wall-hung
Suits: compact rooms, where tile running unbroken underneath makes the floor look larger. See Small Bathroom Renovations.
Wall work: timber noggings fixed into the frame before sheeting, with waste and supply coming out of the wall at the cabinet’s height.
Watch for: masonry walls need a different fixing plan, and a deep stone top adds real load.
Floor-standing
Suits: bathrooms that need deep drawers and a toe kick, and family rooms where storage matters more than a floating look.
Wall work: less structural, because the floor takes the weight. The cabinet is still fixed back to the wall.
Watch for: the floor must be level and finished beneath, and plinths shouldn’t sit in a splash zone.
10/B — MATERIALS
Basins, tops, mirrors and storage
Each part of the vanity sets a height or a clearance for the next. The basin sets the benchtop height, and the top decides which basins work. The mirror cabinet may need a recess or a power point. Choose them as one set.
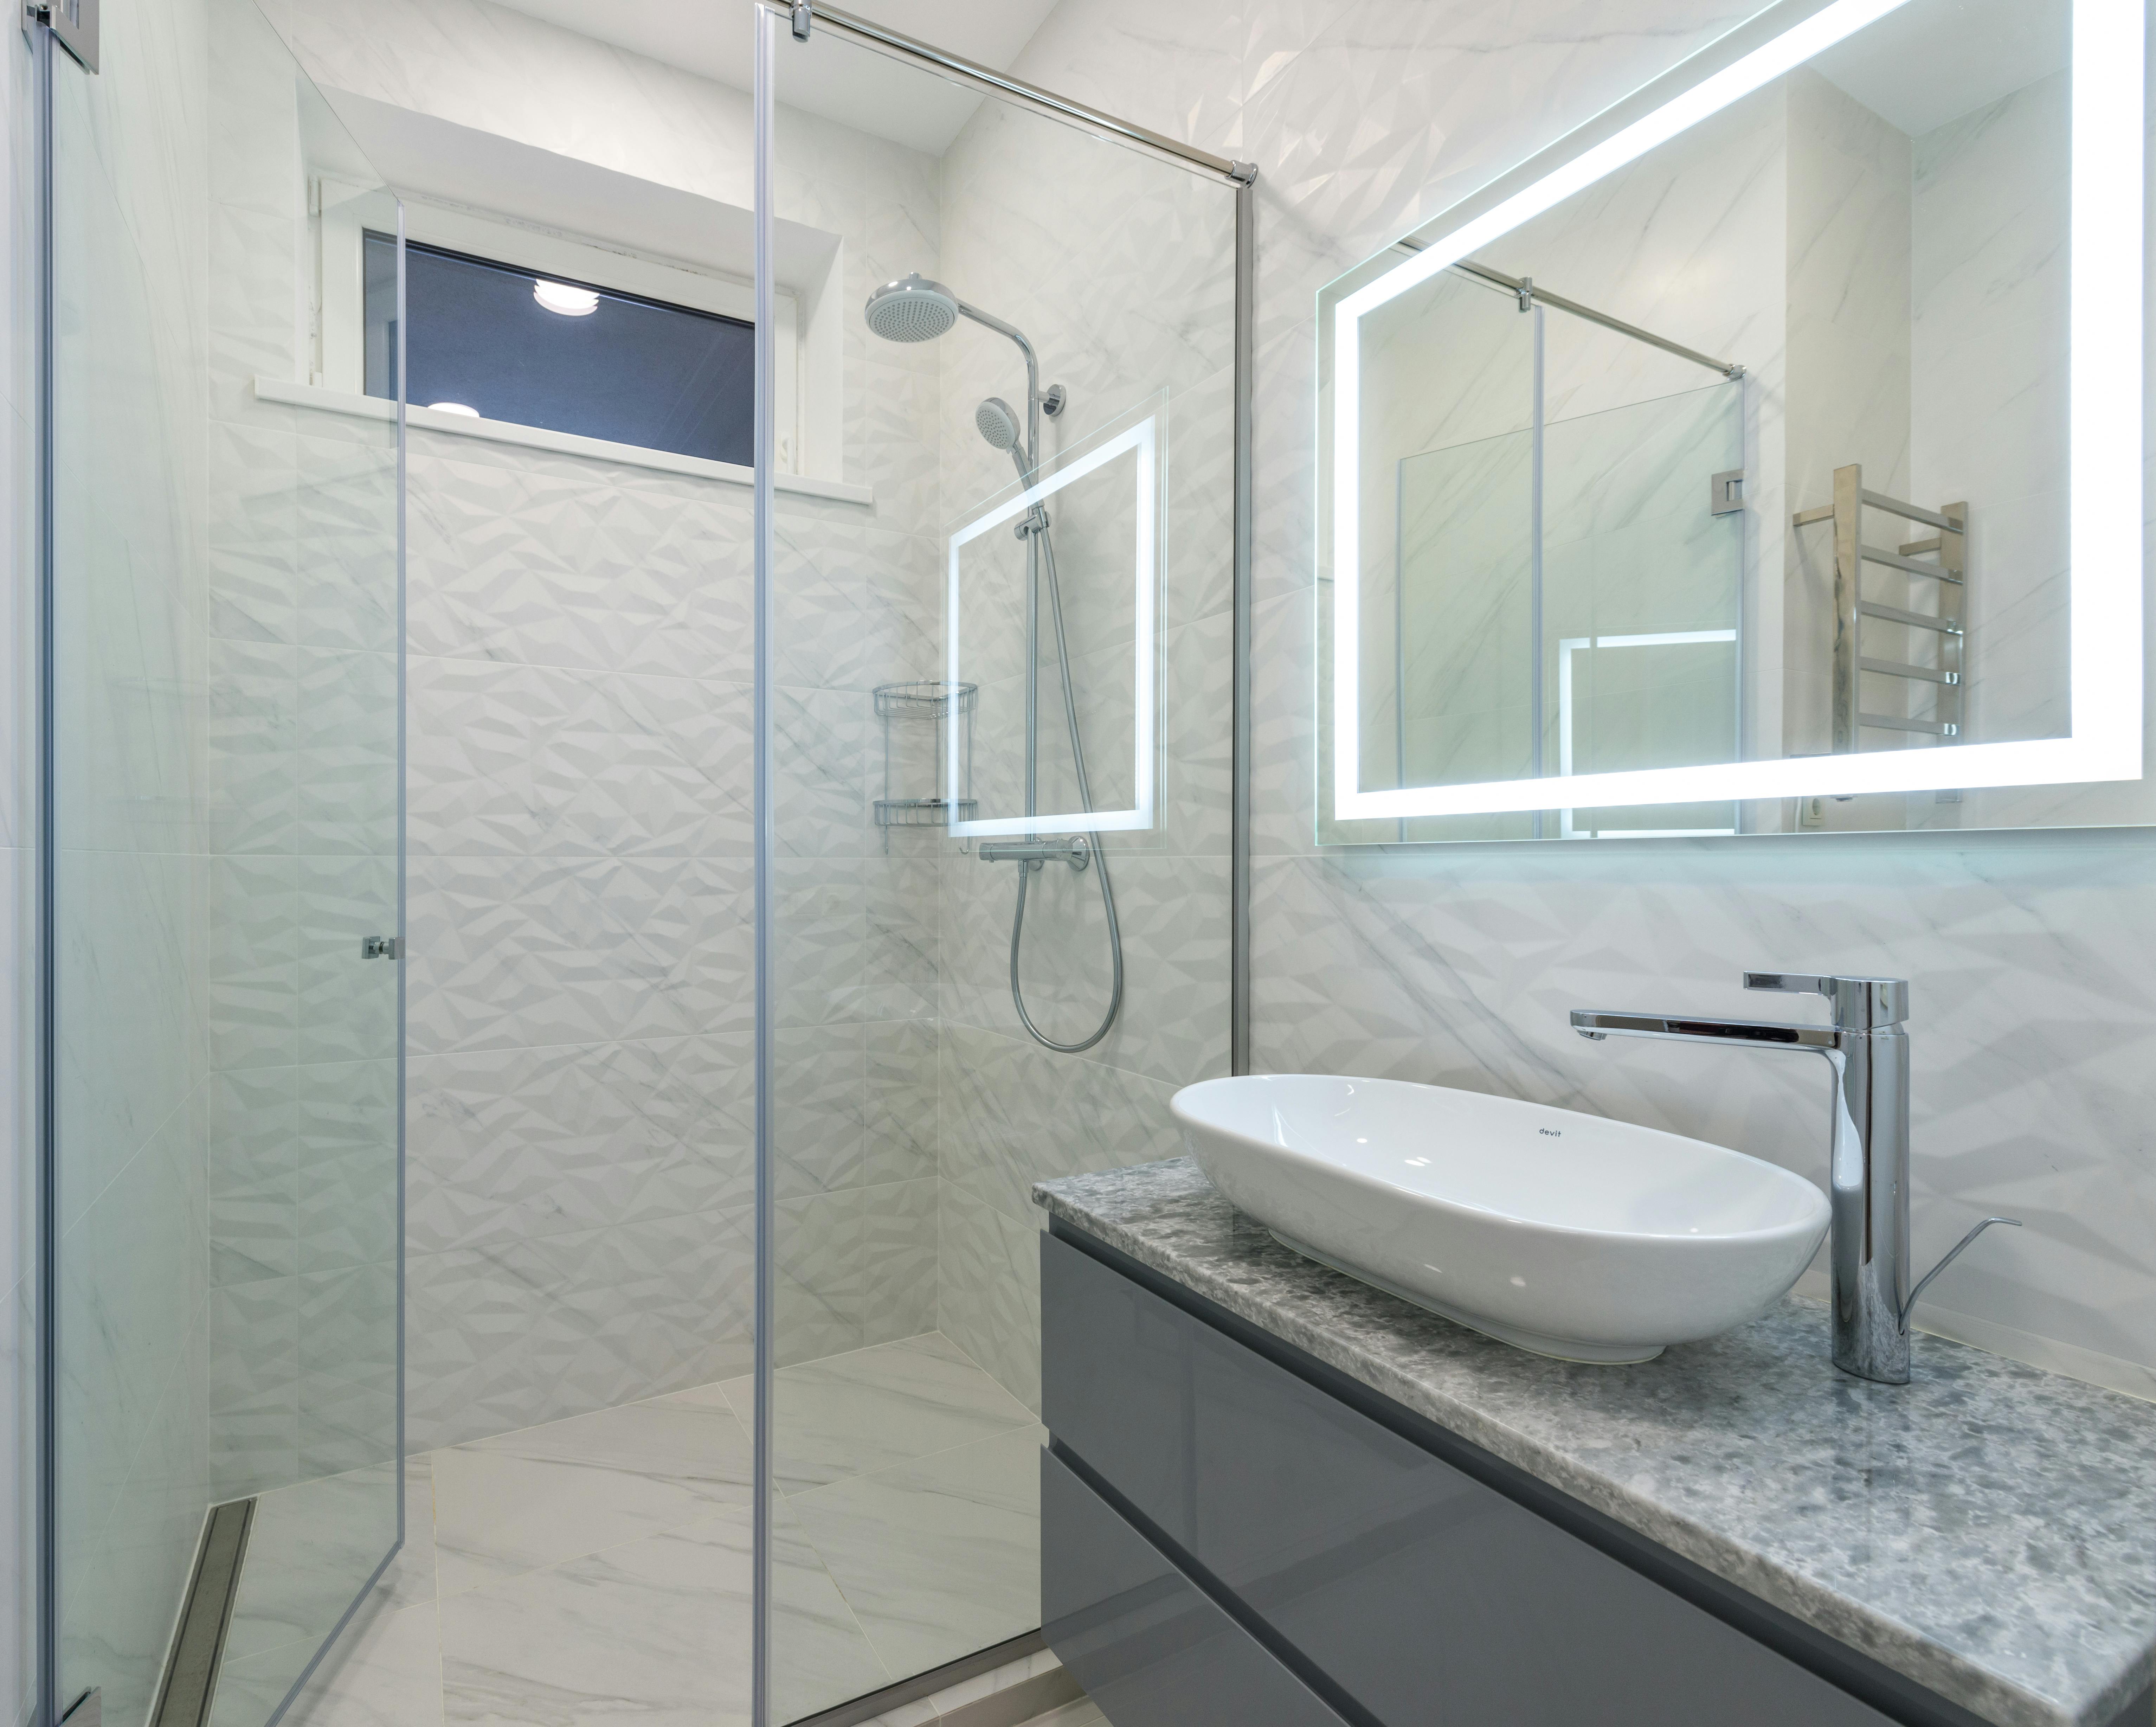
A vessel basin on a stone top under an illuminated mirror. Each piece needs its own set-out height.
A
Basin types
A vessel basin sits on top of the bench and raises the rim, so the cabinet sits lower. An undermount basin gives a stone top a clean edge. An integrated top leaves no joint to clean. A semi-recessed basin sticks out past a shallow cabinet, which helps in a narrow room.
B
Stone and timber-look tops
Stone and engineered stone take undermount and vessel basins and keep a crisp edge. Timber-look tops bring warmth against dark or matte tile. Choose a finish made for wet areas and seal every cut-out. Moulded tops weigh less, which helps with a wall-hung unit.
C
Mirrors and shaving cabinets
A flat mirror only needs fixing points. A shaving cabinet can mount on the wall or sit recessed into the stud cavity, and a recess has to be framed before sheeting. Lit or demisting models need power run during the electrical rough-in.
D
Storage
Drawers make it easier to reach the back of a deep cabinet than doors do. But the trap and waste take space from the top drawer. Plan a U-shaped drawer around the plumbing, and add a tall cabinet or wall niche for bulky items.
03 DESIGN
We choose the unit and draw the benchtop height, basin centre and mirror position.
07 PLUMBING/ELECTRICAL
We rough in the waste and hot and cold supply to those points, run power for the mirror cabinet or lighting, and fit noggings.
08 WATERPROOFING
We seal wall penetrations where the wet-area set-out calls for it, before any tile goes on.
09 TILING
We tile the walls and floor with cut-outs set around each outlet.
10 FIXTURES
We fix the vanity and connect the basin, tapware and waste.
11 FINISHING
We seal the joints, line up doors and drawers, and check the connections for leaks.
If you change the unit after step 07, the wall usually has to be opened again. That’s why we choose the vanity at Bathroom Design, not the week before tiling.
QUESTIONS
Vanity installation FAQs
Can a new vanity go in without renovating the whole bathroom?
Often it can, if the new unit covers the old footprint and the existing waste and water points suit it. If pipes need to move, or a wall-hung unit needs new noggings, some tiles will have to come off. We check this at assessment.
What height should the vanity sit at?
It depends on who uses the room and on the basin. A vessel basin adds height above the bench, so the cabinet goes lower. An undermount or integrated basin keeps the rim at bench level.
Why choose the vanity before the rough-in?
Its width, drawer layout and basin position set where the waste and supply come through the wall. If they’re roughed in first and the cabinet is picked later, the plumbing can end up hitting a drawer.
Does a double vanity suit an ensuite?
It can, if the room is wide enough for two basins with clear space between them, and each basin has its own waste point. You’ll find more layout options under Ensuite Renovations and in our Ensuite Ideas guide.
RELATED LAYERS
Plan the vanity with the rest of the room
Ready to price it? Request a Quote, or send a question through Contact.
Set the vanity, basin and mirror positions before demolition starts.
Single or double vanities, fitted to a room shared with a bedroom.
Wall-hung and semi-recessed options for tight floor plans. More in Small Bathroom Ideas.