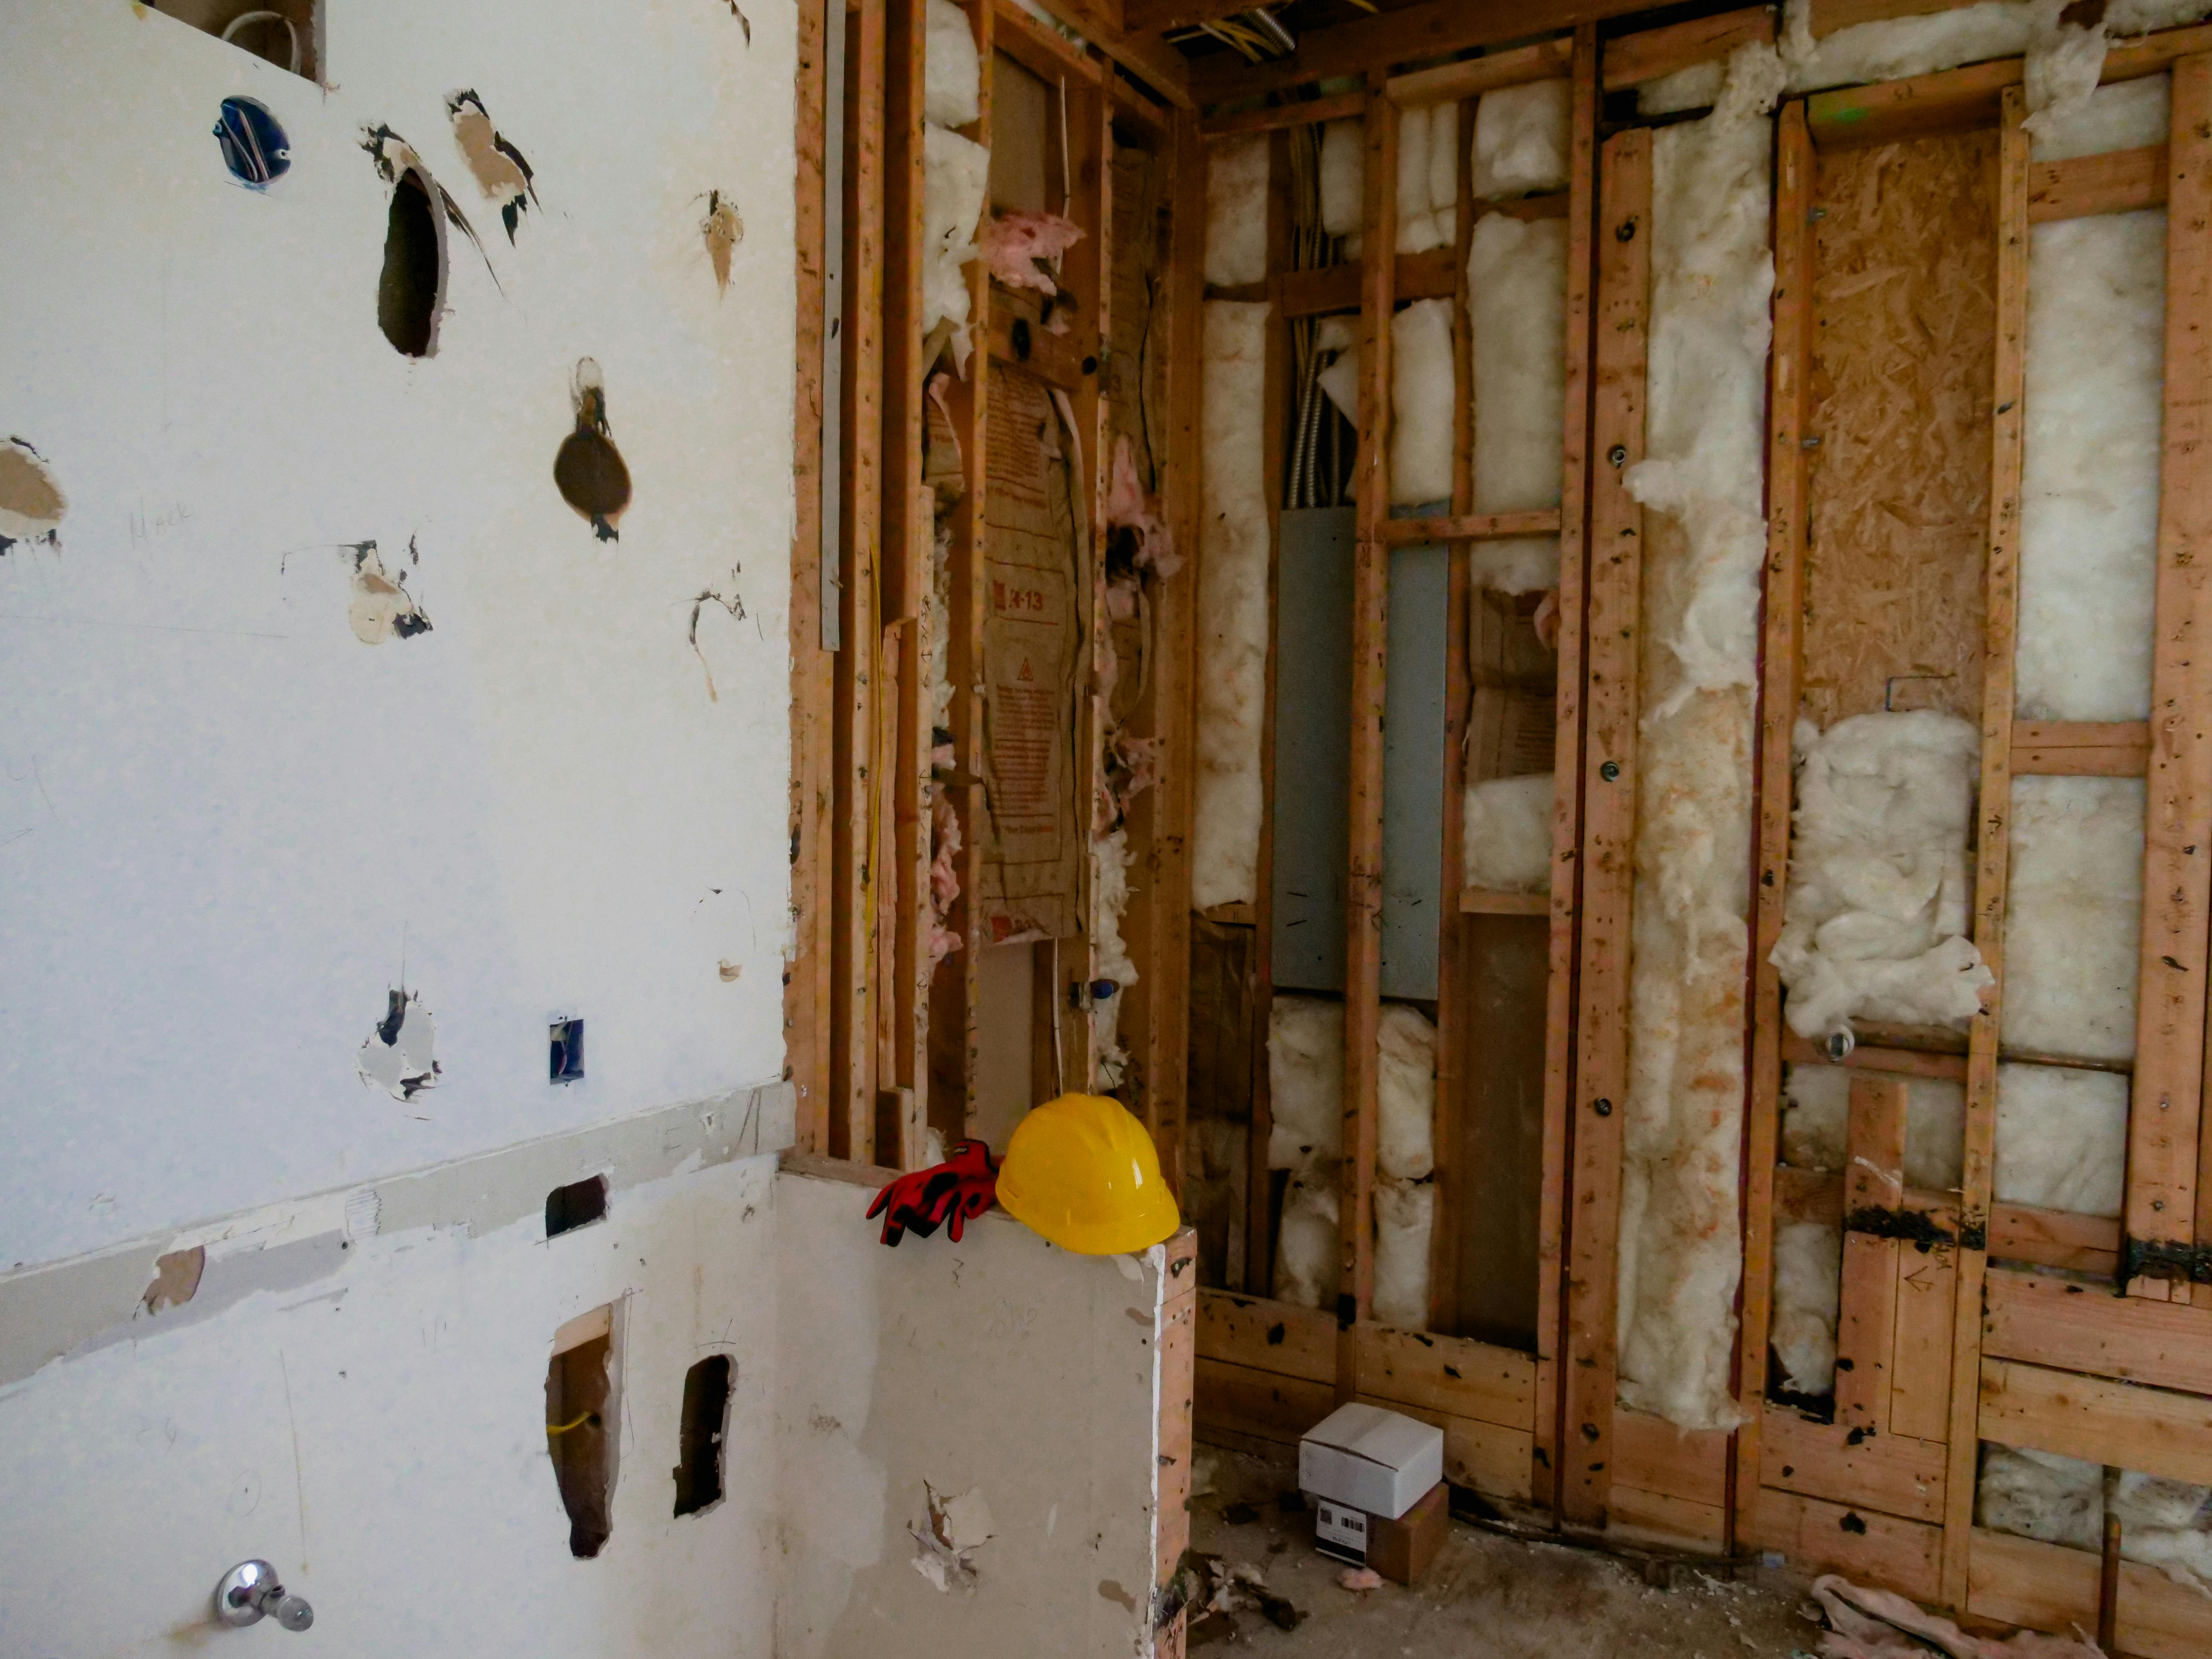
Strip-out leaves the frame, wiring and insulation exposed. This is usually the first point where the full scope can be seen.
Home / Bathroom Guides / How Long It Takes
LAYER 00 — TIMELINE GUIDE
How long does a bathroom renovation take?
That depends on what’s behind the tiles and what still needs to be chosen. A bathroom is built in a fixed order. There are twelve steps from consultation to handover, and each one has to finish before the next can start. This guide walks through that order and what stretches or shortens it. That way, the schedule on a quote for a bathroom in Moorabbin, Highett or Cheltenham is easy to follow.
LAYER 01 — WHAT SETS THE PACE
Five things that decide how long the job takes
Two bathrooms of the same size can run on very different schedules. Size matters less than how much gets opened up, how many choices are still open and what the existing structure turns out to be like.
01 Scope
Resealing a shower is a very different job from moving a waste, shifting the vanity and rebuilding the whole wet area. The more that’s opened up and moved, the more trades have to fit into the sequence.
02 Selections and lead times
Tiles, tapware and vanities should be chosen and on hand before the room is stripped. Made-to-measure items such as shower screens are often measured after tiling, so there’s a wait near the end.
03 Waterproofing curing
A membrane has to cure before any tile goes over it. The product and site conditions set that time, and rushing it is how leaks start.
04 Tiling complexity
Large-format tiles, herringbone, mitred edges, niches and falls to a linear waste all take more setting-out and cutting than a simple grid.
05 Hidden substrate issues
Rotted framing, a damaged floor, old leak damage or tired wiring often only show up once the walls are stripped. Fixing them properly adds work before waterproofing can start.
LAYER 02 — THE SEQUENCE
The timeline, step by step
Every job follows the same 12-step bathroom renovation process. Grouping the steps into four phases shows where the time goes and where the waiting happens.
STEPS 01–04
Plan
Consultation · Assessment · Design · Quote
Nothing gets built yet, but this phase sets the schedule. A clear brief, a close look at the existing room and settled design choices let the quote reflect the real scope.
STEPS 05–07
Prepare
Materials · Demolition · Plumbing/Electrical
Materials are confirmed before strip-out, so the room doesn’t sit empty waiting on an order. Demolition exposes the substrate. Then services are roughed in to suit the new layout.
STEPS 08–09
Seal and tile
Waterproofing · Tiling
The membrane goes on and cures. Then tiles are bedded, allowed to set and grouted. This part of the job has the least room to hurry.
STEPS 10–12
Fit and hand over
Fixtures · Finishing · Handover
The vanity, tapware, toilet and screen go in. Silicone and trims are finished off, then the room is cleaned and walked through before it’s handed back.
LAYER 03 — THE WET AREA
Why the middle of the job can't be squeezed
Tiling can look like the obvious place to save a few days, but it’s the worst place to try. The waterproofing has to cure before it’s covered. The tile bed has to set before grouting, and before anyone walks on the floor. The shower floor also needs the right fall to the waste, and that’s set out before the first tile goes down.
A realistic timeline allows for these waits instead of hoping to skip them. The Bathroom Waterproofing Guide explains what the membrane does. The waterproofing service shows how it fits into a renovation.

Levelling clips and spacers hold floor tiles flat and evenly spaced while the mortar bed underneath sets.
LAYER 04 — YOUR PART
Keeping the schedule on track
A few decisions made early stop most of the waiting later. The renovation checklist puts them in order.
Settle selections before strip-out
If tiles, tapware and the vanity are chosen at the design stage, demolition only starts once everything is ready to go back in.
Plan for the room being out of use
If it’s the only bathroom in the house, raise it at the consultation so the order of work suits your household.
Leave room for what the walls reveal
Keep your dates a little flexible, especially in older homes, in case strip-out uncovers framing or floor repairs.
Compare like with like
When you compare schedules, check that each one includes the same steps, especially waterproofing and the curing time before tiling.
NEXT LAYER — RELATED READING
Our 12-Step Bathroom Renovation Process →
Full Bathroom Renovations in Moorabbin →
A reliable schedule starts with seeing the room. Homeowners in Moorabbin, Bentleigh, Bentleigh East, Hampton East, Mentone and Heatherton can request a quote, and the timeline will be planned around the bathroom’s actual scope. If you have a question first, send it through the contact page.