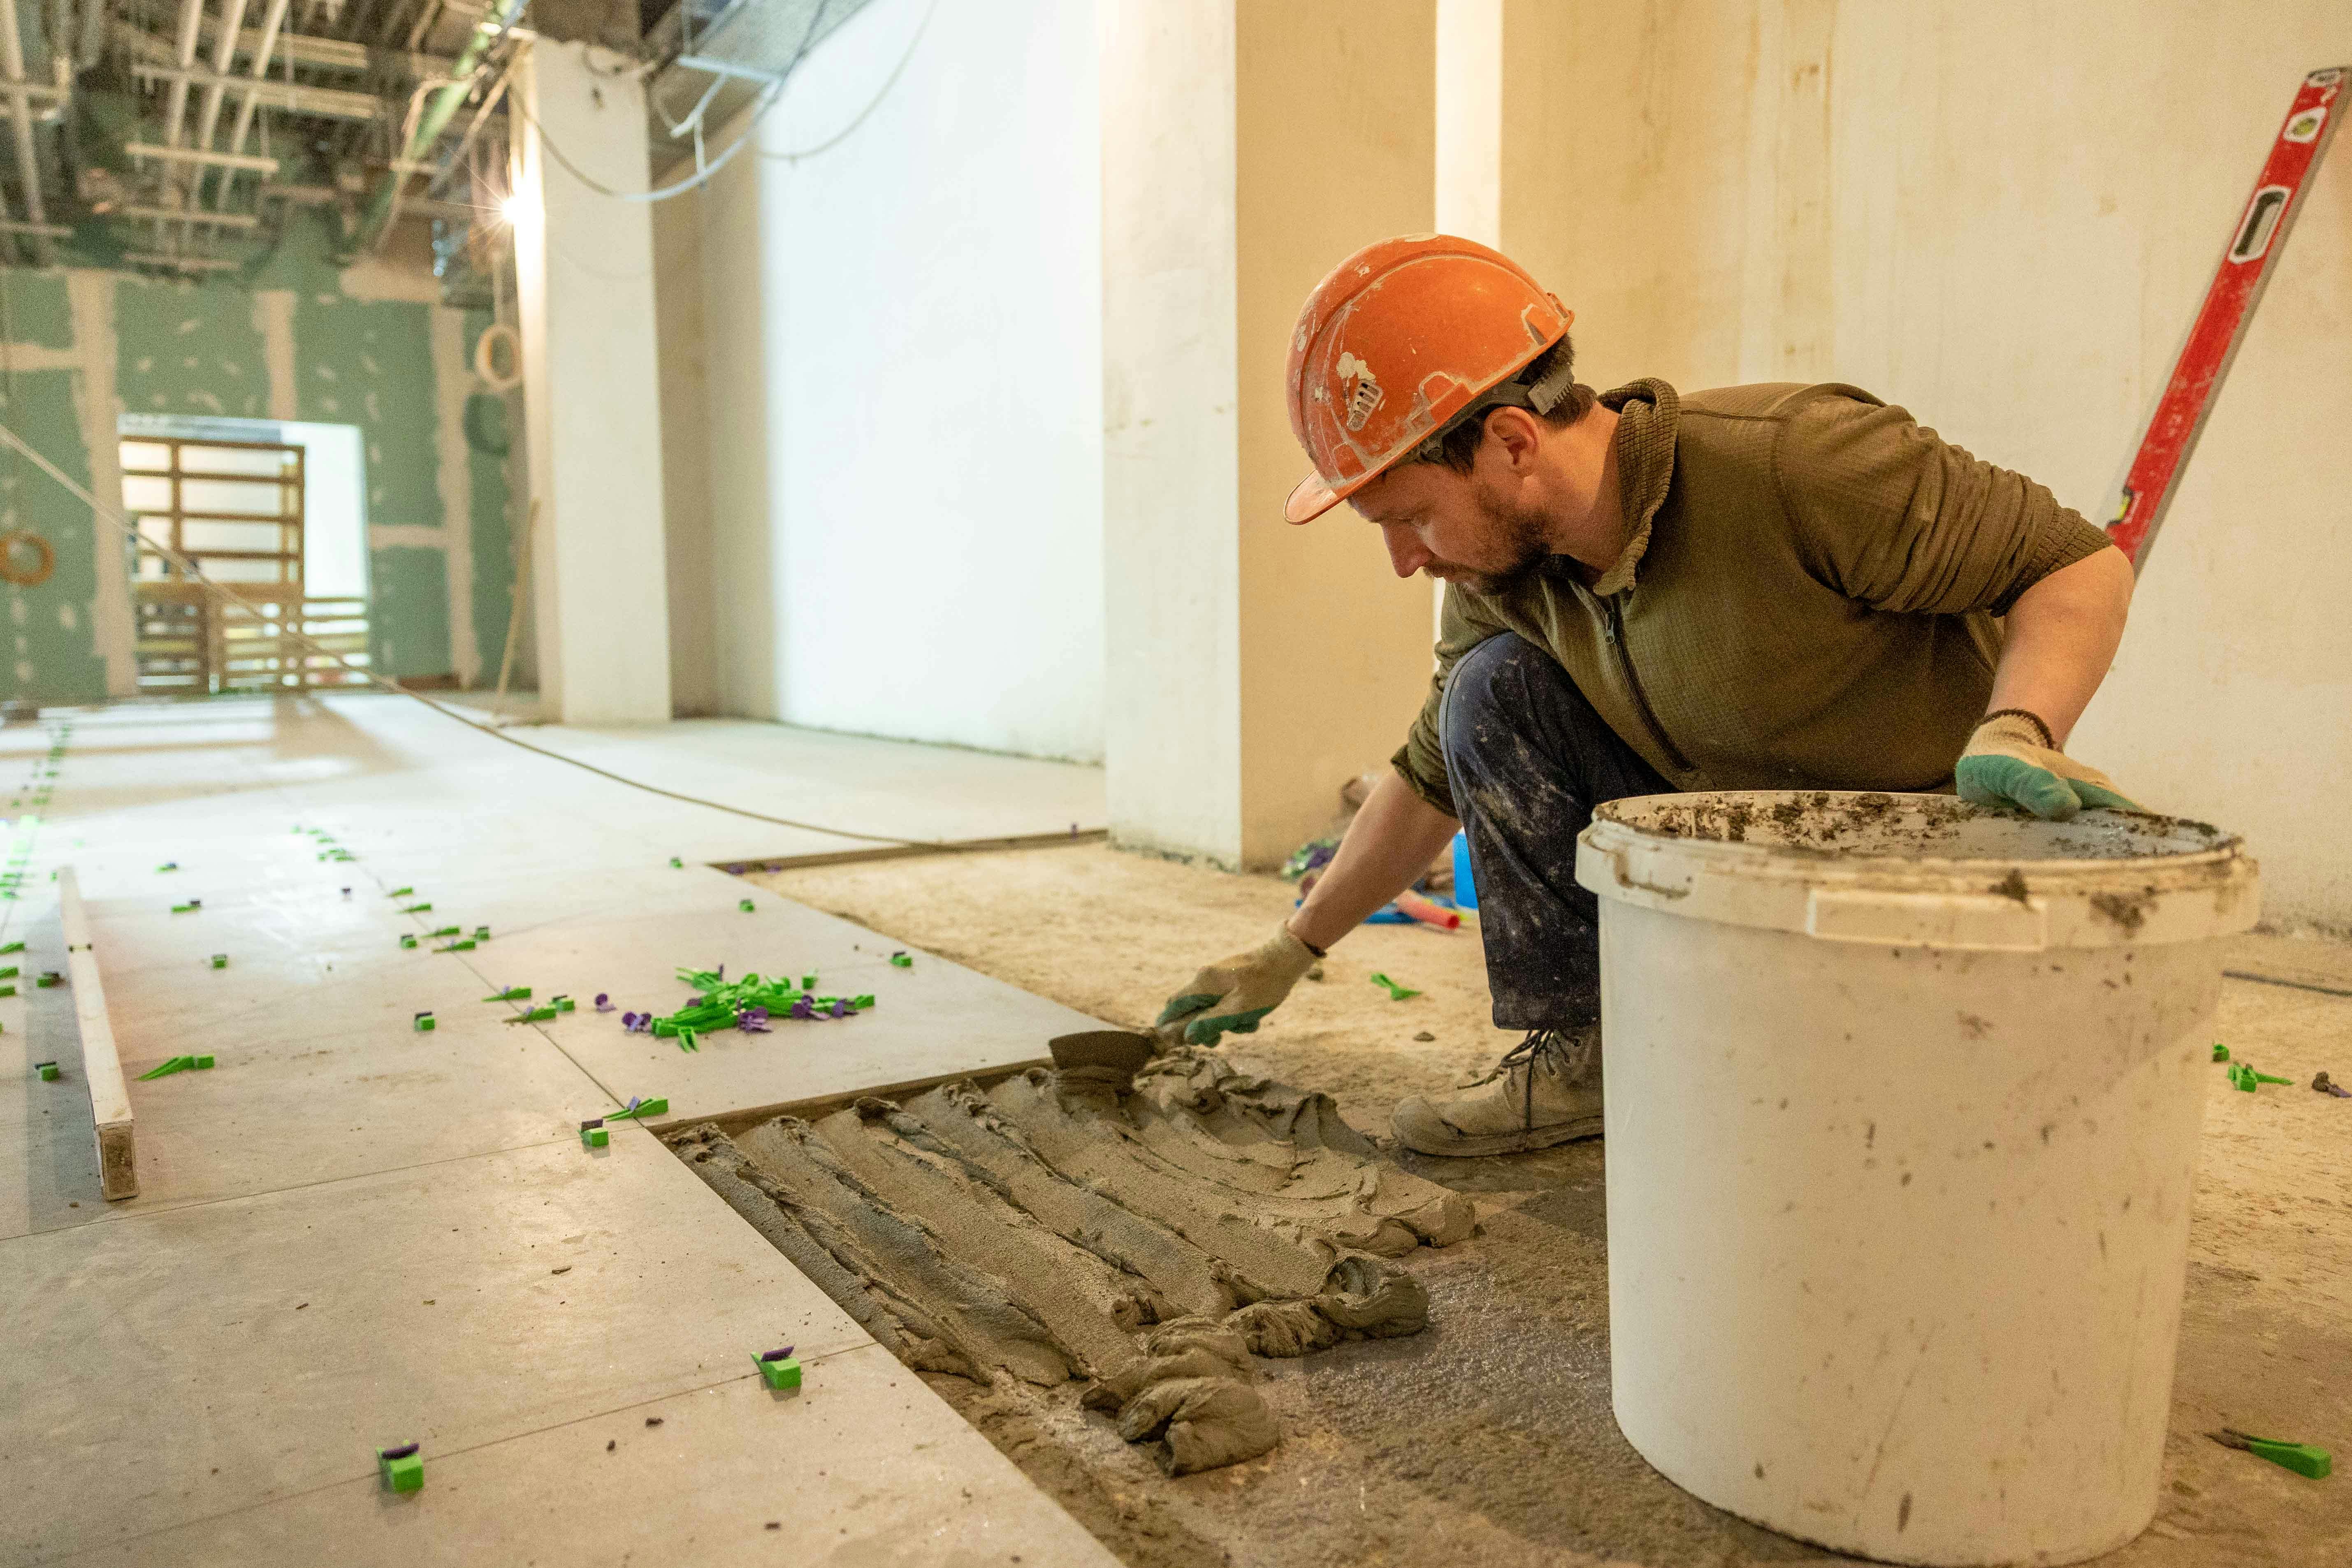
Bedding: mortar spread and large-format floor tiles laid in an unfinished room.
Tiling is the layer everyone sees, and the one that shows every shortcut underneath. Floor and wall tiles in a bathroom, ensuite or laundry go on only after the membrane is in and cured, onto a substrate that is flat, sound and already falling the right way to the waste.
We tile wet areas for homes in Moorabbin, Highett, Bentleigh East and Mentone, as part of a full renovation or a shower rebuild.
IN SCOPE
— Floor tiling
— Wall tiling and feature walls
— Shower floors to the waste
— Niches, hobs and edges
— Grout and silicone joints
STEP 09 OF 12
Tiling comes straight after Waterproofing and before Fixtures. See how it fits the full 12-step process.
06/A — MATERIAL OPTIONS
Format, finish and grip
Tile format
Large-format tiles mean fewer grout lines and a calmer surface, but they need a flatter substrate and fuller adhesive coverage. Smaller tiles and mosaics follow the falls on a shower floor more easily. Subway and vertical stacks suit walls where the pattern has to line up with niches.
Finish
Matte and textured finishes hide water marks and suit floors. Gloss bounces light around a small room but shows streaks, so it usually stays on walls. Stone-look, concrete-look and timber-look porcelain give the look without the upkeep. More combinations in Bathroom Tile Ideas.
Slip resistance
Wet floors need a tile with a slip-resistance rating that suits where it goes, and a shower floor asks more than the vanity zone. The rating is checked on the product before it’s ordered, so the tile you chose for its look also works underfoot.

Levelling clip and spacers set between floor tiles over fresh mortar.
06/B — SETTING OUT & BEDDING
What happens before the first tile goes down
Setting out from the centre
Setting out starts from a centre line, not a corner. Cuts are planned to land evenly at both ends of a wall, joints line up with niches, hobs and the vanity, and thin slivers at doorways are designed out.
A full adhesive bed
Adhesive is combed on with a notched trowel sized to the tile, and larger tiles are back-buttered. The aim is a full bed with no hollow spots to crack under load or hold water. Levelling clips keep neighbouring edges flush across large formats.
Falls to the floor waste
On floors, the tile follows the fall already formed in the layer below, carrying water to the floor waste or linear drain. A fall faked with thicker adhesive leaves ponding, so it has to be right before the membrane goes on.
06/C — JOINTS
Grout lines and silicone joints
Grout fills the flat joints between tiles. Colour is a design choice: a close match makes large tiles read as one surface, while a contrast line shows off a pattern. Tight, even joints depend on the setting out and levelling done earlier.
Where walls meet floors, at internal corners and around the shower base, the building moves slightly. Those joints get flexible silicone, not grout, so they can move without cracking and letting water in.
Tile and grout aren’t the waterproofing. The membrane underneath is.
That’s why tiling waits for Waterproofing. If water is already getting past an old shower, start with Leaking Shower Repairs.
06/D — QUESTIONS
Bathroom tiling FAQs
Can you tile over existing bathroom tiles?
It’s only considered where the old surface is flat, sound and well bonded, and it raises floor heights and hides what’s underneath. In showers and on wet floors, stripping back lets the membrane be checked or replaced. This is assessed on site.
Why must waterproofing come before tiling?
Grout and many tile bodies let moisture through over time. The membrane is the barrier, so it has to be complete and cured before tiles cover it for good.
Do large-format tiles work in a small bathroom?
Often, yes. Fewer joints can make a compact room feel larger, although a shower floor may need a smaller format or a linear drain to handle the falls. See Small Bathroom Renovations.
How long does bathroom tiling take?
It depends on the area, tile format, pattern and curing times, so it’s worked out for each job. How Long Does a Bathroom Renovation Take? walks through each stage.
06/E — NEXT
Planning new tiles for your bathroom?
Keep reading: Bathroom Tile Ideas · Waterproofing · Luxury Bathroom Renovations · Bathroom Projects · Contact us
Bathroom Projects: each published project will show the location, bathroom type, client brief, before and after images, design solution, materials and final result.