SERVICE 07 — WATERPROOFING
Bathroom waterproofing in Moorabbin
No one sees the waterproofing once the tiles are down, but it decides whether the bathroom stays dry. It goes in after the plumbing and before the tile bed. The surface is prepared, a continuous membrane goes through the shower, across the floor and around every pipe, and then it’s left to cure before tiling starts.
WHAT THE MEMBRANE COVERS
01 Substrate: cleaned, primed, falls set
02 Shower recess: floor, corners and edges
03 Bathroom floor: out to the doorway
04 Penetrations: wastes, taps and pipes
05 Junctions: wall to floor, wall to wall
06 Curing: before any tile adhesive
For bathrooms, ensuites and laundries in Moorabbin, Highett, Cheltenham and Heatherton.
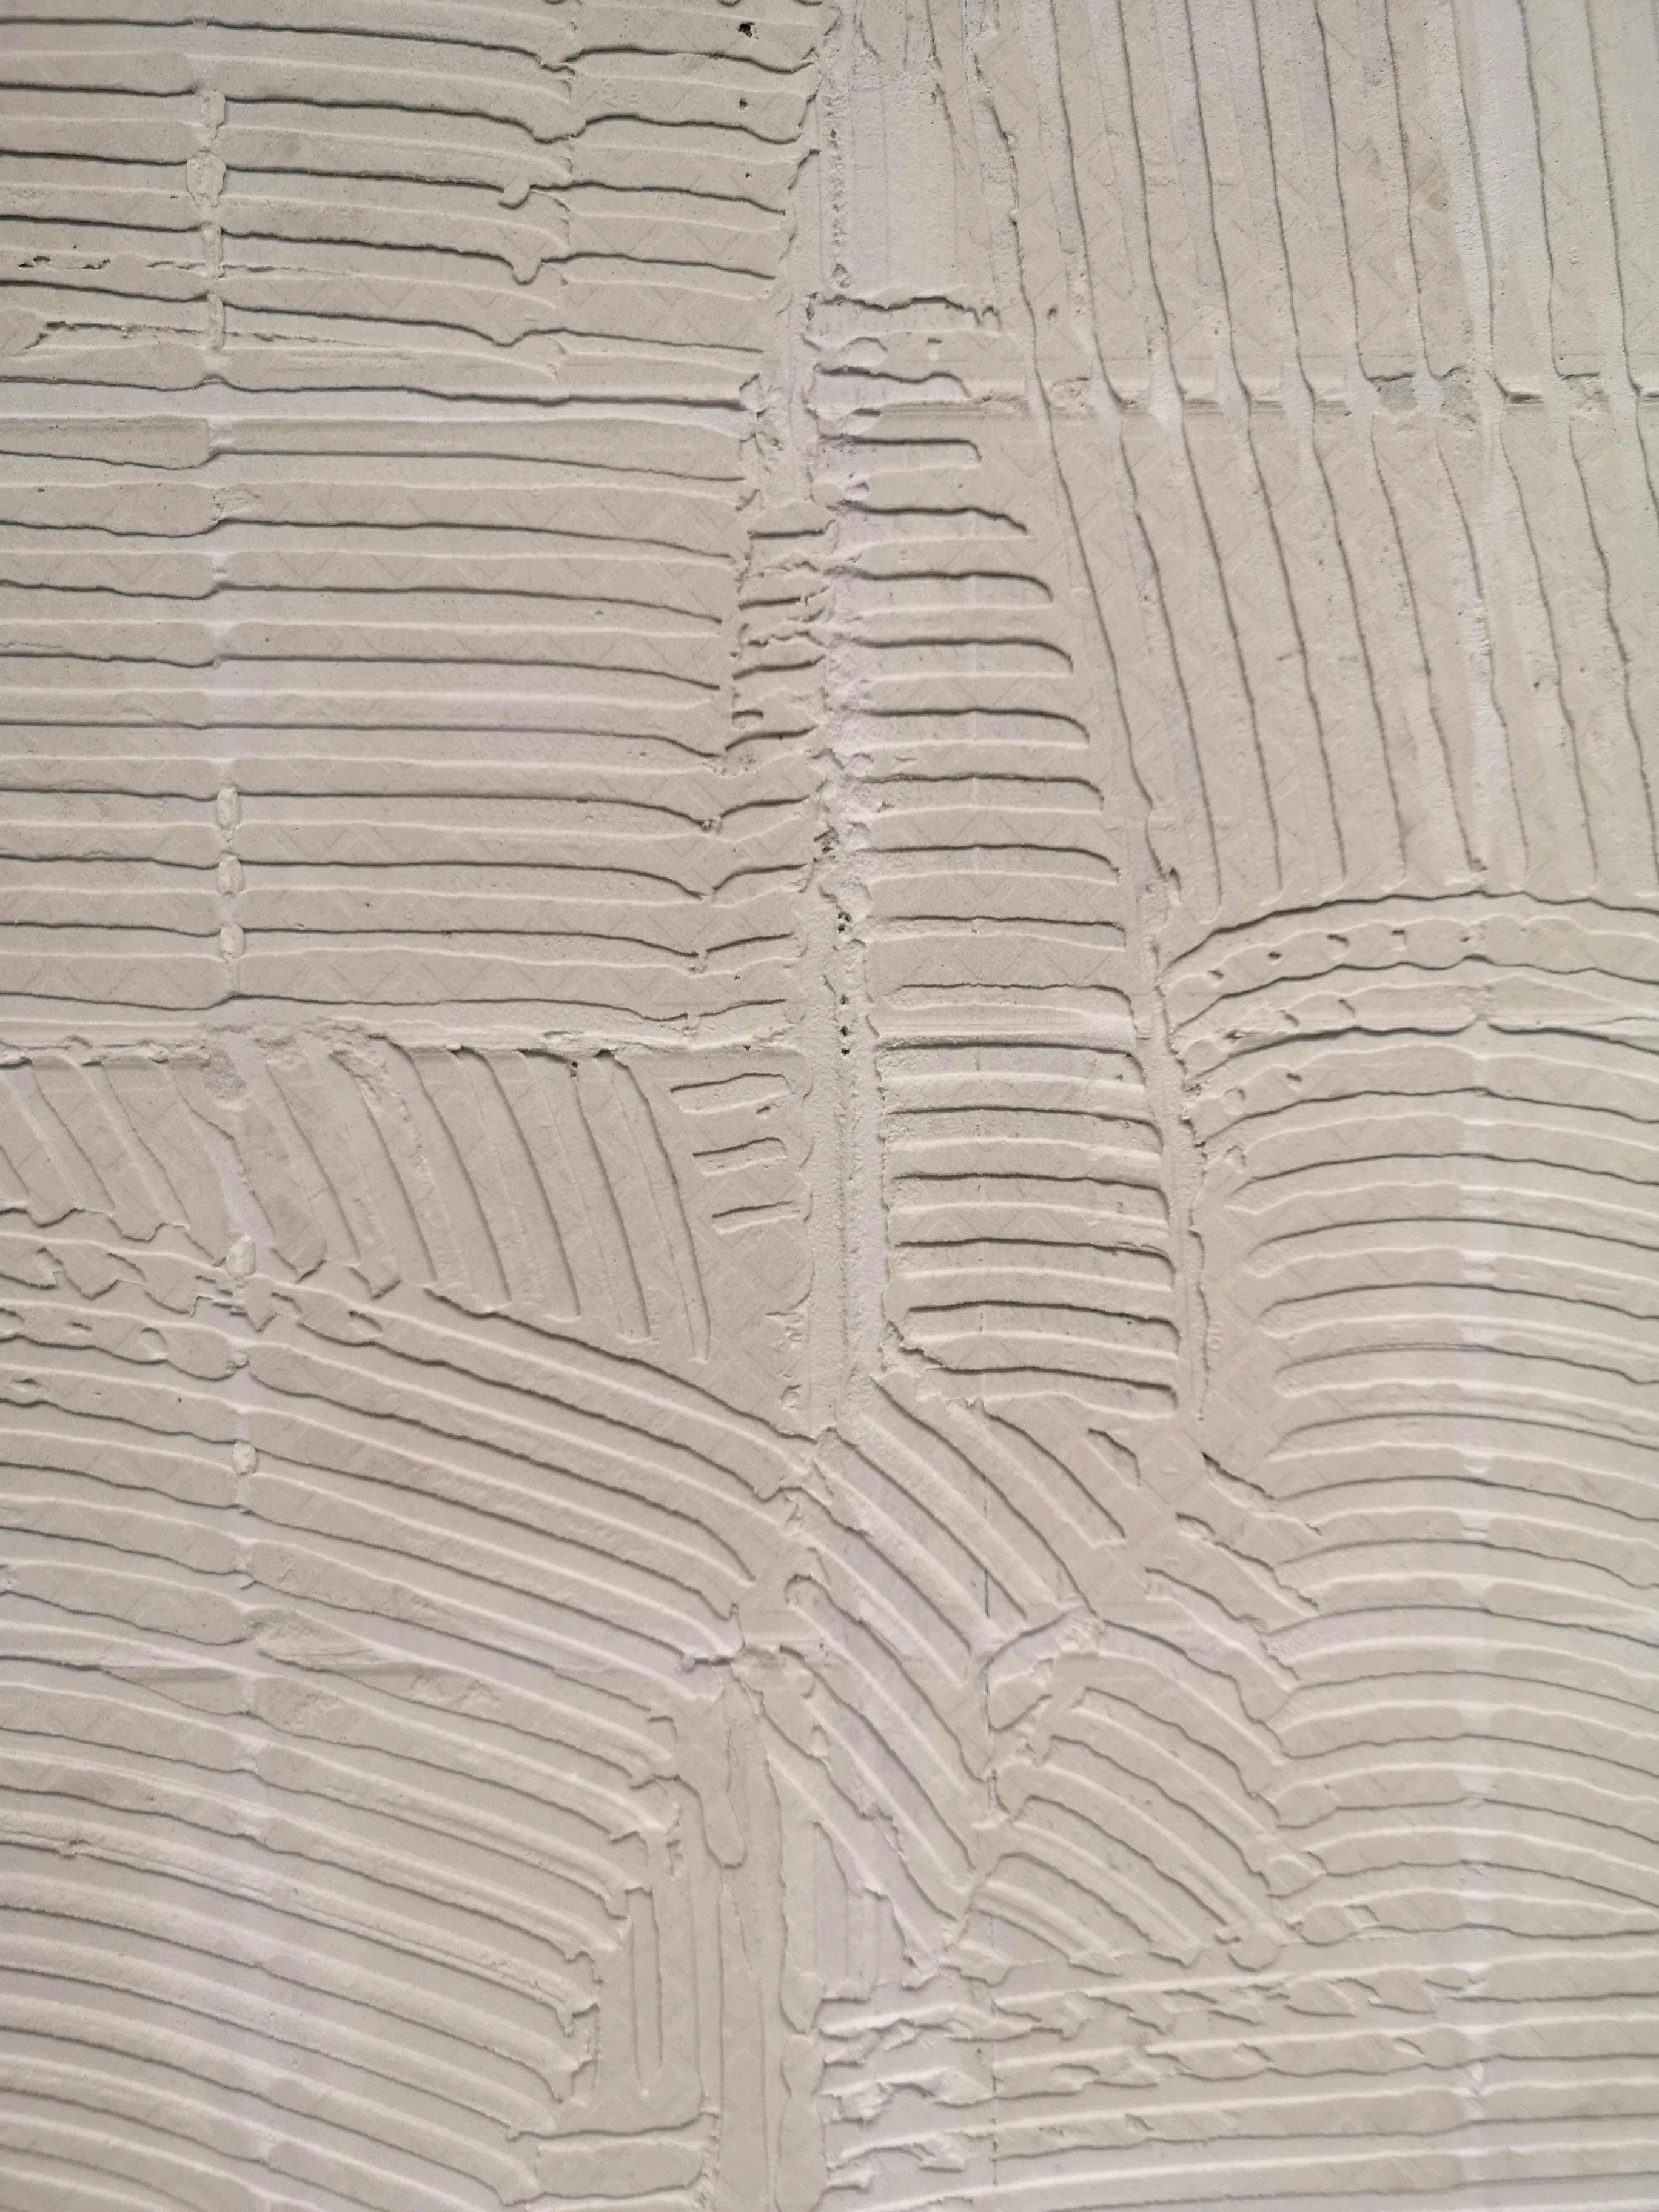
Combed adhesive bed: the layer that only goes on once the membrane underneath has cured.
07/A — SEQUENCE
Between the pipes and the tiles
Waterproofing is step eight of our 12-step renovation process. The step before it sets out what the membrane has to seal around. The step after it depends on the membrane being right.
STEP 07
Plumbing / Electrical
Wastes, water lines, tap bodies and cabling are fixed in their final positions. Each pipe that passes through a wall or floor becomes a detail the membrane has to seal.
STEP 08 · THIS PAGE
Waterproofing
The surface is prepared and primed. The membrane then goes through the shower, across the floor and around each penetration and junction, and is left to cure fully.
STEP 09
Tiling
Adhesive and tiles go over the cured membrane. Tiling protects the layer underneath, but it doesn’t waterproof anything itself. See Bathroom Tiling.
07/B — MEMBRANE
How the membrane goes on
A membrane only works if it’s continuous. One gap at a corner, a pipe or the shower edge lets water get behind the tiles, however good they look. So we treat waterproofing as four jobs, done in order.
01
Substrate preparation
A membrane is only as good as what it sticks to. We check the surface for movement, clear away dust and residue, then prime it so the membrane bonds instead of just sitting on top. On floors, the slope down to the waste is set before waterproofing, not fixed later in the tile bed.
02
Shower recess and floor
The shower recess gets the most attention: the floor, the wall corners and the edge where the recess meets the rest of the room. The membrane then carries on across the bathroom floor, so water that gets past the screen has nowhere to go. That matters most in walk-in showers without a step or hob.
03
Penetrations and junctions
Every waste, tap body and pipe that comes through the wall or floor breaks the membrane. We seal around each one. The joins between walls and floors are treated too, so normal building movement doesn’t crack the layer.
04
Curing before tiles
The membrane has to cure as the product’s manufacturer requires before any adhesive goes on. Rushing this stage is one of the easiest ways to ruin a wet area, so tiling waits until the membrane is ready.
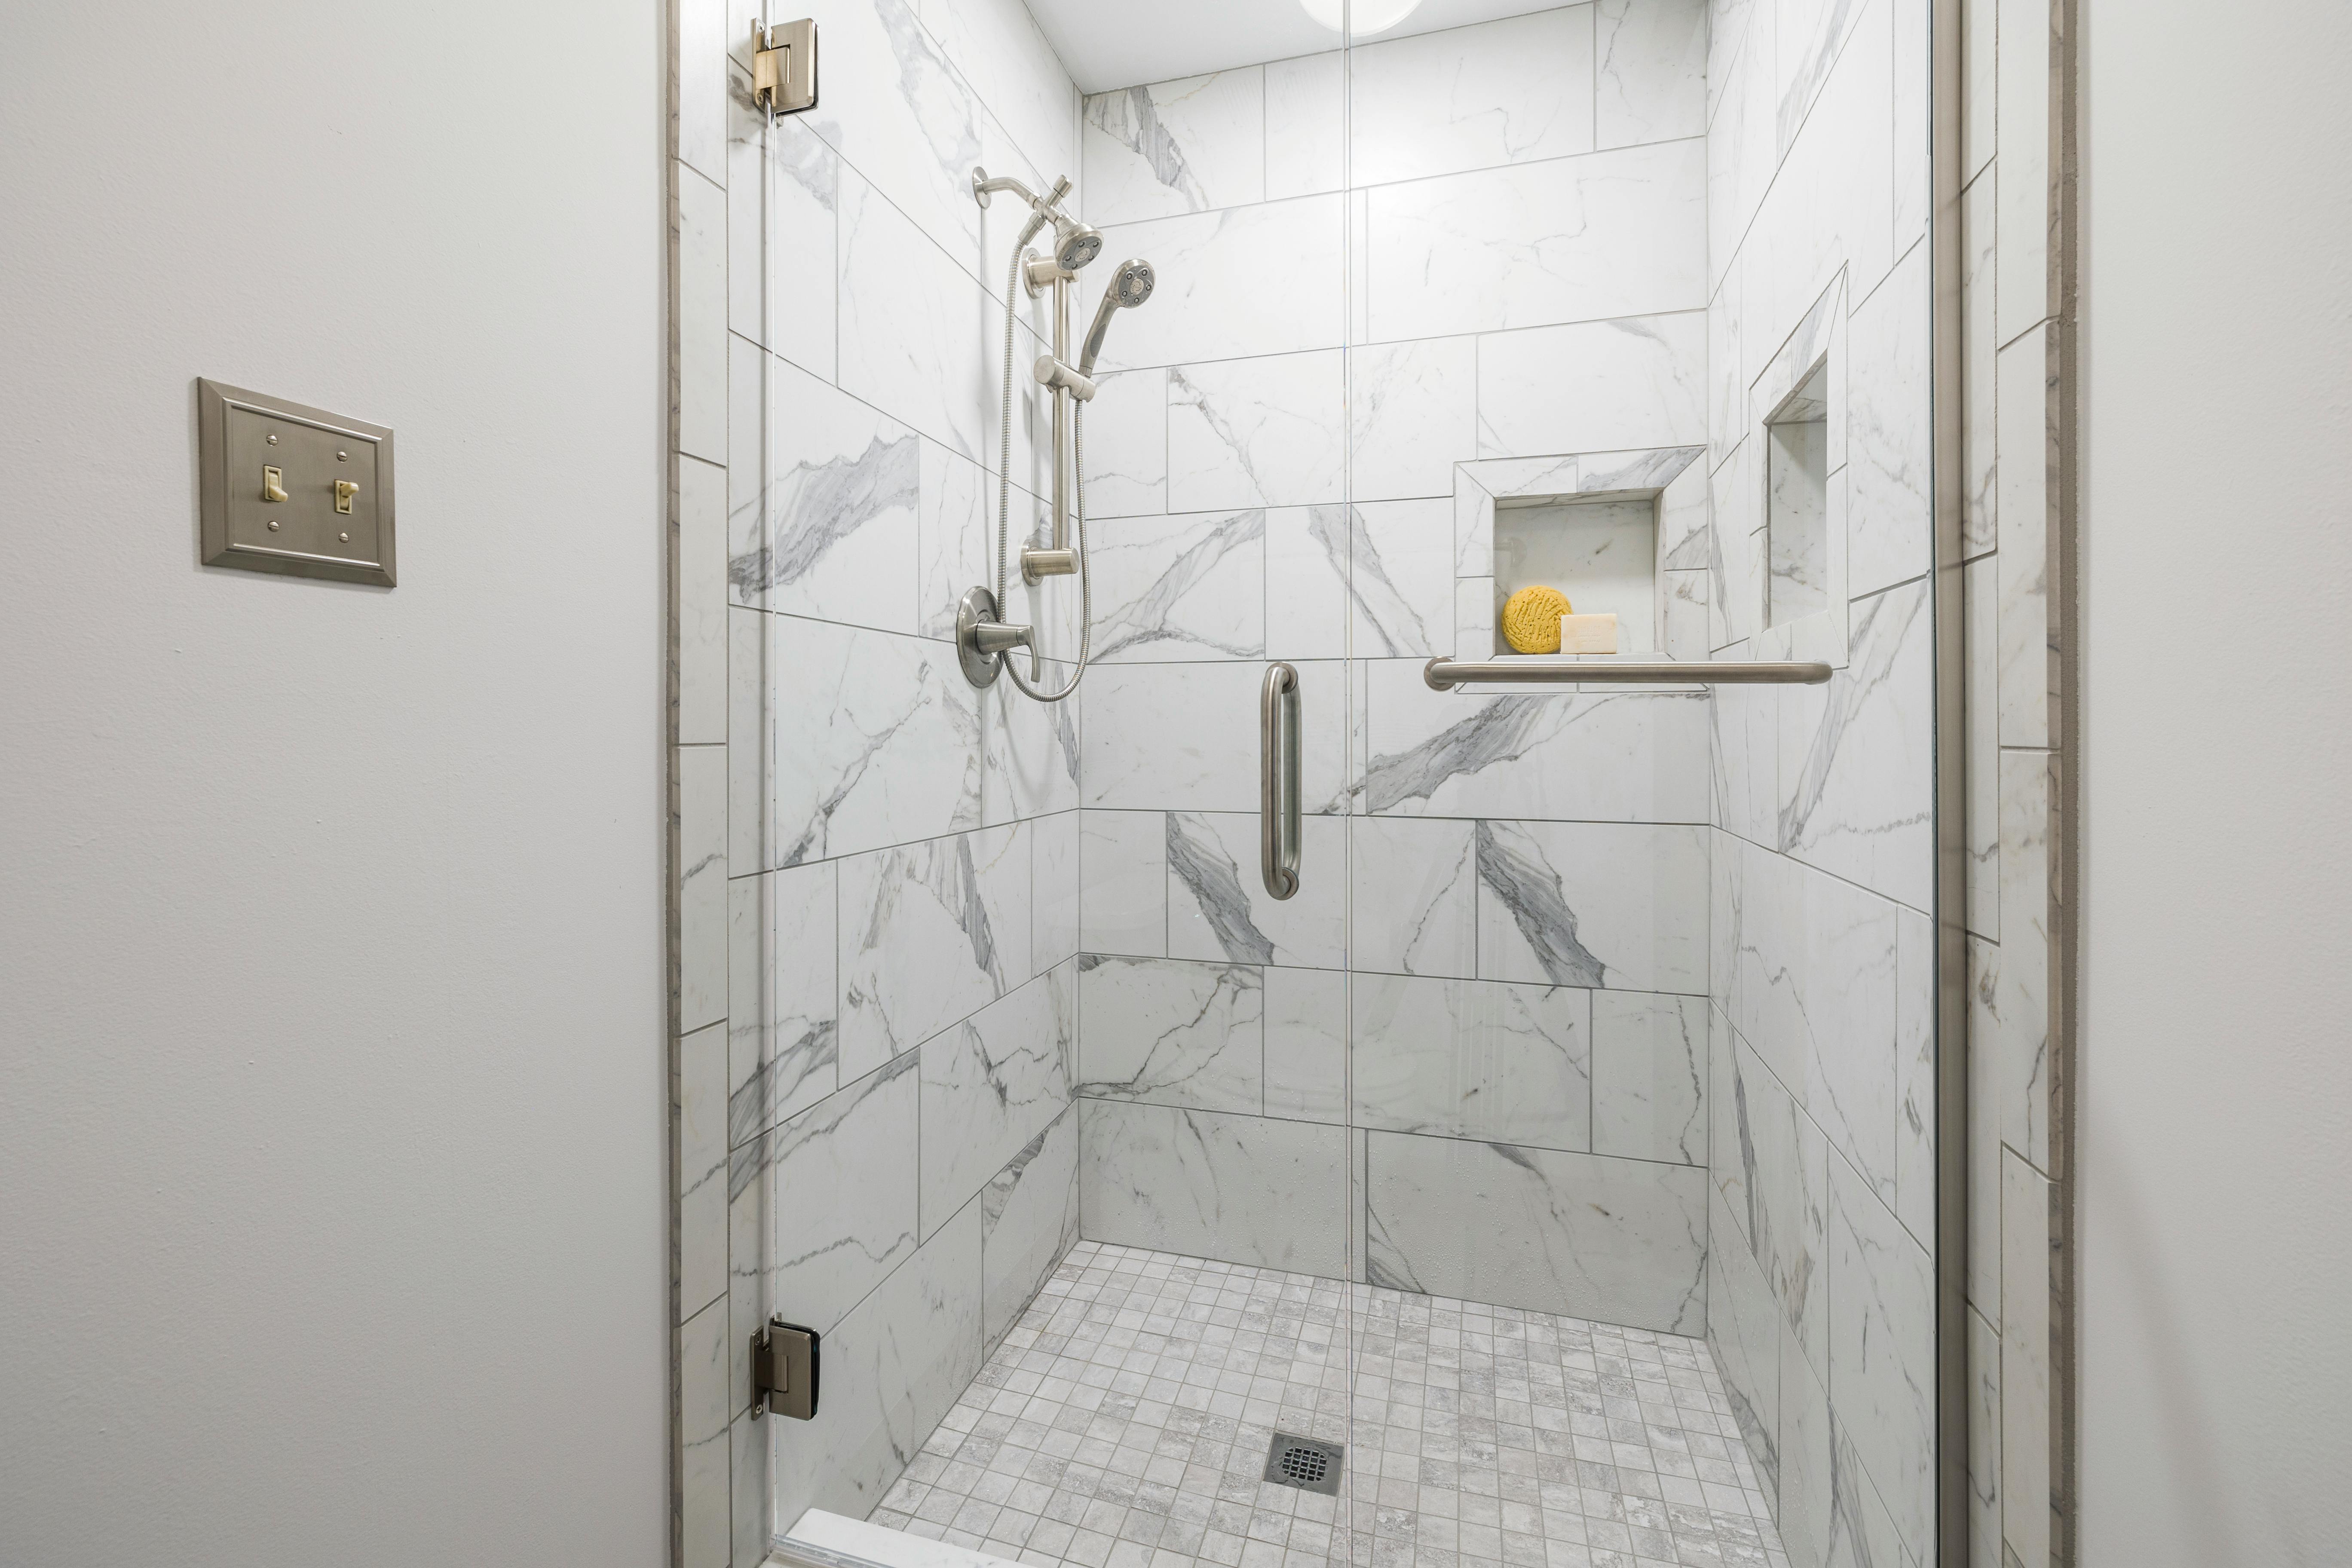
Walk-in shower with marble-look wall tiles, a recessed shelf, grab rails and a floor drain.
07/C — WHEN IT FAILS
When the old membrane has already failed
A failed membrane usually shows up somewhere else first: grout that stays dark long after a shower, loose or hollow-sounding tiles, swollen skirting or door frames near the shower, or a stain or musty smell in the room next door.
Some leaks can be traced and fixed in one spot. Others mean the shower has to be stripped back to the bare surface and rebuilt layer by layer. We work out which during the assessment step.
Can a membrane go over existing tiles?
A membrane needs to bond to a sound, prepared surface. When a wet area is rebuilt, the old tiles and bed normally come off so the membrane can go on properly under the new finish. The assessment shows whether a particular leak needs that full strip-out.
Does waterproofing only matter inside the shower?
The shower takes the most water, but splashes, cleaning and overflow reach the rest of the floor too. That’s why we plan the membrane for the whole wet area, including laundries, not just the recess.
How long before tiling can start?
It depends on the membrane product and conditions on site, such as temperature and humidity. Tiling starts once the membrane has cured as the manufacturer requires, and we build that time into the schedule. For how each stage affects the overall timeline, see How Long Does a Bathroom Renovation Take?
Is waterproofing part of a renovation or a separate job?
Both. It’s a set step in every full bathroom renovation and ensuite renovation. It’s also the main part of a shower renovation when a leak has been found, whether the home is in Moorabbin, Bentleigh East or Mentone.
07/E — QUOTE
Get the layer underneath right first
Whether you’re planning a new wet area or dealing with a shower that’s started to leak, describe the room in your message: its size, what’s worn or leaking, and what you’d like changed. Keep photos of the space on your phone to show at the consultation. Just have a question first? Use the contact form.
READ NEXT
Bathroom Waterproofing Guide →
The 12-step renovation process →
Each published project will show the location, bathroom type, client brief, before and after images, design solution, materials and final result.