A finished bathroom only shows you the top layer. Each published project will show what sits beneath it: the location, bathroom type, client brief, before and after images, design solution, materials and final result. Project records will cover bathrooms, ensuites, showers and laundries in Moorabbin and nearby Melbourne suburbs.
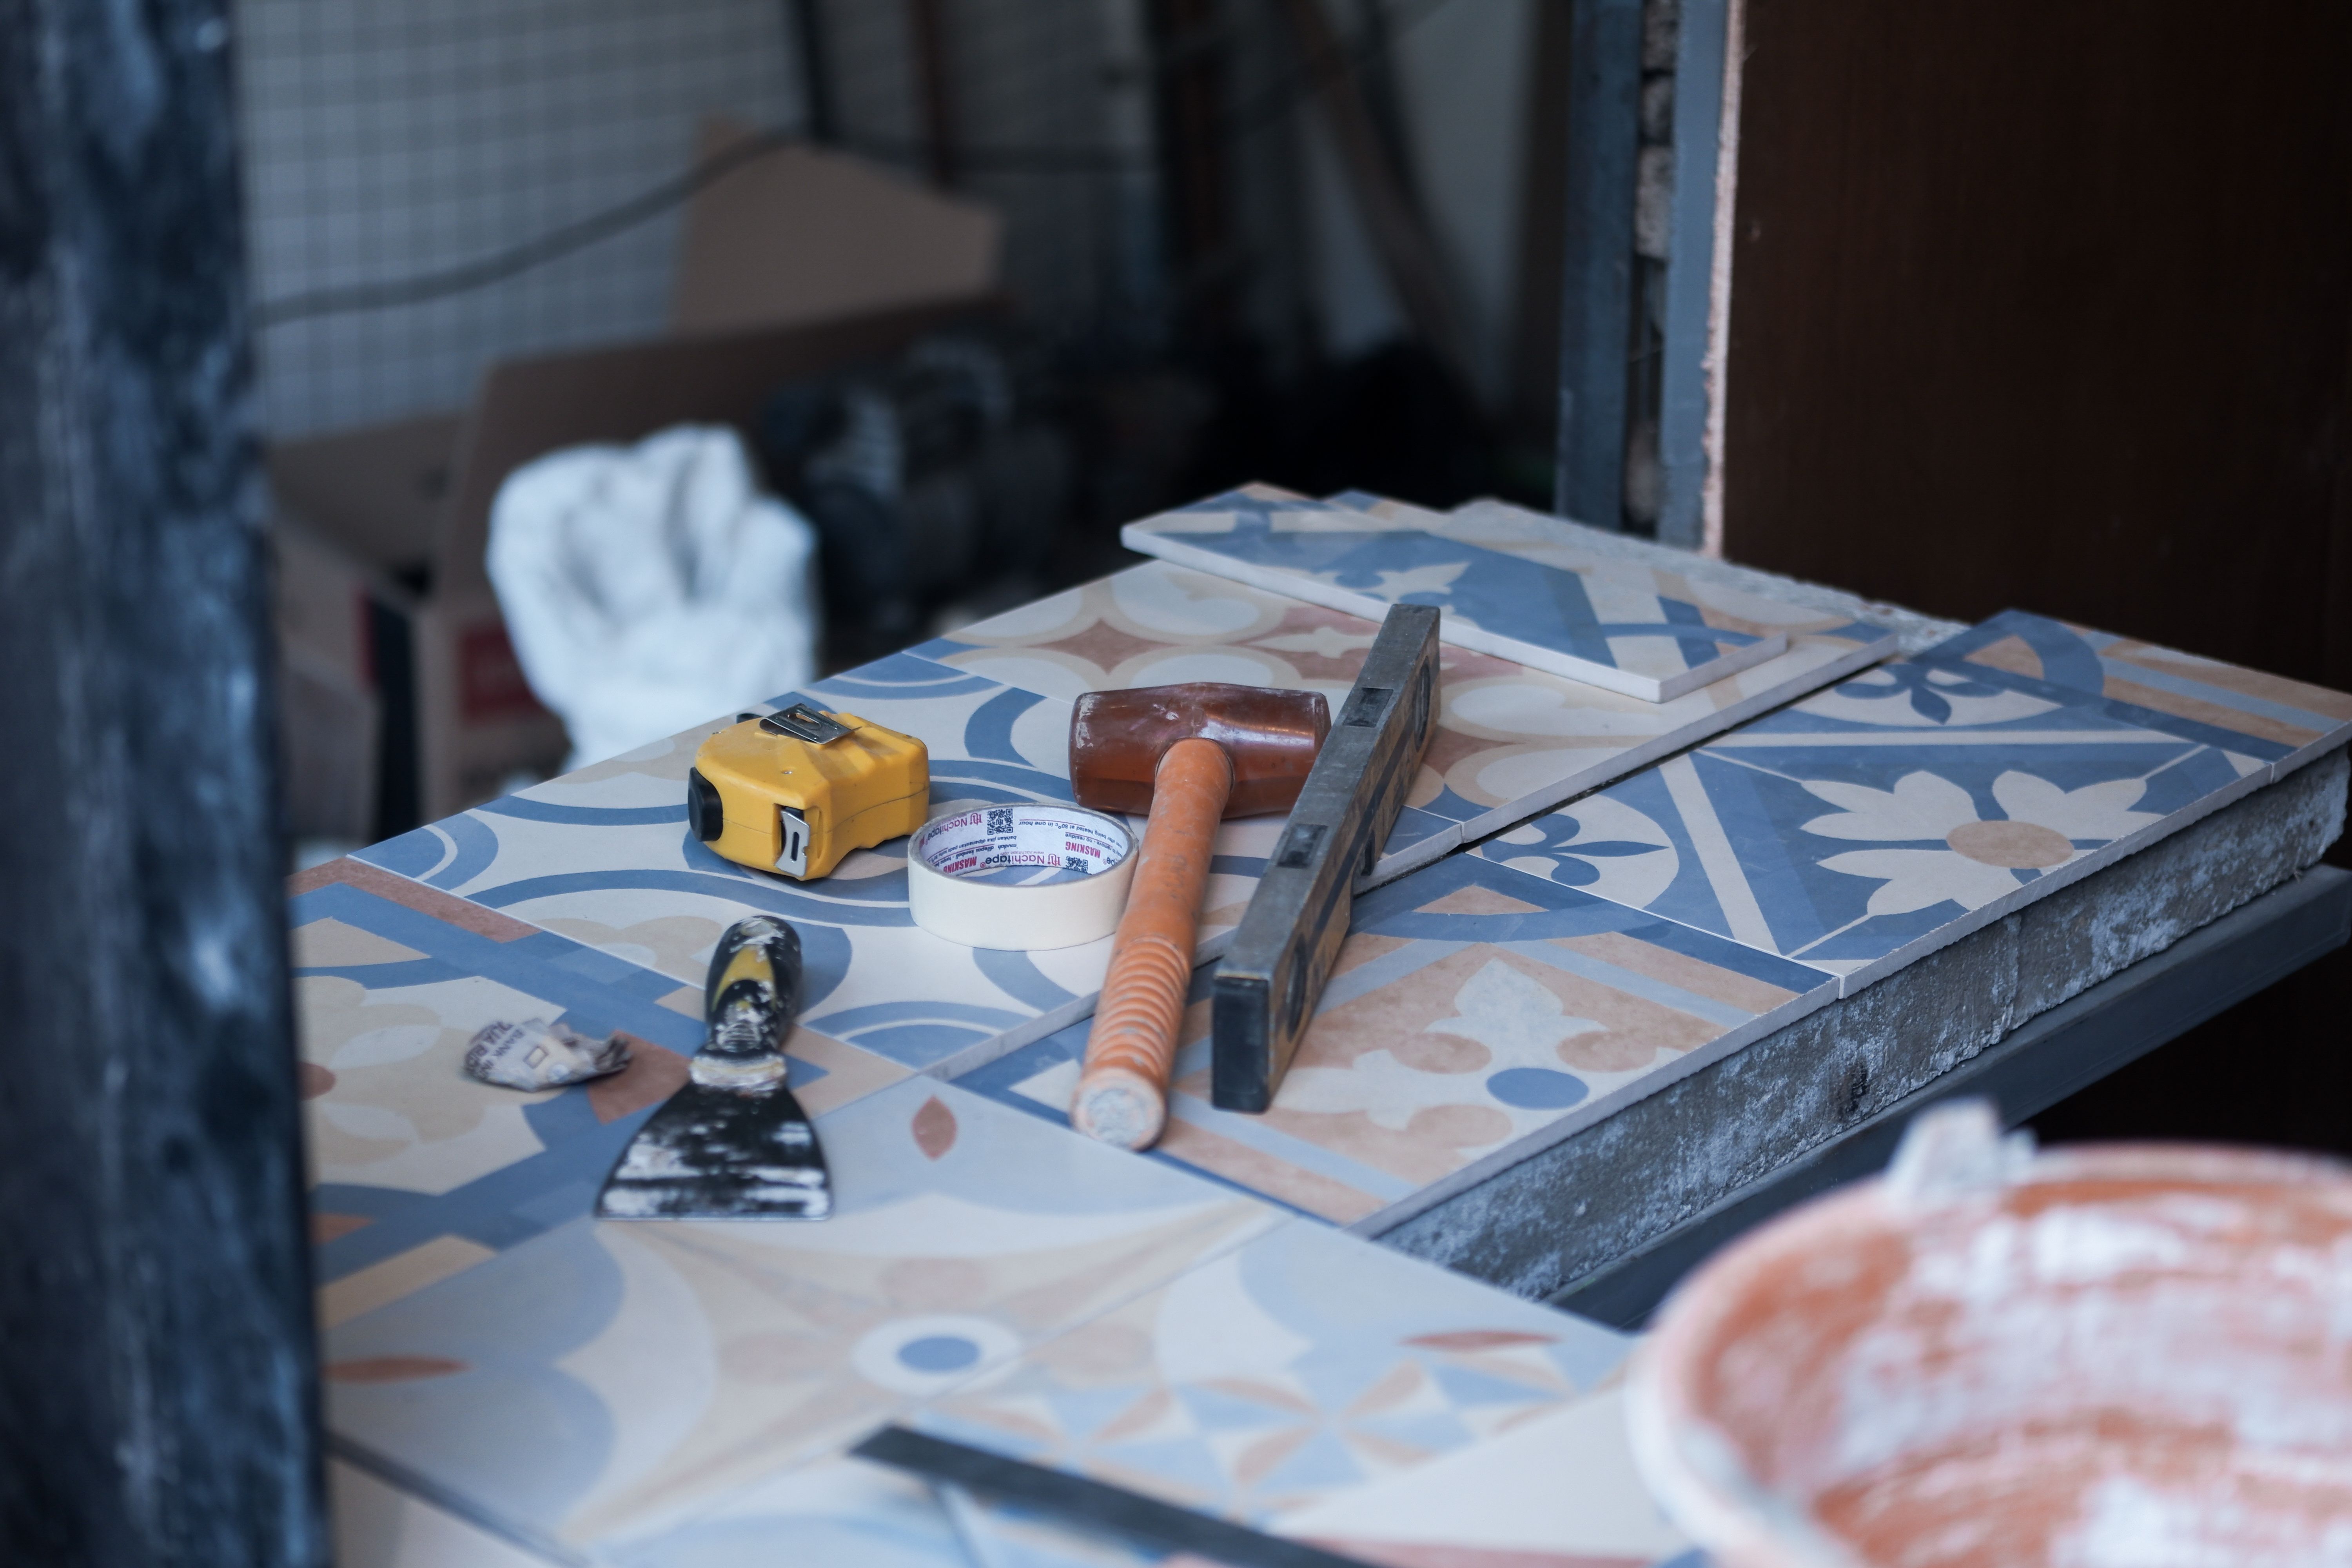
Decorative tiles with a tape measure, mallet, level and scraper.
THE RECORD
Seven things every published project will show
Each published project will use the same seven fields, in the same order, so rooms of different types and sizes can be read side by side and the reasons behind each outcome are easy to follow.
01 LOCATION
The suburb and the kind of home. The floor structure and the existing wet area decide what the strip-out uncovers.
02 BATHROOM TYPE
Main bathroom, ensuite, compact bathroom, walk-in shower or laundry, each linked to the matching service page.
03 CLIENT BRIEF
What the owners want changed, what is failing and what has to stay where it is.
04 BEFORE & AFTER IMAGES
The room before work starts, the opened-up walls and floor where they help explain the work, and the finished room.
05 DESIGN SOLUTION
The layout changes, waste and outlet positions, storage and screen choices that answer the brief.
06 MATERIALS
Tile format and finish, the membrane under it, the vanity, tapware and glass.
07 FINAL RESULT
How the finished room works day to day, measured against the original brief.
BEFORE & AFTER
Before and after images, and what they show
In a published project, before images will be more than a record of dated tiles. Once a room is stripped, they can show the state of the frame, where the old waste sat and whether the previous membrane was still doing its job. After images will show the finished room, so the change can be read against the brief without needing a slider.
If you like a particular finish, take it to the ideas guides. Bathroom Tile Ideas covers formats and layouts, and Walk-In Shower Ideas covers screens and floors.
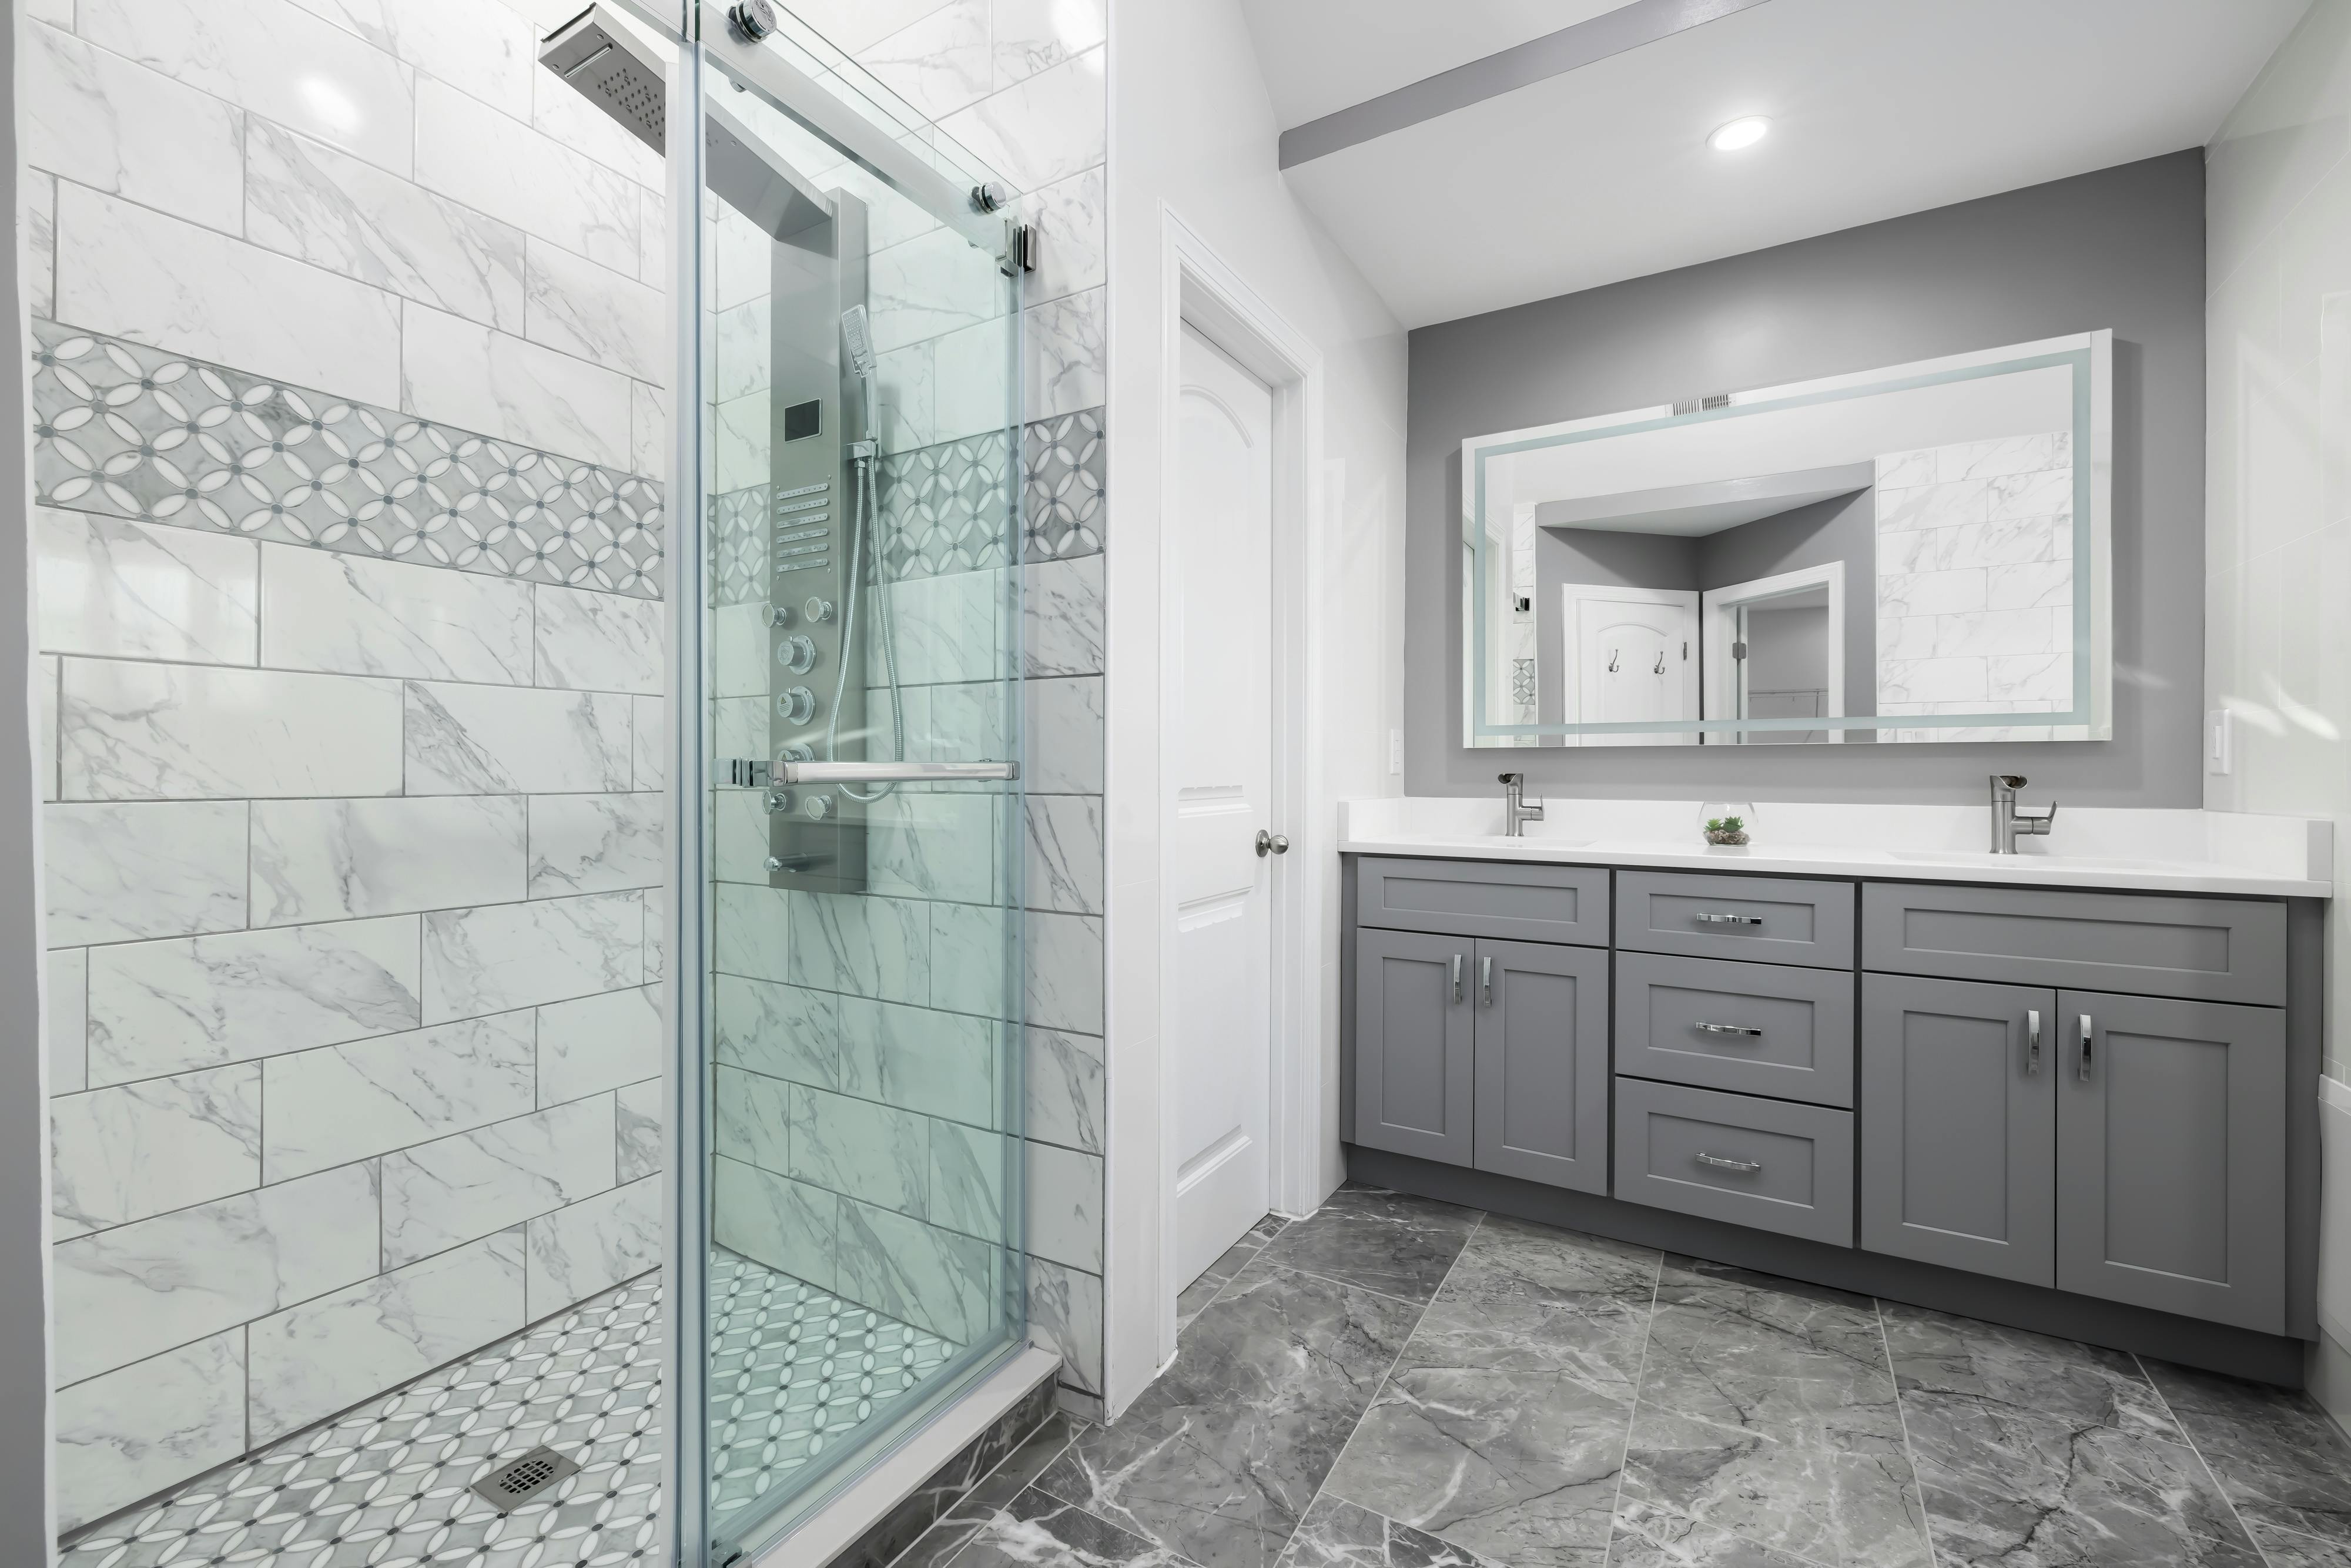
Reference photo: the finished top layer, with a glass shower enclosure, marble-look wall tile with feature bands and a grey vanity.
FIND YOUR SERVICE
Find the service for the room you're planning
Start with the room you’re planning, then read how that service is planned and built. Each published project will be filed under its bathroom type and linked to the matching service page.
Whole rooms
Planning and hidden layers
Fixtures and other wet areas
THE PROCESS
Where each step shows up in a project record
Each published project will follow the same 12-step process, and each step feeds part of the record. The brief will come from the consultation, the before images from demolition and the final result from handover. You can read the full sequence on our 12-step bathroom renovation process page.
01 Consultation
Becomes the client brief
02 Assessment
What the existing room revealed
03 Design
The design solution
04 Quote
The scope agreed before work starts
05 Materials
The materials list
06 Demolition
The before photographs
07 Plumbing/Electrical
Waste, water and power positions
08 Waterproofing
The membrane under the finish
09 Tiling
Tile format, set-out and grout
10 Fixtures
Vanity, tapware and screens
11 Finishing
Silicone, trims and detailing
12 Handover
The final result
QUOTE
Plan your own bathroom
Have a layout, finish or shower in mind for your own home? Tell us about your room and we’ll begin the same way every job begins: consultation, then assessment.
WORTH NOTING BEFORE YOU ASK
■ Which room it is: bathroom, ensuite, shower or laundry
■ What’s failing now, such as leaks, drummy tiles or a cracked base
■ What must stay put and what can move
■ Finishes you like, from the guides or reference photos
Read the full Bathroom Renovation Checklist, or contact us with a general question.