Home / Bathroom Guides / Renovation Checklist
LAYER 00 — RENOVATION CHECKLIST
A bathroom renovation checklist that follows the build, step by step
A bathroom goes back together in a fixed order, and your decisions should follow the same order. This checklist tracks the 12 steps of our bathroom renovation process, from the first consultation to handover. Each stage lists what to prepare, what to decide and what to check, so nothing gets decided in a rush once the wall is open. It works for a main bathroom, an ensuite or a laundry in Moorabbin, Highett or Bentleigh East.
CHECKLIST INDEX
LAYER 01 — STEPS 01–02
Before the consultation
The consultation and assessment get much further when the room’s problems are written down beforehand, not remembered on the day. Not sure whether you need a repair or a rebuild? Compare leaking shower repairs with full bathroom renovations.
✓ Photos of the whole room, plus close-ups of cracked grout, lifting tiles, stains or mould.
✓ Rough measurements, including ceiling height and where the window and door sit.
✓ A list of what works now and what doesn’t: storage, lighting, ventilation, shower size.
✓ Signs of escaping water, such as swollen skirting, damp flooring next door or marks on a ceiling below.
✓ Who uses the room, and whether anyone needs easier access now or later.
LAYER 02 — STEPS 03–04
Design and quote decisions
Settle these while the room is still just a drawing. It costs far less to change something here than once demolition starts. Our cost guide explains how each choice affects the price.
At design
✓ Does the layout stay, or do the waste and water points move?
✓ Shower with a hob or hob-less, and which screen type
✓ Keep the bath, or give the space back to the shower
✓ Storage, lighting, exhaust fan and power points
Planning help: Bathroom Design · Layout ideas
Reading the quote
✓ Which stages are included, from demolition and rubbish removal through to finishing
✓ Who supplies tiles, tapware, vanity and screen
✓ What happens if hidden damage turns up behind the tiles
✓ Which selections are still to be confirmed
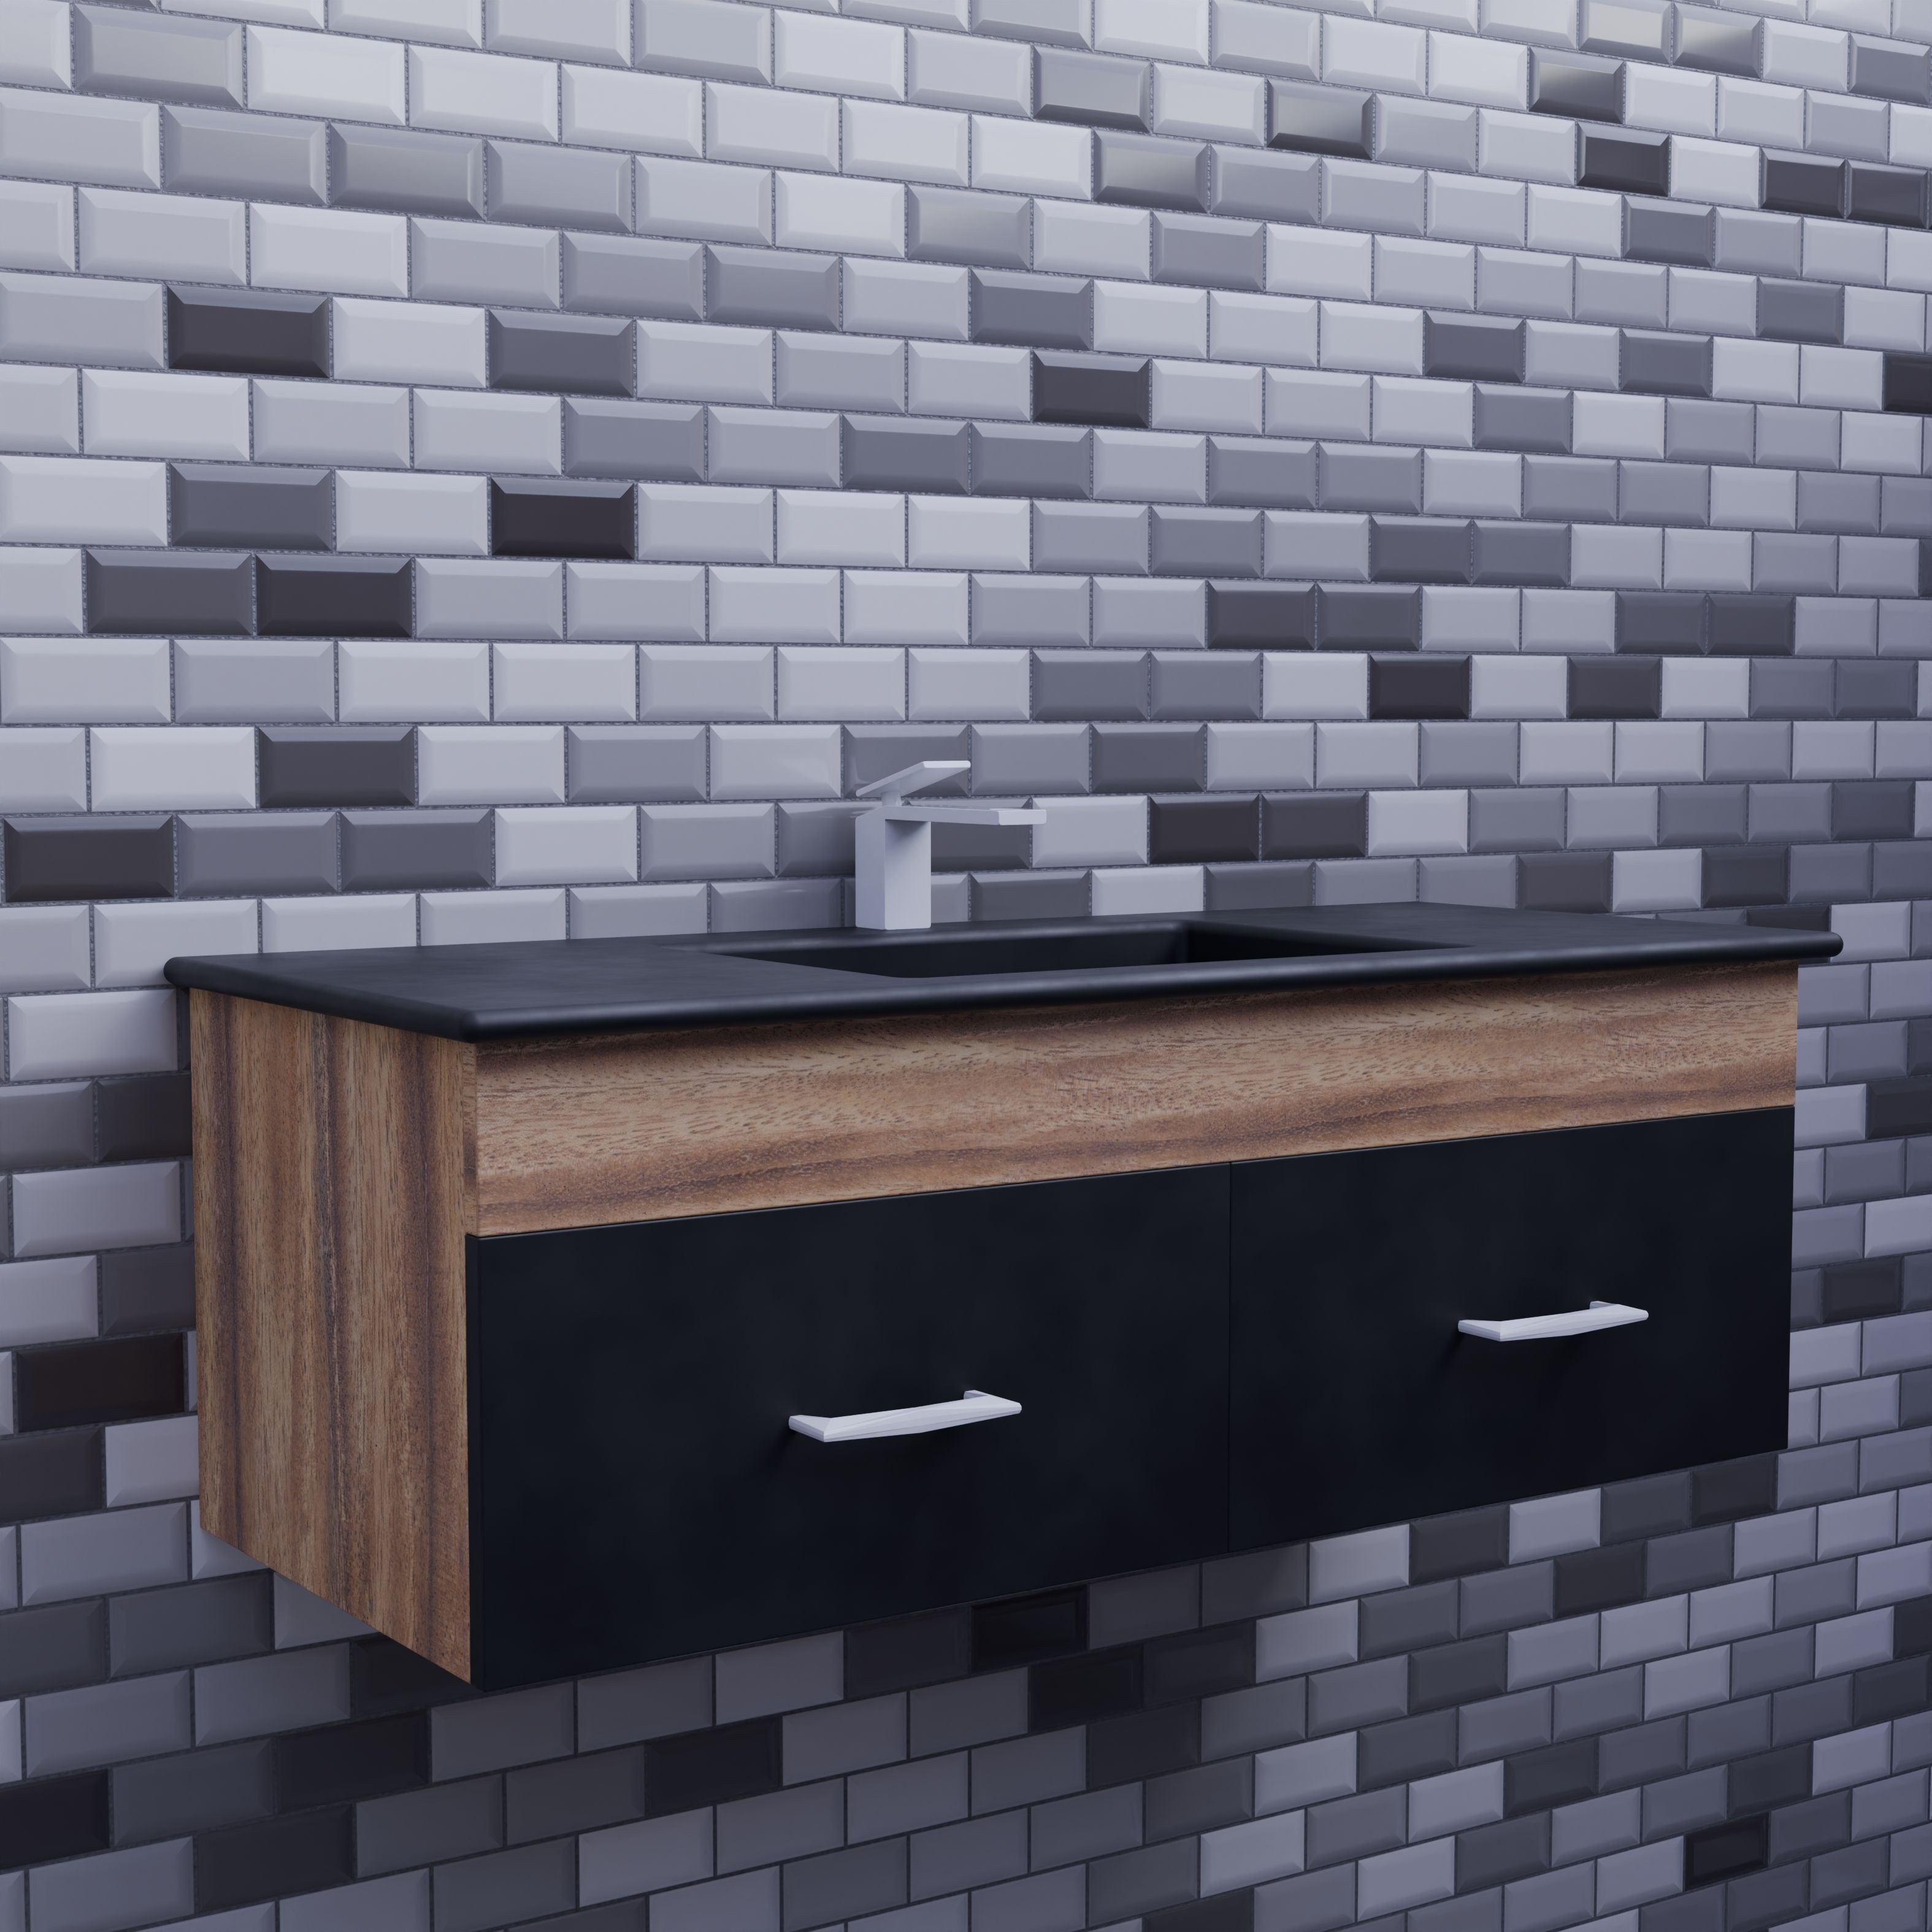
Vanity top, basin, timber and wall tile are best chosen together, as one set of finishes.
LAYER 03 — STEP 05
Material selections
✓ Tile format, finish and grout colour for the floor and walls (tile ideas)
✓ Floor waste style and position
✓ Tapware finish and mixer heights
✓ Vanity size, basin and top (vanity installation)
✓ Screen, mirror, towel rails and accessories
Get everything ordered and on hand before demolition day. That way the room isn’t sitting open while you wait on a delivery.

Levelling clips and spacers set into fresh mortar. Tiling is Step 09, and it only starts once the membrane beneath has cured.
LAYER 04 — STEPS 06–09
Living with the works
✓ Another toilet and shower, or a plan for one, for the whole job
✓ A clear path from the entry to the bathroom, with furniture moved and floors protected
✓ Room near the house for deliveries and rubbish removal
✓ Pets and children kept away from the work area
✓ Expect water and power to be off at times during plumbing and electrical work
The steps you shouldn't hurry
Plumbing and electrical rough-in has to be checked before the walls close up. After that, the waterproofing membrane needs time to cure before any tile goes on. Those days can look quiet from the hallway, but they’re what stops water reaching the frame. For how the stages fit together, read how long a bathroom renovation takes.
LAYER 05 — STEPS 10–12
What to check at handover
Fixtures, finishing and handover close out the job. Take a slow walk through the room together before you call it done.
✓ Run every tap and the shower. Water should head straight for the waste without pooling.
✓ Look along the tiles under low light, and check the grout and silicone lines are even and unbroken.
✓ Open every drawer, door and screen, and check the vanity sits level.
✓ Test the exhaust fan, lights and any heated towel rail.
✓ Ask for product names and care instructions for the tapware, grout and screen.
✓ Keep a few spare tiles from the same batch for future repairs.
LAYER 06 — NEXT
Bring your notes to a quote request
The photos, measurements and list of problems from the first stage of this checklist are the most useful things to send at the start. Include them in your quote request so the consultation and assessment can focus on your bathroom in Moorabbin or a nearby suburb. Just have a question? Use the contact page.