Home / Renovation Process
THE PROCESS
Our 12-step bathroom renovation process, from first visit to handover
A bathroom is built in layers, and most of them are covered up before the job is done. This page takes you through each of the 12 steps. It explains what happens, what you decide along the way and why the order matters. It applies to bathrooms, ensuites and laundries in Moorabbin, Bentleigh East, Highett, Cheltenham and nearby suburbs.
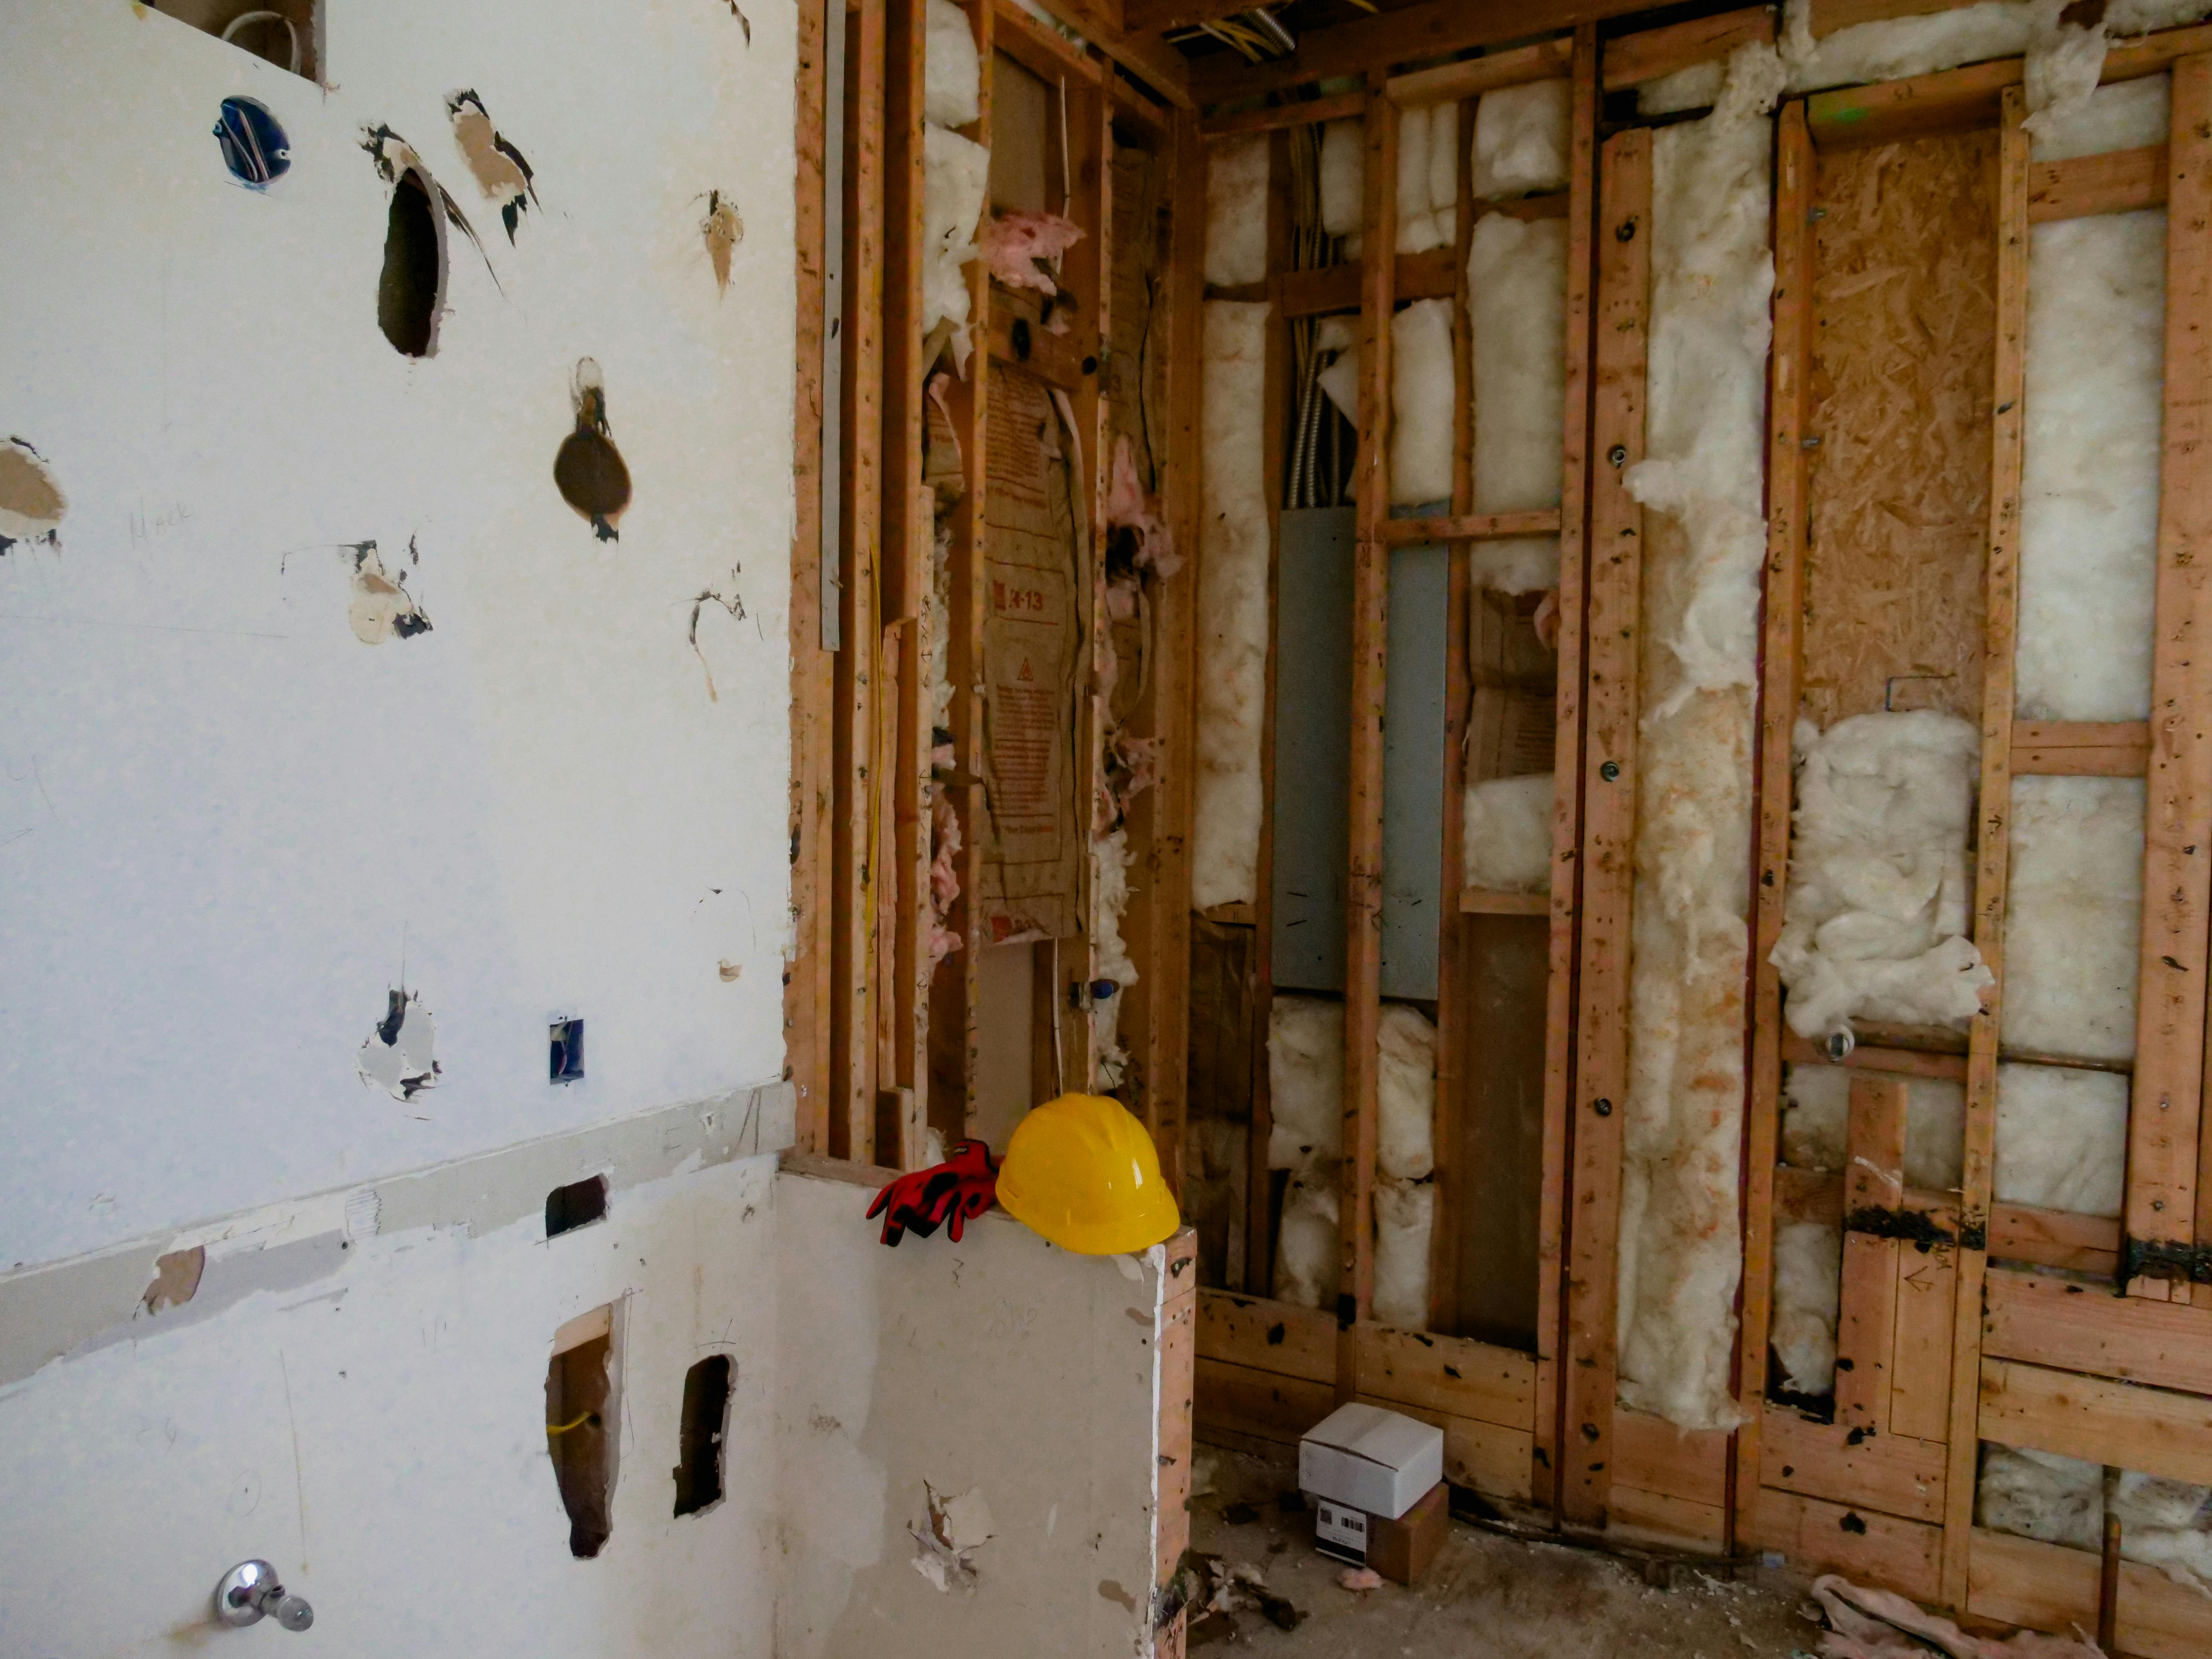
Step 06 opens the room: framing, insulation and wiring exposed after demolition.
STEPS 01–04
Planning
Consultation, Assessment, Design, Quote. The room is settled on paper before anything is removed.
STEPS 05–07
Preparing the room
Materials, Demolition, Plumbing/Electrical. The old room comes out and services go where the design put them.
STEPS 08–09
The hidden layers
Waterproofing, then Tiling. These are the two layers that decide whether the wet area stays dry.
STEPS 10–12
What you see
Fixtures, Finishing, Handover. The visible bathroom goes in on top of everything underneath.
PLANNING
Plan the room before anything comes off the wall
Most of the decisions that shape a renovation are made in the first four steps. Once pipes are moved and the membrane is down, changing a layout means undoing work that’s already finished.
01 — Consultation
We talk through how the room is used now, what isn’t working, the kind of finish you’re after and the budget and timing you have in mind. Photos of the existing room help from the start.
You decide: whether you want a repair, a partial update or a full renovation.
02 — Assessment
An on-site look at the layout, where the water and waste lines run, the condition of the floor, and signs of water getting where it shouldn’t. Those signs include lifting tiles, drummy floors and staining on the walls or skirting next to the shower. Some things can only be confirmed once the room is opened up, so the assessment points out what’s likely.
You decide: which issues have to be dealt with and which are optional.
03 — Design
Layout, fixture positions, shower type, vanity size, tile formats and finishes. Fixture positions matter most here, because they set where pipes and power go at step 07. Our Bathroom Layout Ideas guide is a useful starting point.
You decide: the layout, the fixtures and your tile selections.
04 — Quote
A written scope that follows the same steps. You can see what’s included at each layer: demolition, services, waterproofing, tiling, fixtures and finishing.
You decide: whether to go ahead, and any changes to the scope before work is scheduled.
PREPARING THE ROOM
Strip the room back and set the services
This is where the design turns into positions on a frame or slab.
05
Materials
Selections are confirmed and ordered before demolition, so the room isn’t left stripped while you wait on a tile, screen or vanity. Supply times vary between products, so this step comes early.
You decide: final sign-off on every selection.
06
Demolition
Old tiles, fixtures, sheeting and bedding come out and are taken away. With the room open, any hidden damage shows up, such as softened timber or a failed old membrane. We talk it through with you before work continues.
You decide: how to handle anything found behind the old surfaces.
07
Plumbing/Electrical
Water, waste and power are roughed in where the design places them: mixers, the vanity waste, the floor waste, lighting, exhaust and any heated rail. Walls are sheeted and the floor is prepared with falls to the waste.
You decide: nothing new, if step 03 was settled properly.
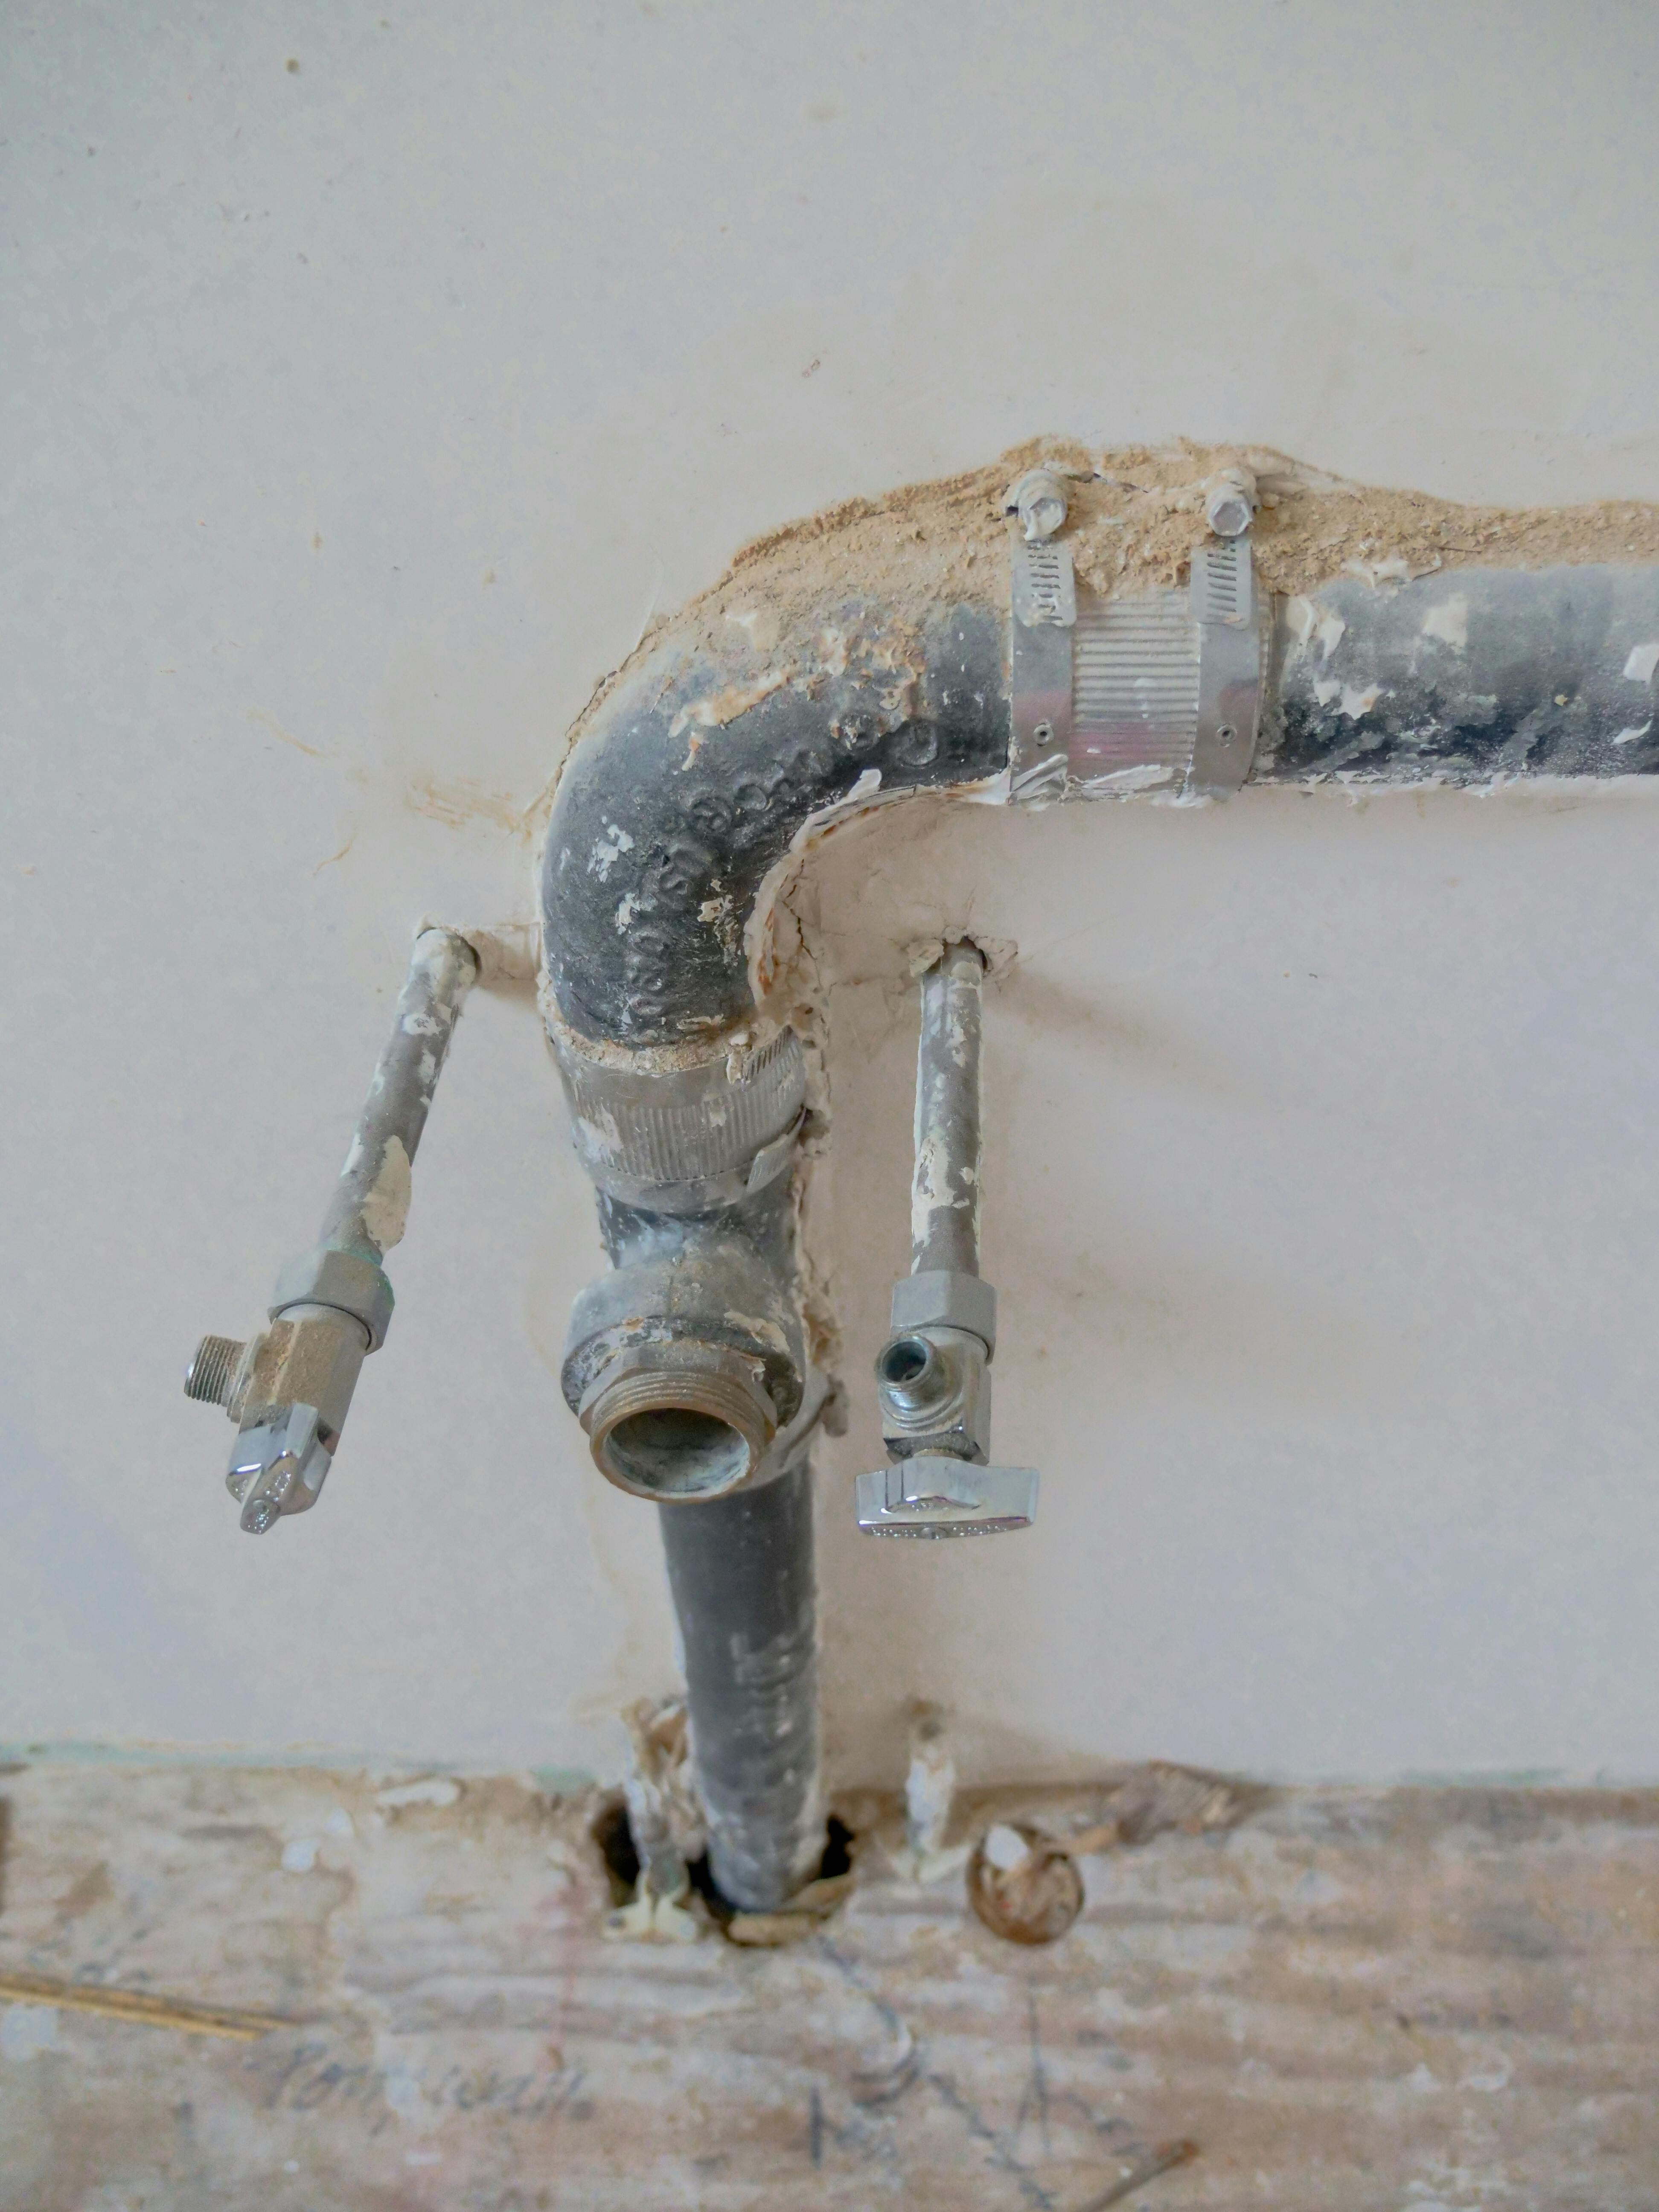
Exposed drain pipe, supply lines and shut-off valves in a bathroom wall.

Step 09: tile adhesive spread across the floor beside laid tiles and spacers.
THE HIDDEN LAYERS
Waterproofing and tiling: the layers you won't see again
08 — Waterproofing
The surface is primed. Wall-to-floor and wall-to-wall junctions and every pipe penetration are detailed, and then a continuous membrane goes through the shower and across the floor. It’s left to cure to the manufacturer’s instructions before any adhesive touches it. Once the tiles are on, it can’t be fixed from above without lifting them. That’s why a leaking shower often traces back to this layer. More on Waterproofing and in the Bathroom Waterproofing Guide.
09 — Tiling
The set-out is planned first, so cuts land at edges and corners instead of in the middle of a wall. Floor tiles follow the falls to the waste, adhesive coverage is kept consistent, and flexible sealant goes where surfaces meet and move. See Bathroom Tiling for formats and finishes.
You decide: set-out details such as where a feature tile or niche sits, ideally confirmed back at design.
FINISHING
Fixtures and finishing go on top of everything underneath
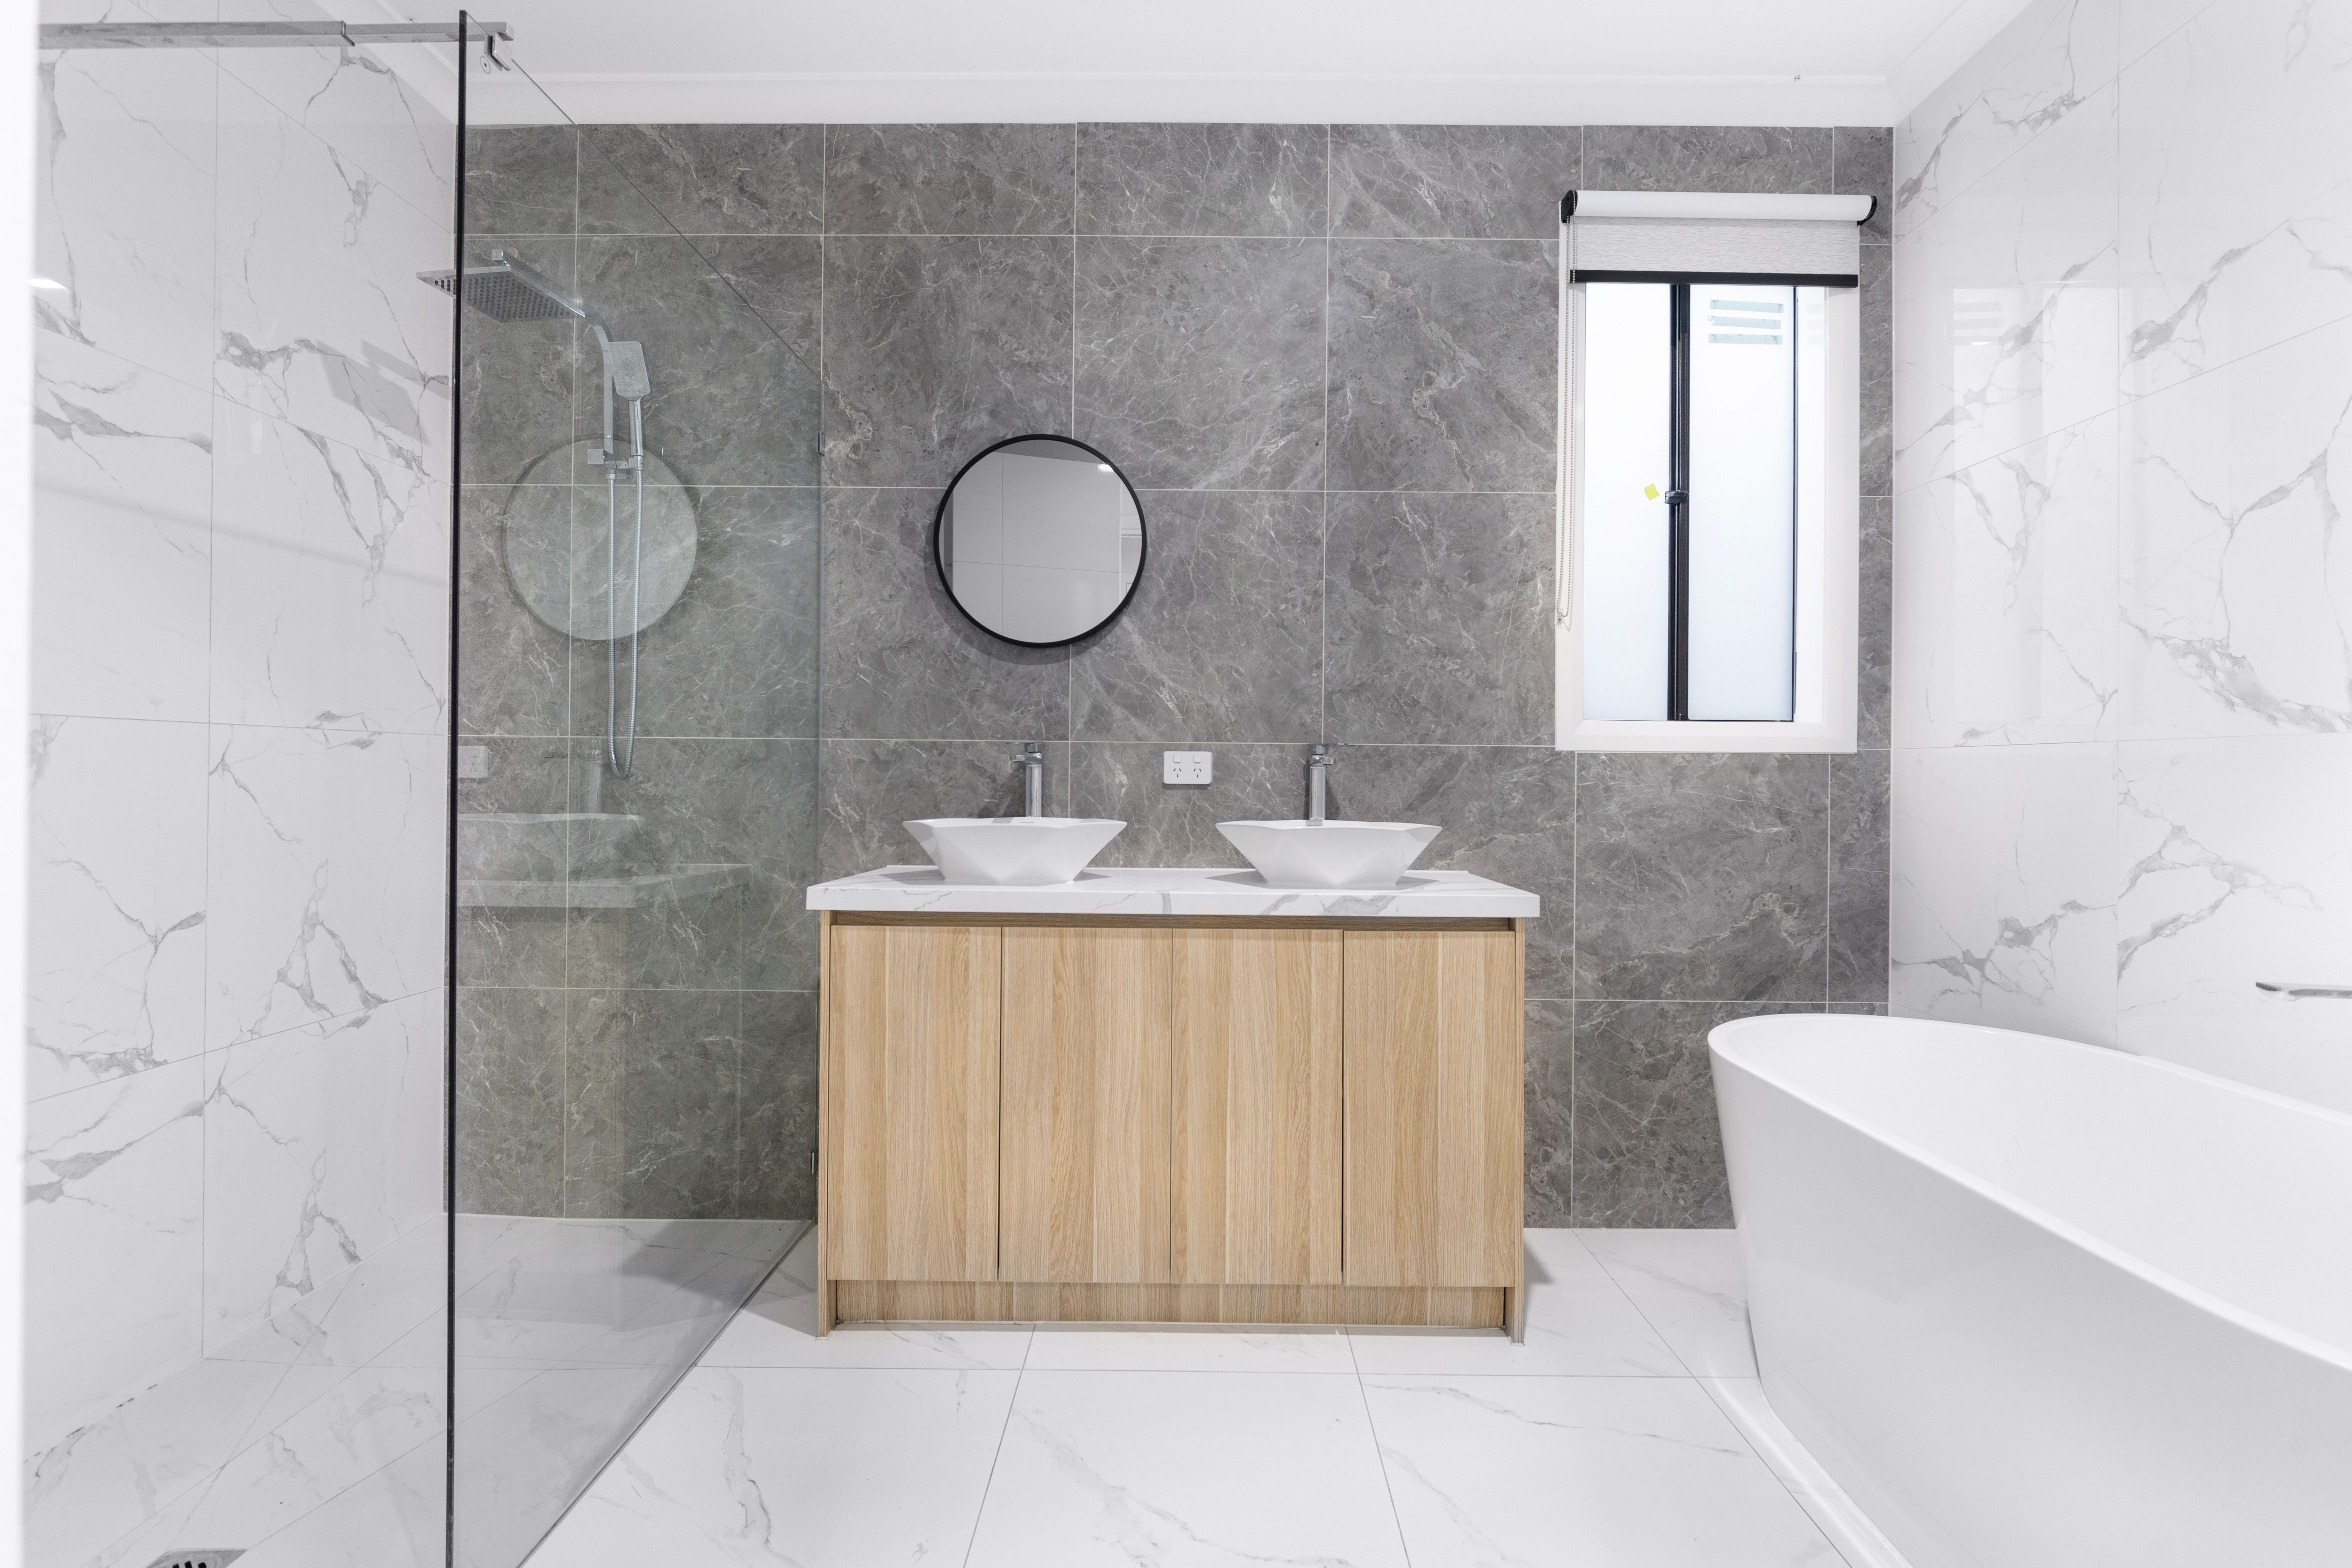
Double vessel vanity, round mirror, walk-in shower and freestanding bath.
10 — Fixtures
The vanity, toilet, tapware, shower screen, mirror and accessories are fitted to the finished tile and connected to the rough-in points set at step 07. A wall-hung vanity depends on the support built into the wall, which is covered in Vanity Installation.
11 — Finishing
Silicone joints, final electrical fit-off, adjustments to doors and screens, touch-ups and a thorough clean. It’s detailed work, and it’s what makes the room feel finished.
12 — Handover
We walk through the room with you. We go over how to look after the screen, grout and sealant, and note anything that needs attention before the job is called complete.
You decide: whether the room is ready to sign off.
WHERE YOUR DECISIONS SIT
01 Repair, update or full renovation
02 Essential fixes vs optional ones
03 Layout, fixtures and tiles
04 Scope and go-ahead
05 Final sign-off on selections
06 Anything found behind the walls
12 Sign-off at the walkthrough
Steps 07 to 11 carry out decisions you’ve already made. That’s why the planning layer gets the most time.
NEXT
Start at step 01 with your own bathroom
Whether it’s a leaking shower in Mentone, an ensuite in Bentleigh or a full renovation in Moorabbin, every job starts with the same first conversation. For a general question, use the contact page.
RELATED READING
Bathroom Renovation Checklist →
A planning list that follows these 12 steps.
How Long Does a Bathroom Renovation Take? →
What affects the timeline at each stage.
Bathroom Design →
Settling the layout before the room is opened.
Waterproofing →
Step 08 in detail.
Bathroom Tiling →
Step 09 in detail.