Home / Bathroom Guides / Layout Ideas
LAYER 00 — LAYOUT IDEAS
Bathroom layout ideas and planning tips, drawn from the drains up
A good layout is decided before you pick a single tile. It depends on the room’s shape, where the waste pipes sit and how the door opens. This guide covers galley, square and L-shaped rooms, where each fixture works best, how to plan for standing and opening space, and when moving the plumbing is worth it in homes across Moorabbin, Highett and Bentleigh East.
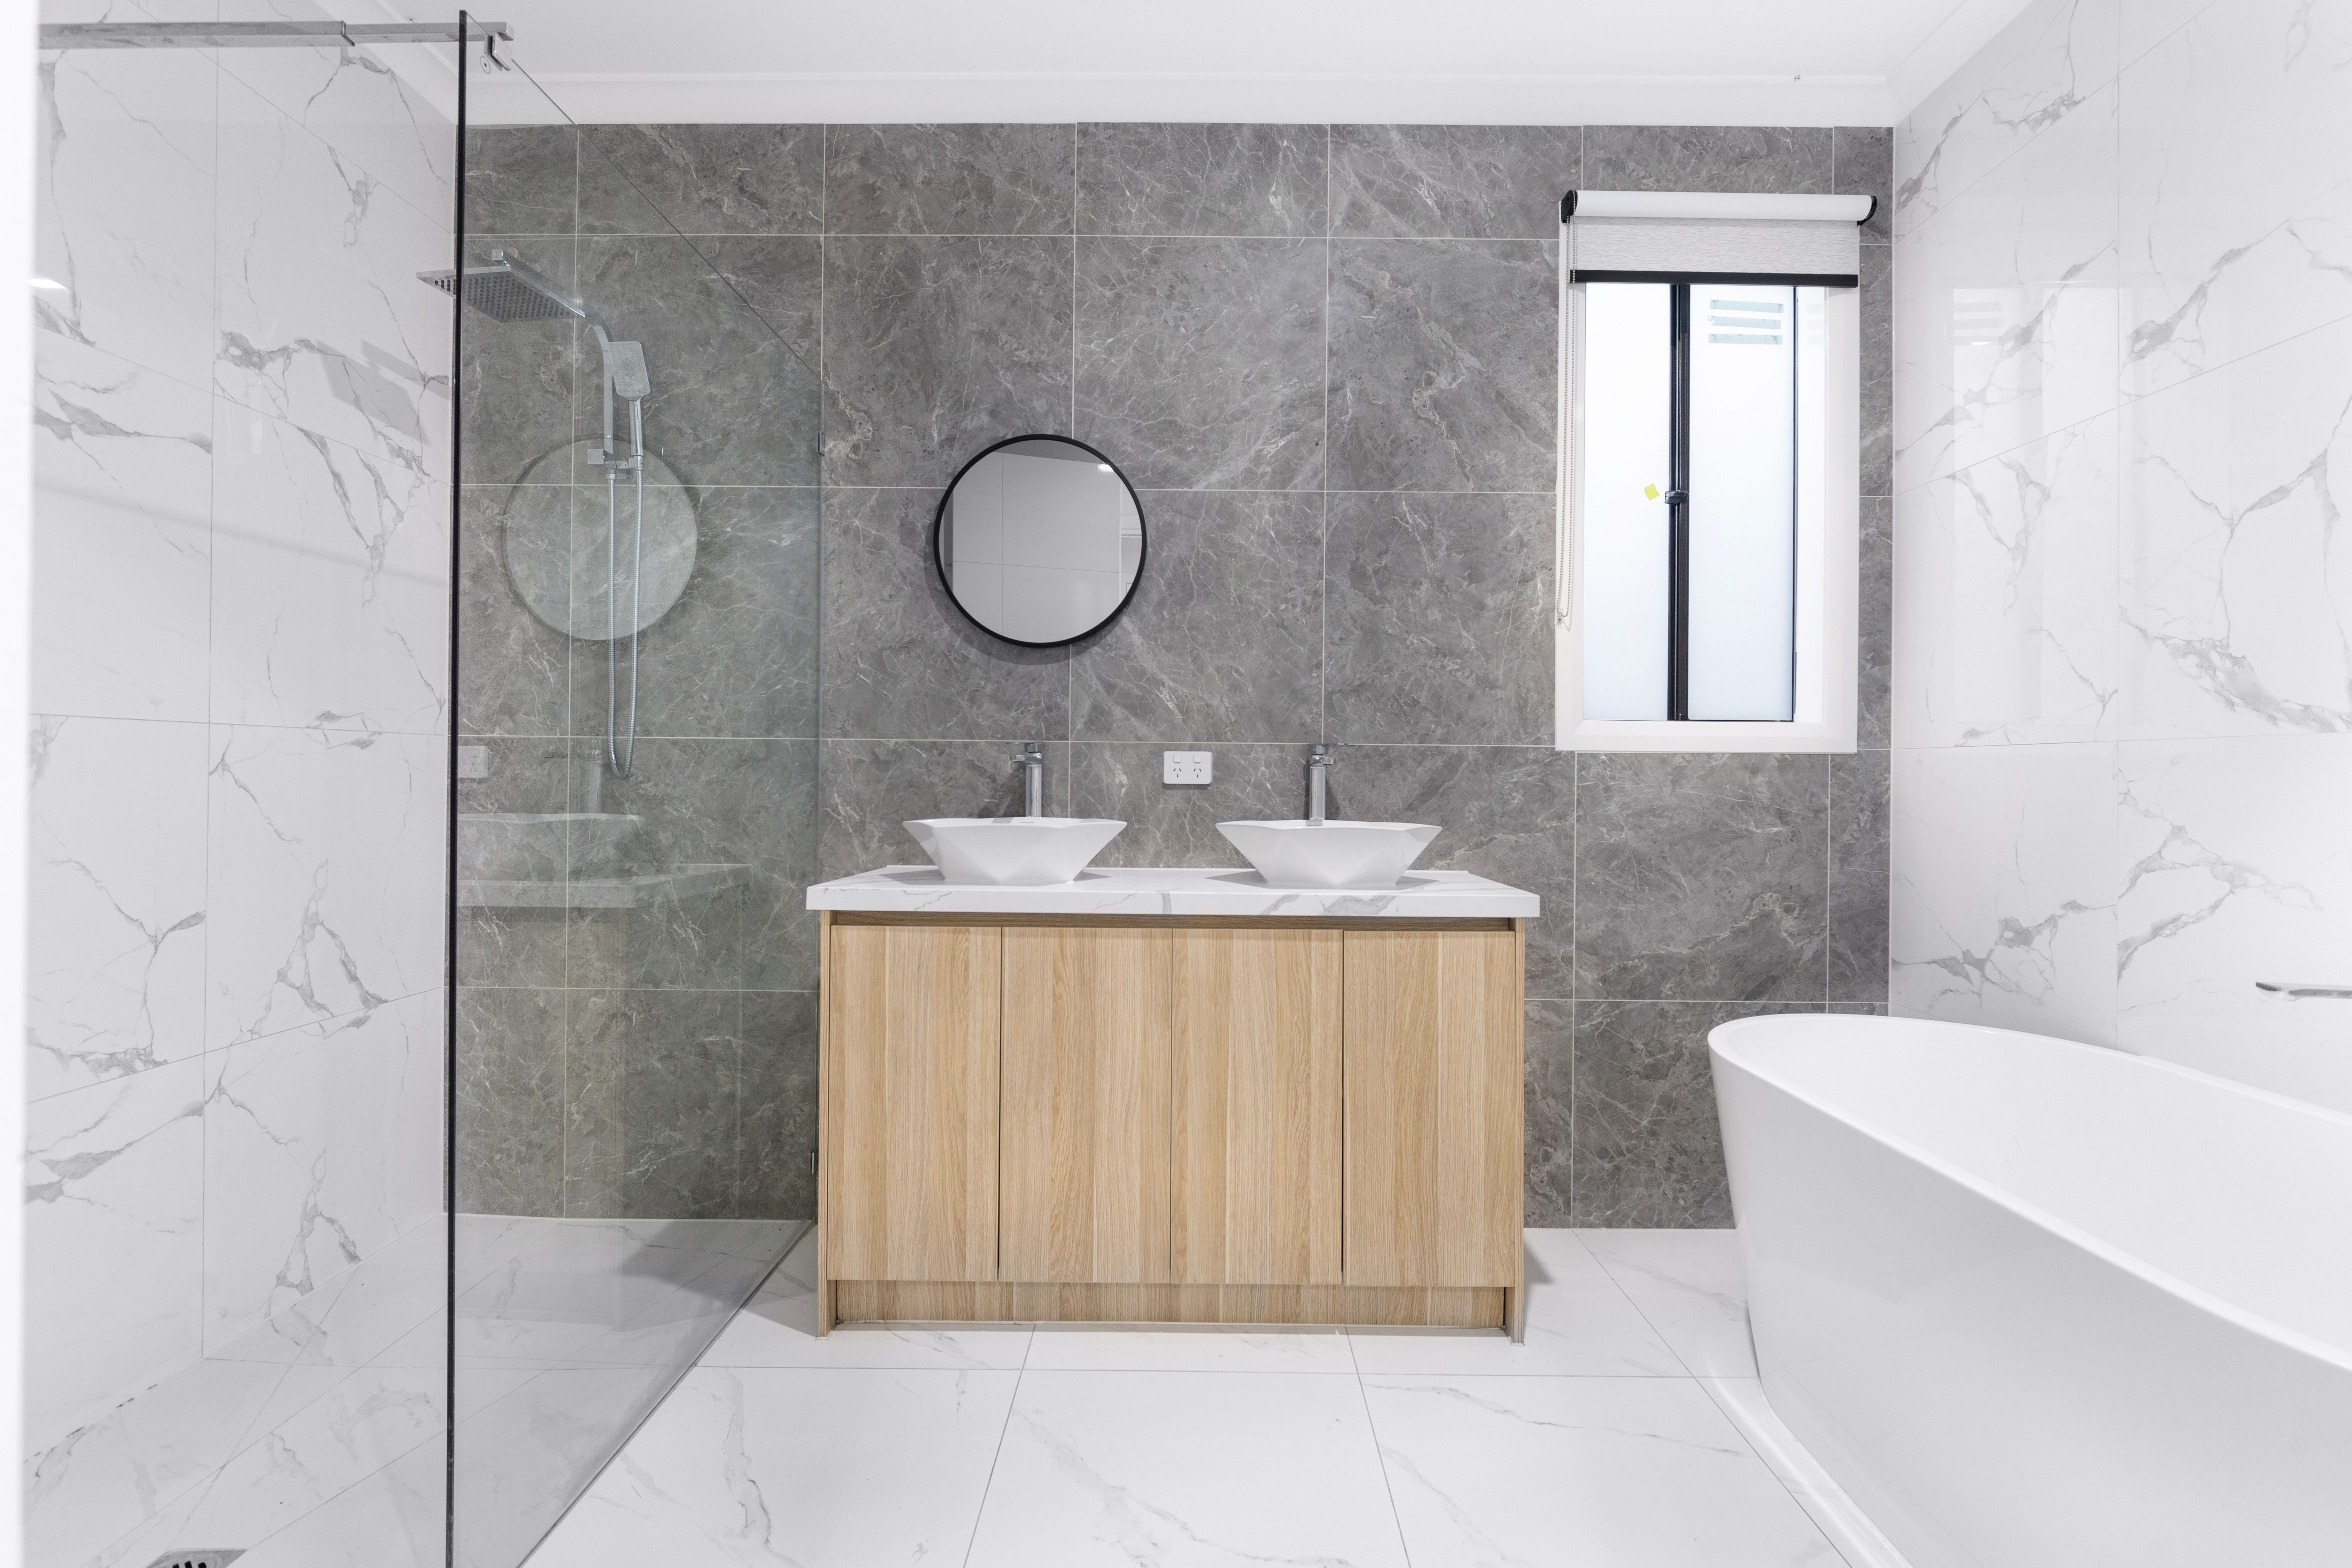
Reference layout: the double vanity, walk-in shower and freestanding bath each have their own zone.
BEFORE YOU SKETCH
Measure the room you actually have
■ Mark where the floor waste and toilet outlet sit now.
■ Note which way the door swings and what it hits.
■ Measure the window position and sill height.
■ Work out which walls are framed and which are solid.
■ Decide who uses the room, and whether it’s shared at busy times.
■ List what you need to keep: a bath, linen storage, a second basin.
LAYER 01
Three room shapes, three starting points
Galley
In a long, narrow room, run the fixtures along one wet wall. That keeps the plumbing together and the walkway clear. Put the shower at the far end, away from the door, and use a wall-hung vanity so the floor looks longer. Many small bathroom renovations start with this layout.
Square
A square room gives you the most options. A walk-in shower can take a whole end wall. The vanity can face the door, with the toilet beside it and out of the direct line of sight. If you want a bath as well, set it under the window so it doesn’t crowd the shower zone.
L-shape
The short leg of an L naturally makes a separate zone for the toilet or shower. Place the vanity where the two legs meet so you can reach it from both. Check how much daylight gets into the leg, because a dim corner often needs its own light and exhaust point.
LAYER 02
Where each fixture earns its place
Plan them in this order, because the wettest zone sets the limits for everything else.
Shower: furthest from the door
Put the shower where splashes can’t reach the doorway. The floor has to fall to the waste, and the membrane has to run past the glass line. Place the mixer where you can turn it on without standing in the spray.
Bath: under a window or across an end wall
A freestanding bath needs room around it so you can clean behind it. In a tight room, a built-in bath or a shower-over-bath can keep one full-height wet zone instead of two.
Toilet: out of the first view
Tuck the toilet beside the vanity or behind a short nib wall. Its position depends more on the existing waste than anything else, so check where the pipe runs before you draw it somewhere new.
Vanity: the wall you see as you walk in
The vanity is usually the first thing you see, so give it the best wall, good mirror lighting and space in front for the drawers to open fully. Choices of basins, tops and storage are covered under vanity installation.
LAYER 03
Clearances: room to stand, open and dry off
A layout can look fine on paper and still feel cramped once it’s built. Walk through each movement: open the door, stand at the vanity with the drawers pulled out, swing the shower screen, then step out and reach for a towel. None of these movements should run into a fixture or another person.
Leave space beside and in front of the toilet so it’s comfortable to use. Keep a dry landing zone outside the shower. Check that the door clears the pan. During bathroom design, exact dimensions are checked against your chosen fixtures and the requirements that apply to your home.
WALK-THROUGH TEST
01 · Door fully open
02 · Vanity drawers fully out
03 · Shower screen swung open
04 · Towel within reach of the shower
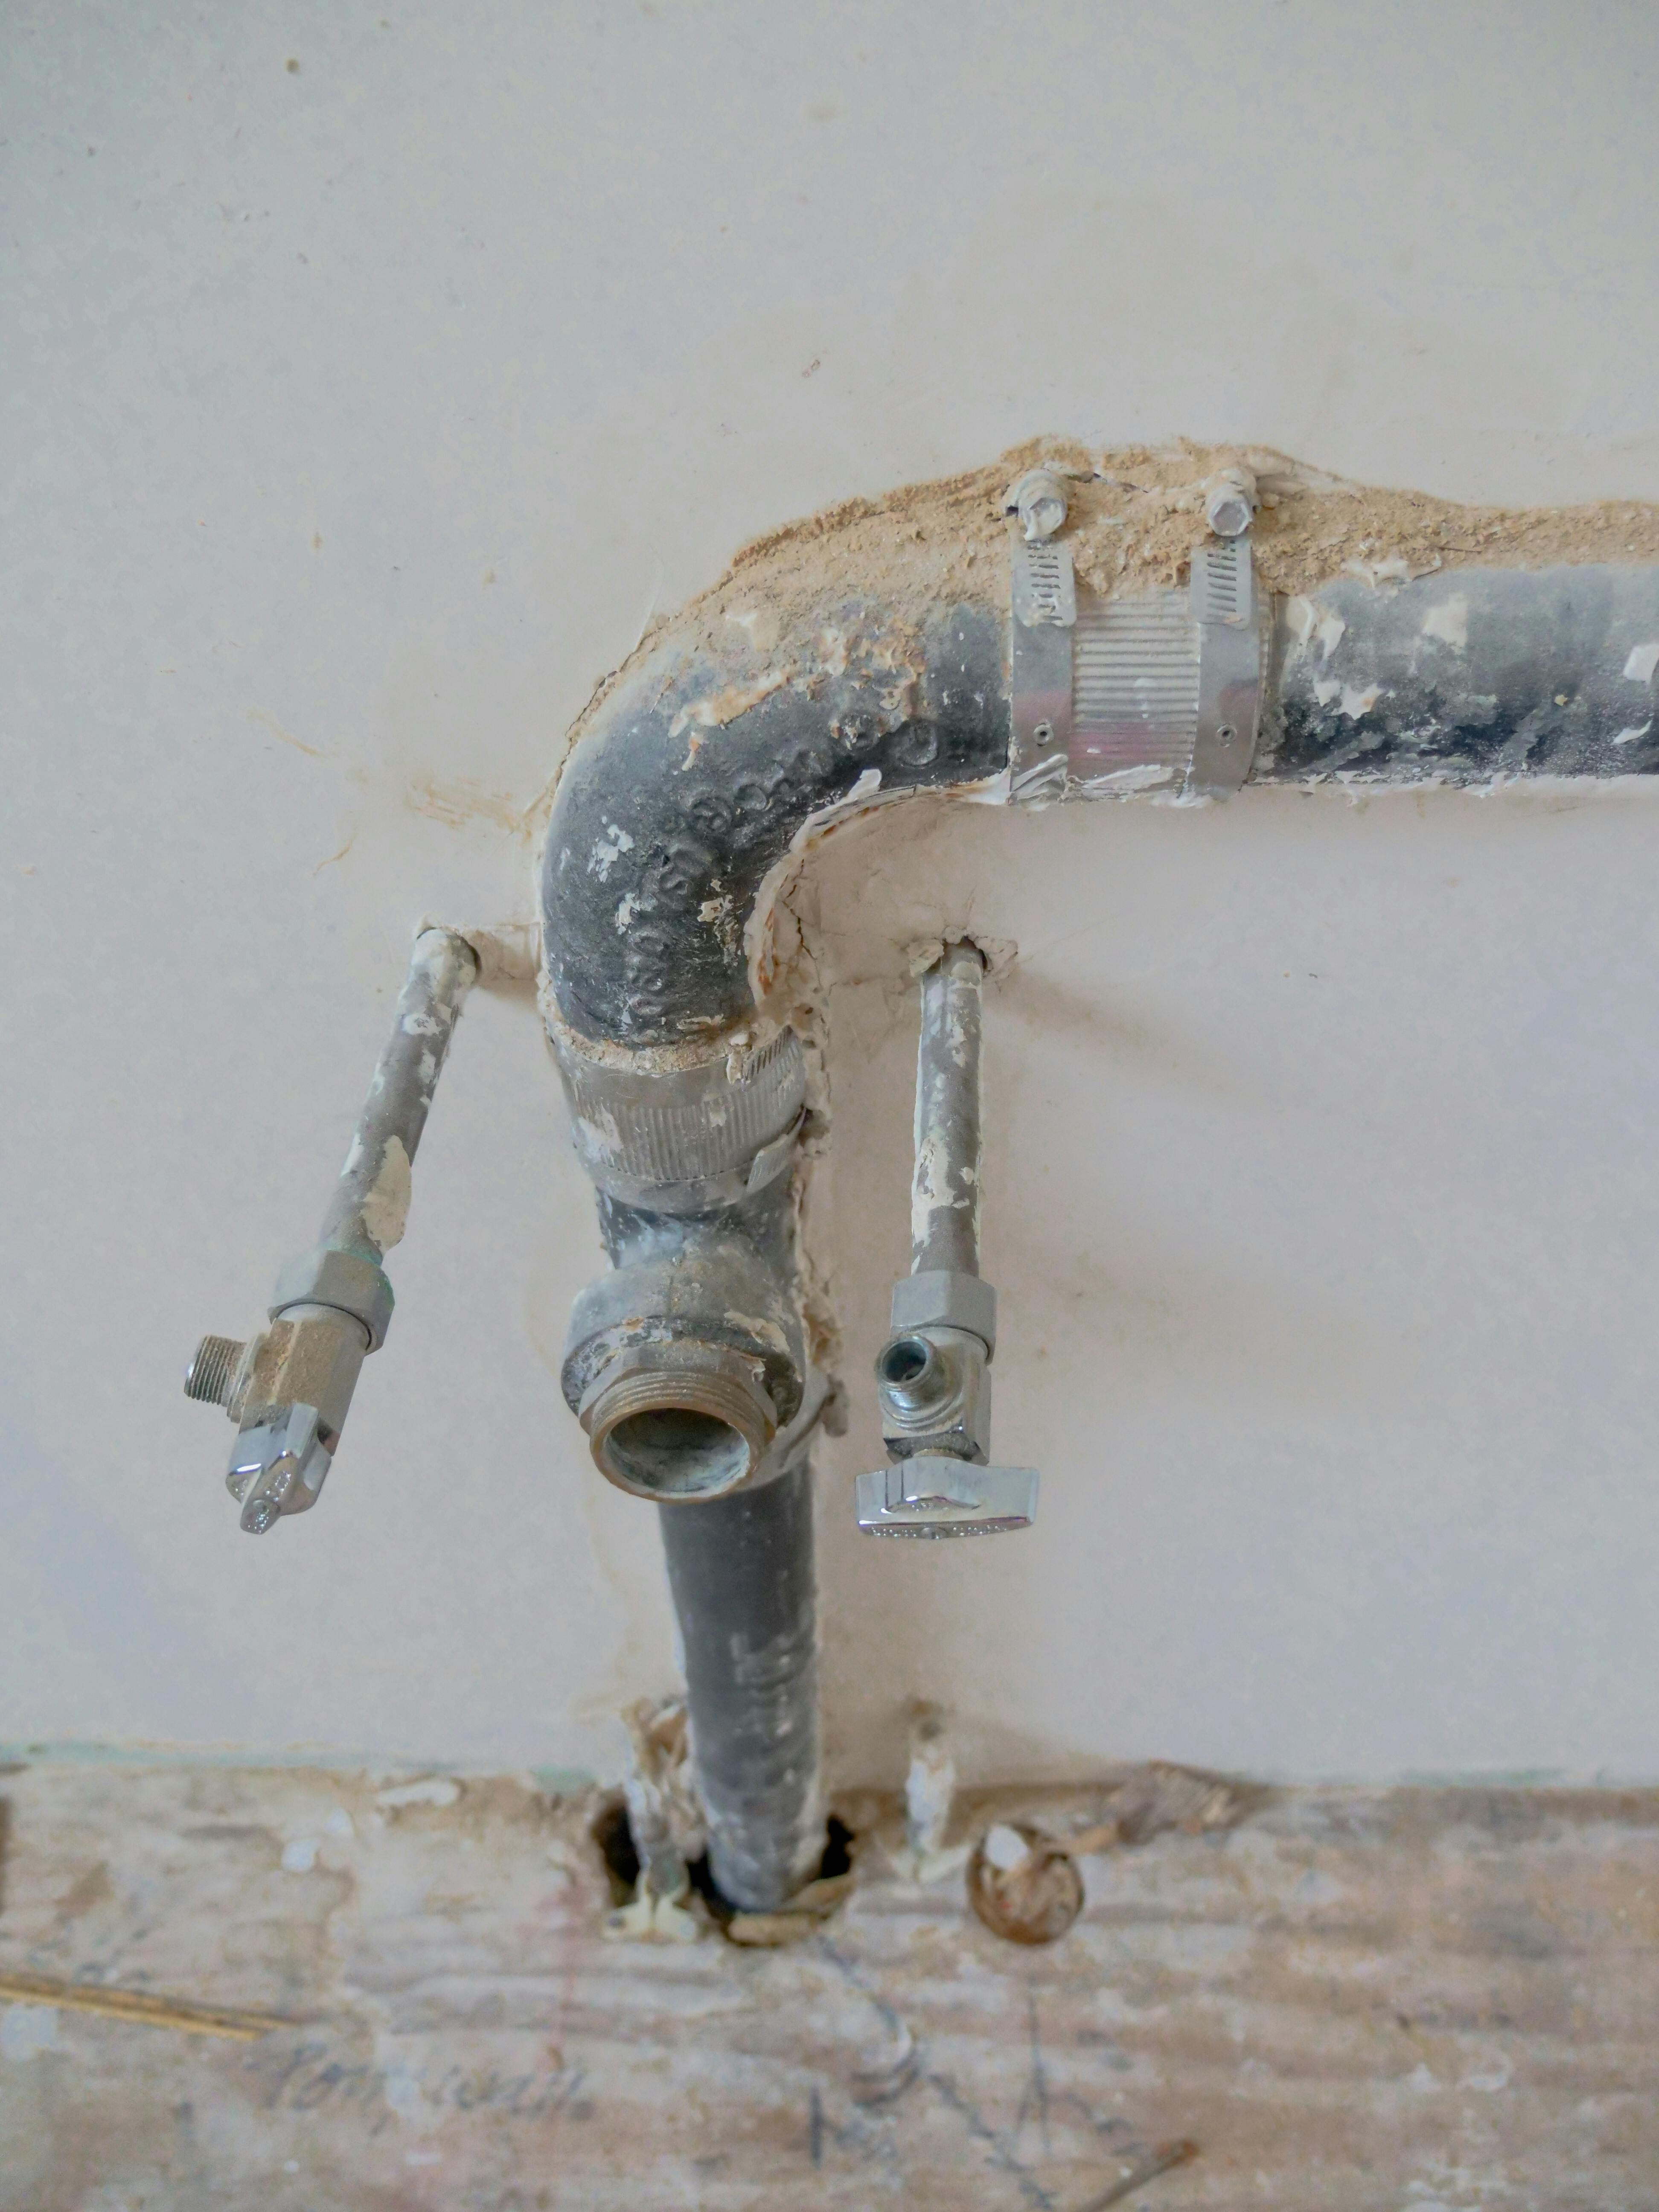
Drain pipe, supply lines and shutoff valves exposed once the wall is opened up.
LAYER 04
When moving plumbing is worth it
Usually worth it
It’s usually worth it when the toilet faces the door, when the shower fights the vanity for space, or when a walk-in shower needs a new waste position. It also makes sense when the room is already being stripped back to the frame, because the pipes are exposed anyway.
Often better left in place
It’s often better left alone when the layout already works and only the finishes are tired, or when the change gains very little space. Moving a floor waste or toilet outlet can mean cutting into the floor, which adds work before any tile goes down.
In the 12-step process, this is decided at Design, priced at Quote and built at Plumbing/Electrical, straight after Demolition and before Waterproofing.
LAYER 05 — FROM SKETCH TO PRICE
Have a layout in mind? Check it against the pipes
Bring your rough sketch, even if it’s drawn on the back of an envelope. We’ll look at it against the room in your Moorabbin, Cheltenham or Hampton East home and work out what fits, what needs to move and what it takes to build.