Home / Bathroom Guides / Waterproofing Guide
GUIDE — WATERPROOFING
Bathroom waterproofing: the layer you never see
Once the tiles go down, nobody sees the waterproofing again. It’s the membrane between the pipes in the wall and the tile bed on top. It decides whether water stays in the shower or ends up in the subfloor, the skirting or the room next door. This guide covers what waterproofing is, where it goes, why prep and curing can’t be rushed, and the signs it has stopped working in a bathroom in Moorabbin, Highett or Mentone.
In this guide: What waterproofing is · Where membranes go · Prep and curing · Warning signs · Repair or rebuild
WHERE IT SITS IN THE BUILD
07 · Plumbing/Electrical
Pipes, wastes and wiring fixed in place.
08 · Waterproofing
Membrane applied, detailed and left to cure.
09 · Tiling
Bedding and tile laid over a sealed surface.
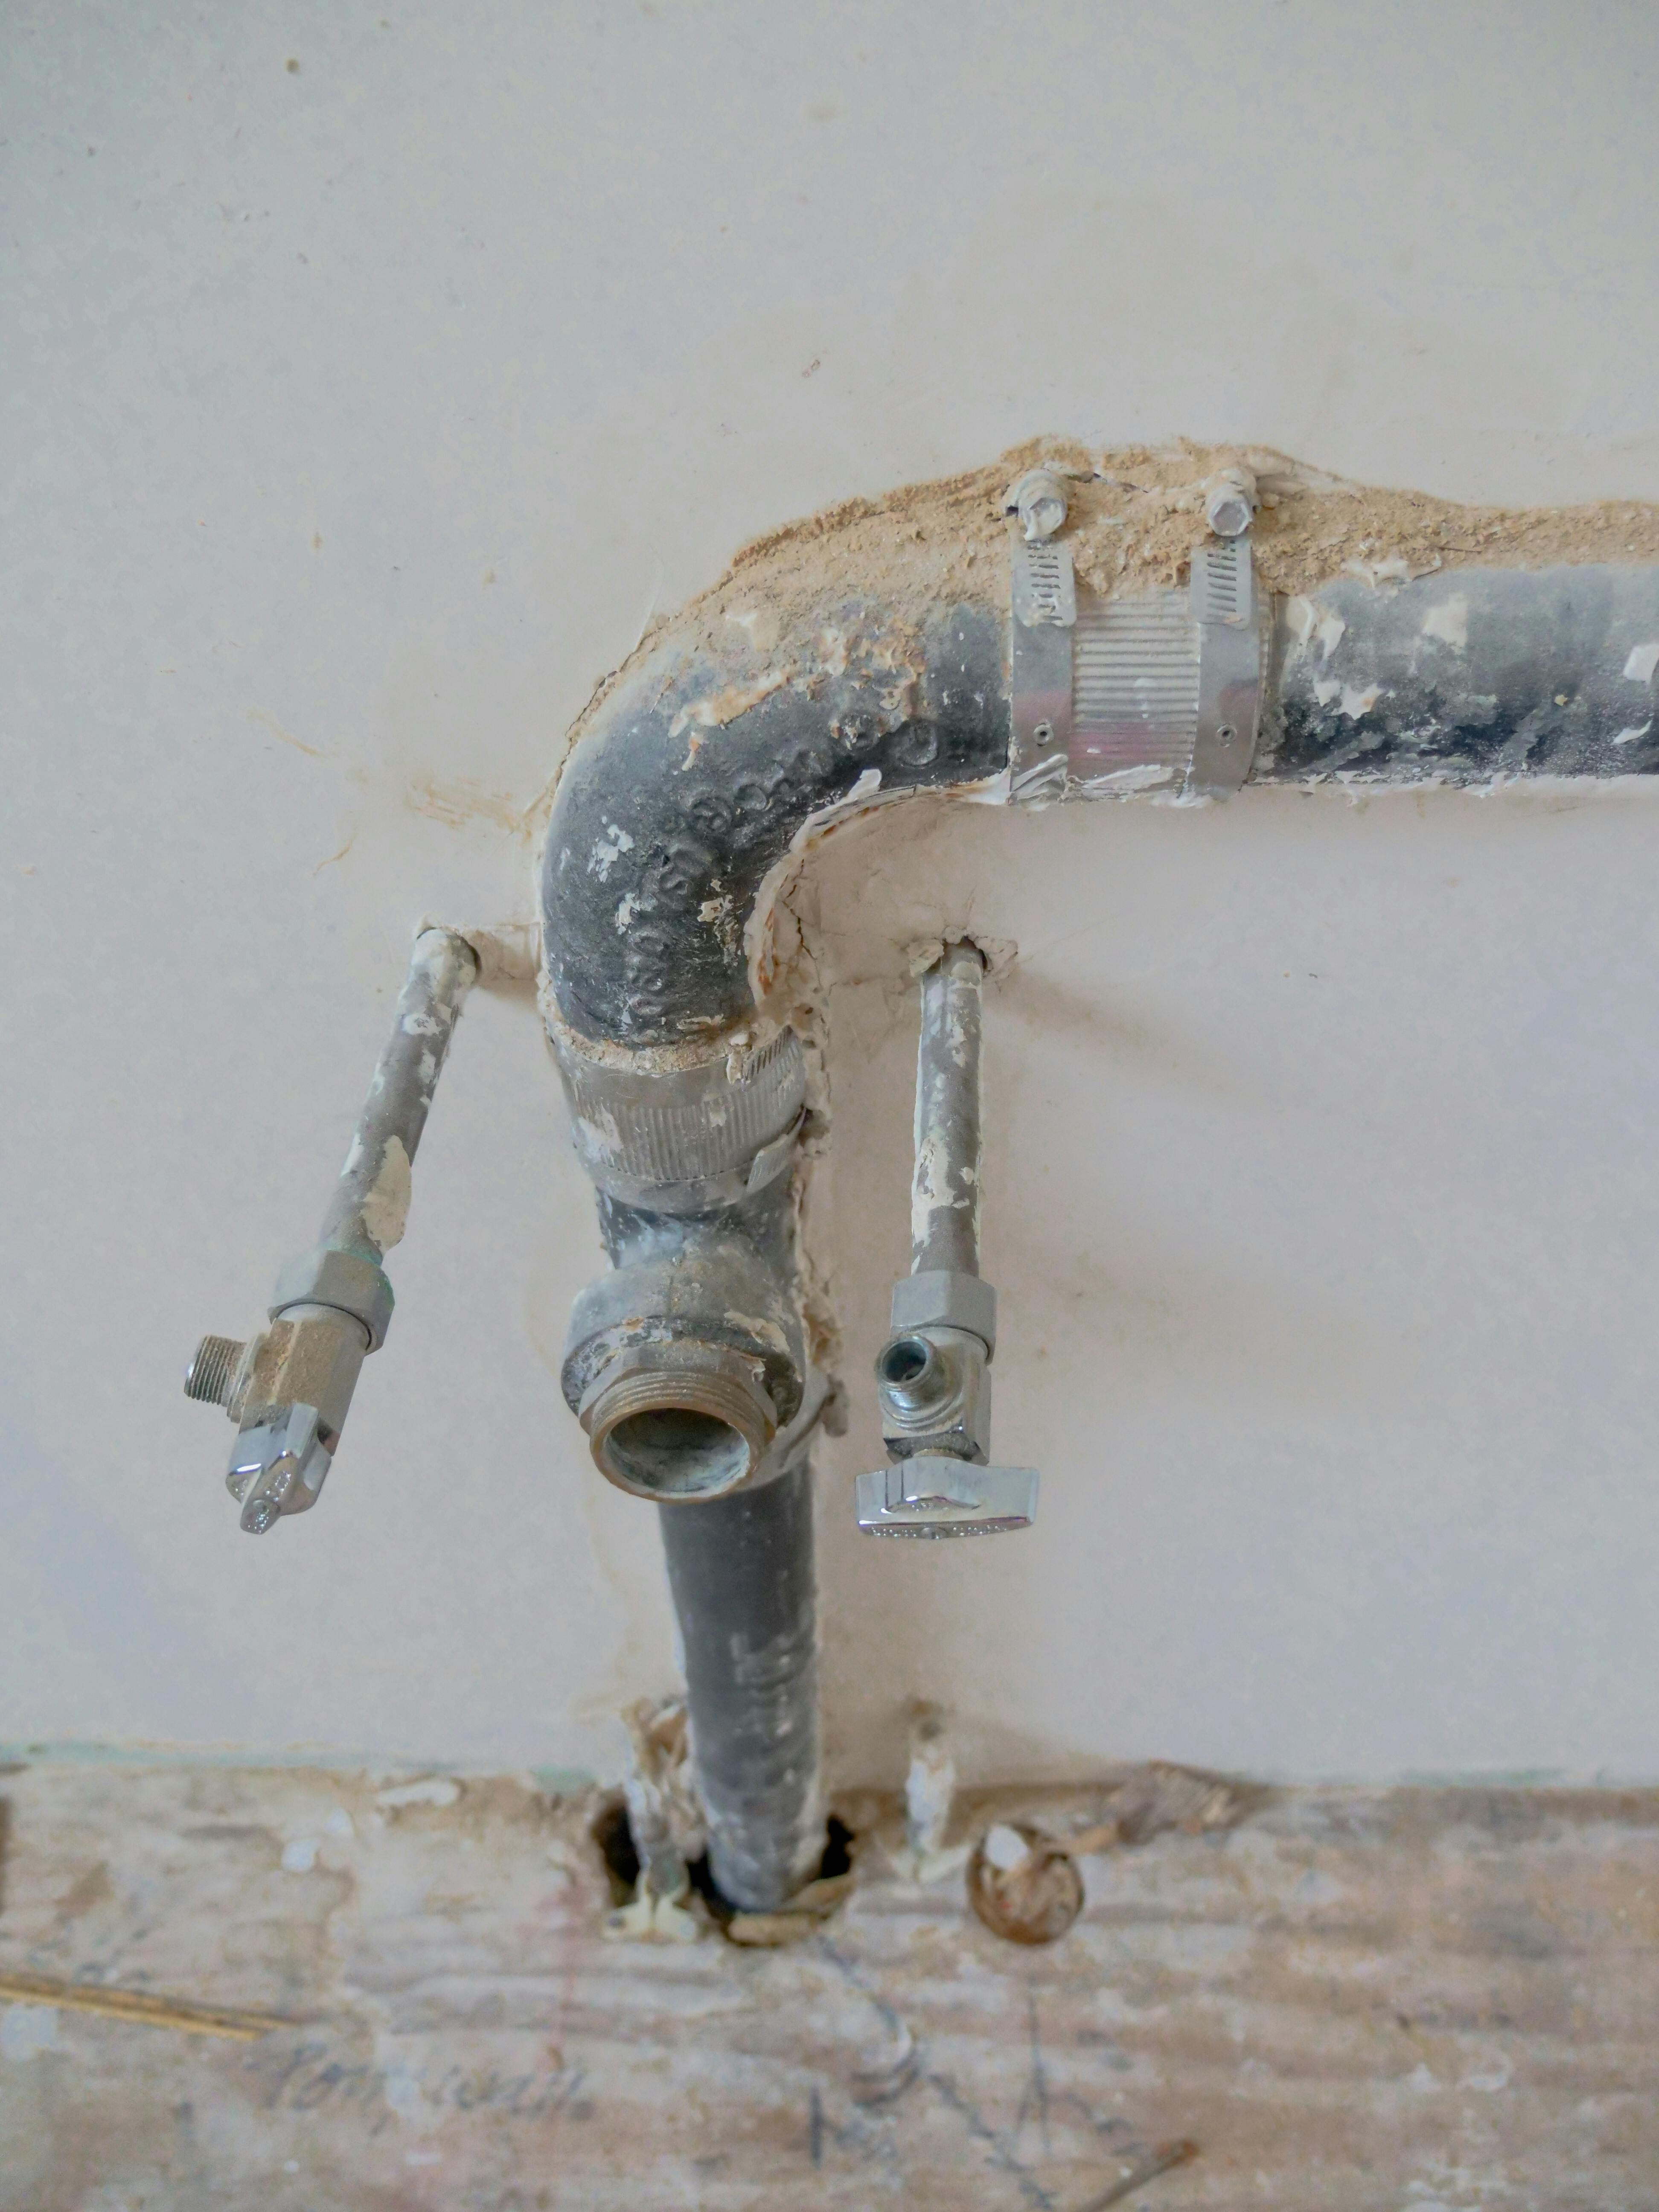
Services stage: drain pipe, supply lines and shutoff valves fixed in the wall before the wet area is sealed.
LAYER 01 — MEMBRANE
A seal made before the tile, not by it
Tile and grout look waterproof, but they aren’t. Grout is porous, and fine cracks open up as a house moves. Water that gets past the surface needs something underneath to stop it. That’s the membrane: a flexible layer, applied as a liquid or laid as a sheet. It covers the shower floor and walls, turns up at the corners and runs to the floor waste, so water goes to the drain and doesn’t soak into timber, cement sheet or screed.
In our process, waterproofing is step 08. It comes straight after plumbing and electrical rough-in and straight before tiling. That order matters. Every pipe and waste has to be in place before the membrane goes on, and the membrane has to be finished before a tile is laid over it.
THE ORDER THAT MATTERS
Every pipe and waste in before the membrane. Every coat cured before the first tile.
LAYER 02 — COVERAGE
Where membranes go
The shower gets the most water, but bathroom floors and laundries are wet areas too. The edges and joints are where the detail work goes.
—
The shower recess
The shower floor and walls take the most water, so the membrane is heaviest here. In a walk-in shower with no hob, the floor’s fall to the waste and the membrane underneath do all the work.
—
Corners and junctions
Many failures start where two surfaces meet: wall to floor, wall to wall, and along the screen line. These joints move, so they’re reinforced before the main coats go on. That lets the membrane flex without splitting.
—
Penetrations and wastes
Every tap, shower arm, niche and floor waste makes a hole in the seal. Each one needs its own detail, like a collar or a sealed flange at the drain. That’s why a simple-looking niche takes careful work behind the tile.
LAYER 03 — SUBSTRATE
Why prep and curing can't be rushed
A membrane is only as good as the surface under it. If it goes over dust, loose render, old adhesive or a screed without enough fall, it can lift, get pinholes or let water pool long before anyone sees a problem. That’s why strip-out and substrate prep take the time they do.
Curing is the other half. Liquid membranes go on in coats. Each coat has to dry as the product’s instructions say before the next coat goes on, and before tiling. Temperature, humidity and airflow all affect drying, and a cold, damp Melbourne week slows it down. If you tile over a membrane that hasn’t cured, you can lock a weak spot in for good. Our waterproofing service page explains how this stage is handled on the job.
BEFORE TILE GOES DOWN
01 Substrate is clean, sound and dry
02 Floor falls run to the waste
03 Wastes, flanges and penetrations are fixed
04 Corners and joints are reinforced
05 Every coat has cured before the next
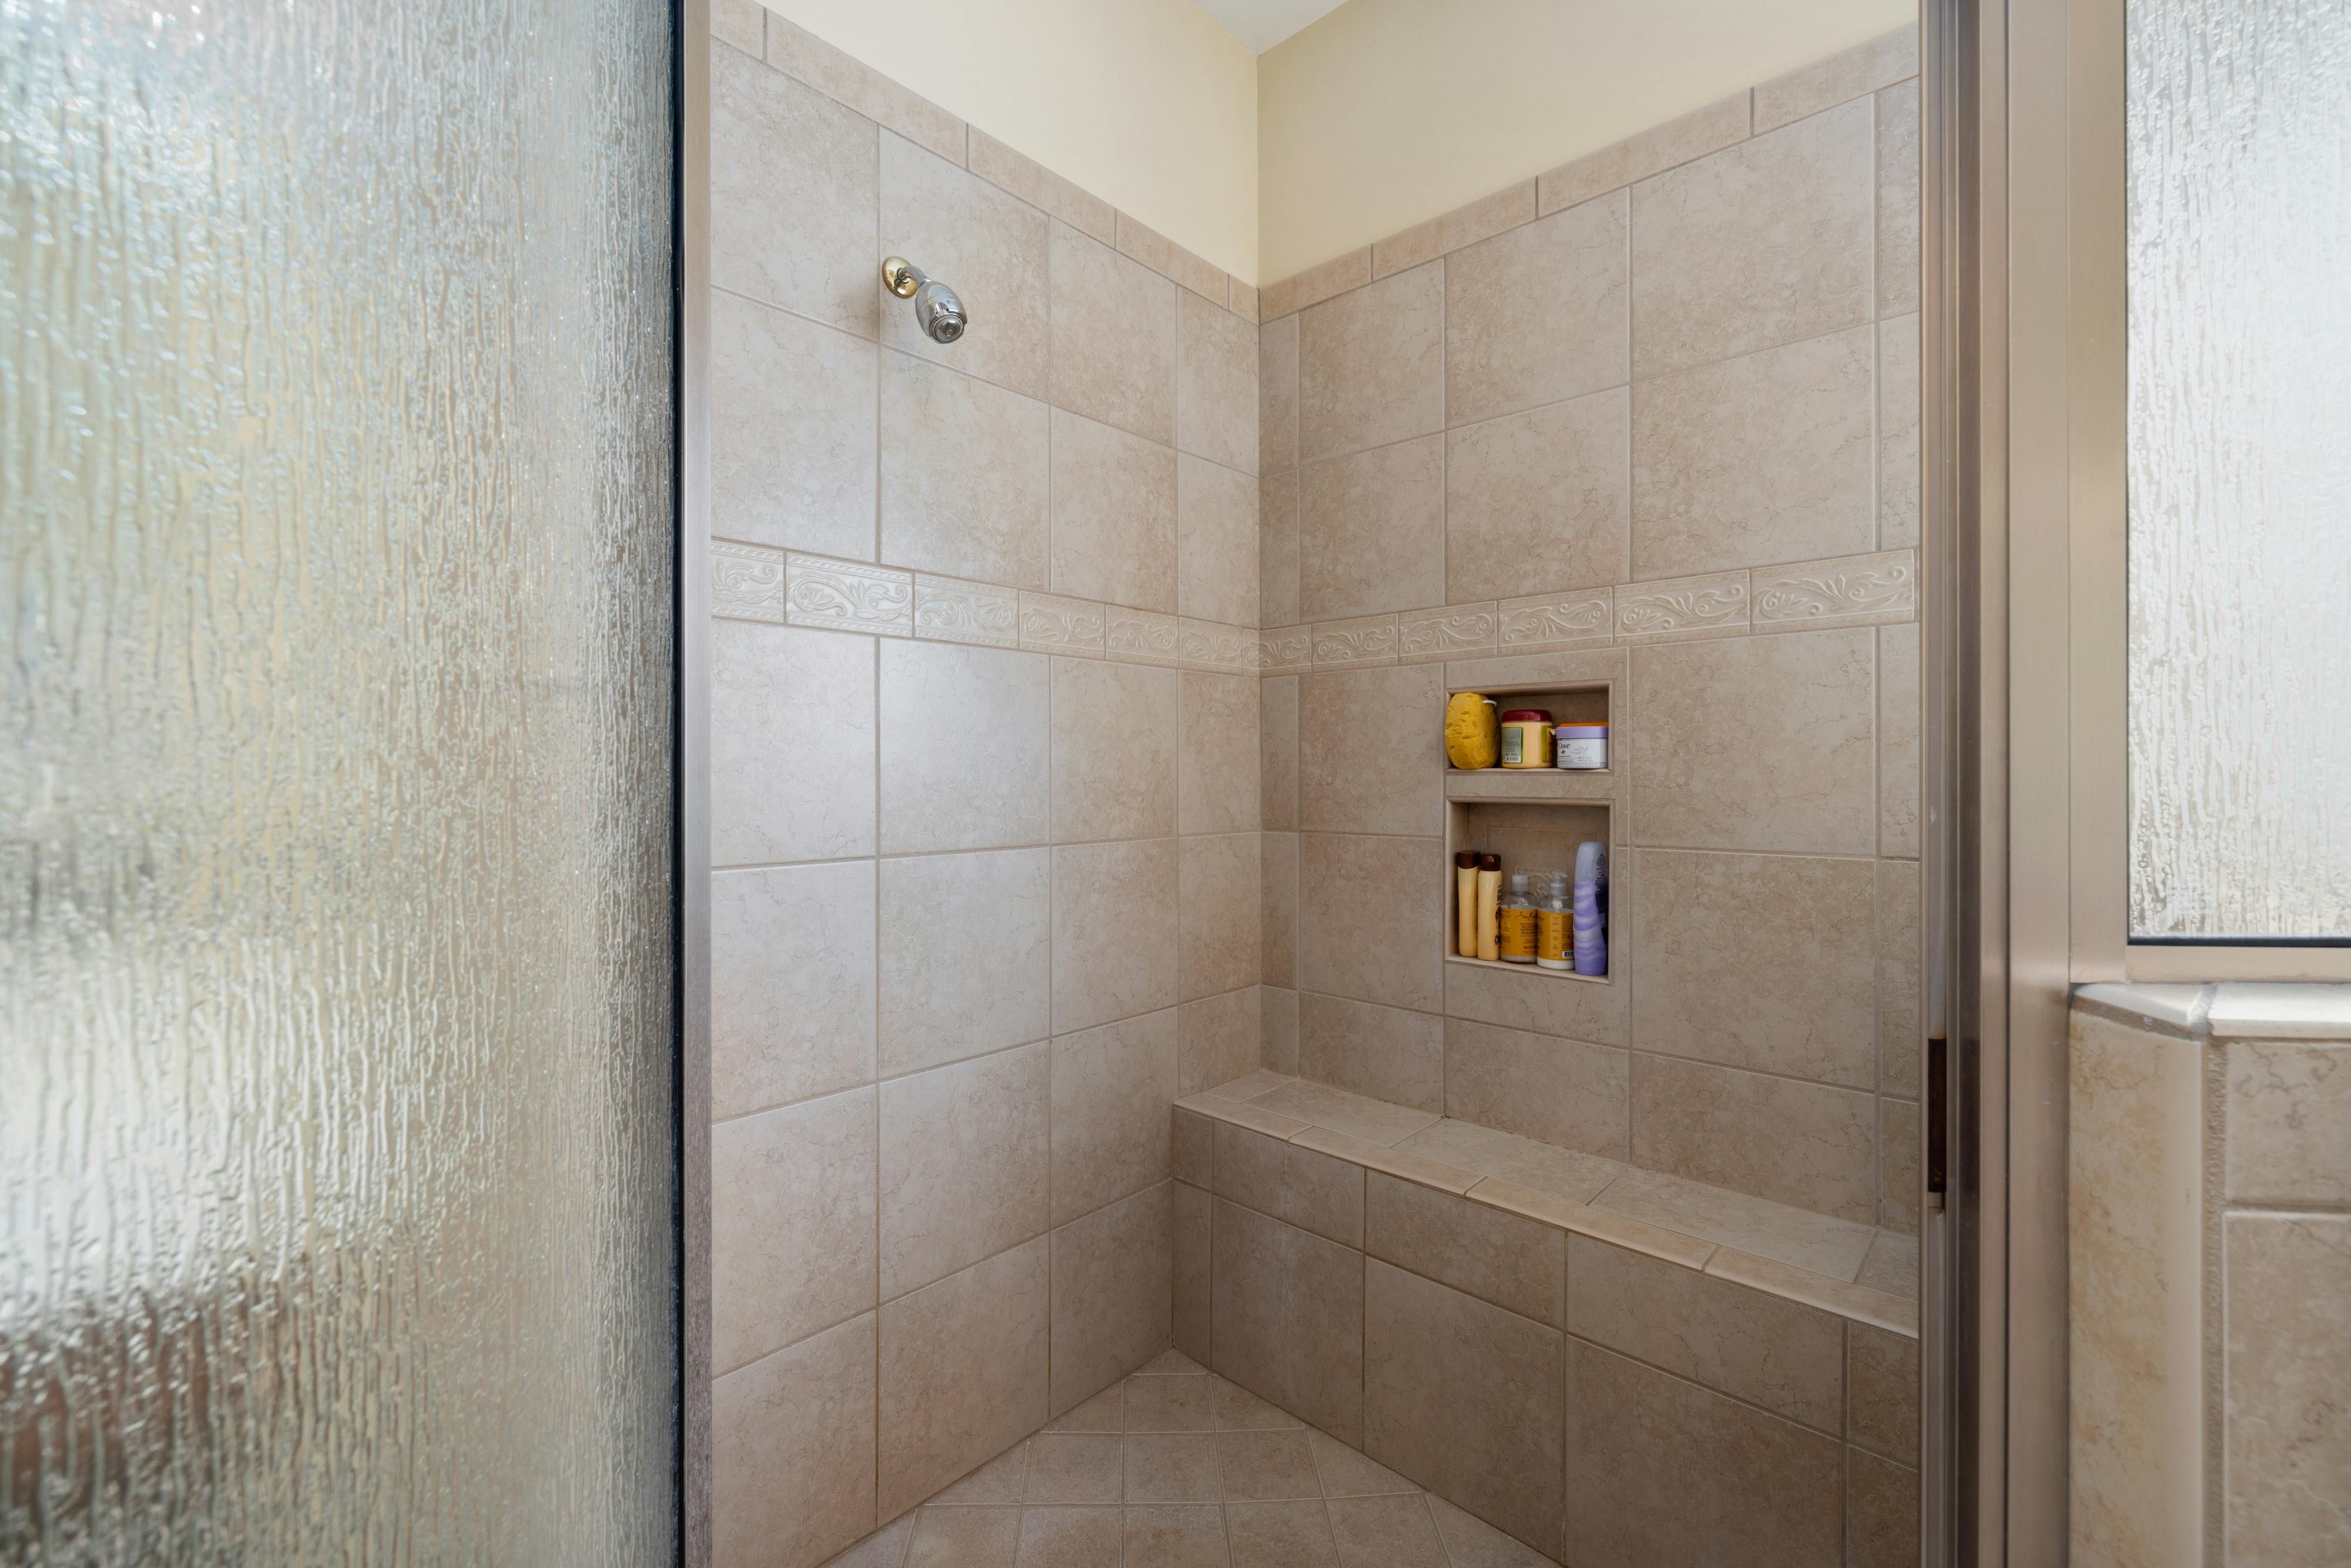
A finished beige tiled shower with niches, a corner bench and a border. The membrane behind it can’t be seen.
LAYER 04 — FAILURE
Warning signs the waterproofing has failed
A failed membrane rarely shows on the shower tiles first. The signs usually turn up beside the shower, below it or in the room behind it.
■ Grout that stays dark long after a shower
■ Loose or hollow-sounding tiles near the waste or screen
■ Peeling paint, swollen skirting or damp plaster next door
■ Musty smells or mould that returns after cleaning
■ Water marks at the doorway or under the vanity
Regrouting or resealing can hide these signs for a while. But if water is already getting past the membrane, a surface fix won’t reach the cause. Repairs start by working out where the water is going.
LAYER 05 — DECISION
Repair the leak, or rebuild the wet area?
Some leaks come from one failed point, like a waste collar or a screen junction, and a targeted repair can fix them. Others mean the membrane has broken down across the floor. Then the lasting fix is to lift the tiles, prepare the substrate again and reseal before re-tiling. Which one you need depends on what an assessment finds, not on how the tiles look.
If you’re planning a full bathroom renovation, waterproofing is already part of the build order. If you already have a problem in Bentleigh, Cheltenham or anywhere nearby, request a quote or ask a question through our contact page.