Home / Bathroom Guides / Tile Ideas
LAYER 00 — TILE IDEAS
Bathroom tile ideas: formats, finishes and layouts
Tile is the layer everyone sees, and it shows every shortcut taken underneath. Before you pick a colour, settle four things: the format, the finish, the grout and how the tiles are laid. Those choices decide how a bathroom in Moorabbin, Highett or Mentone looks, cleans and wears. This guide takes them in the order a tiler would.
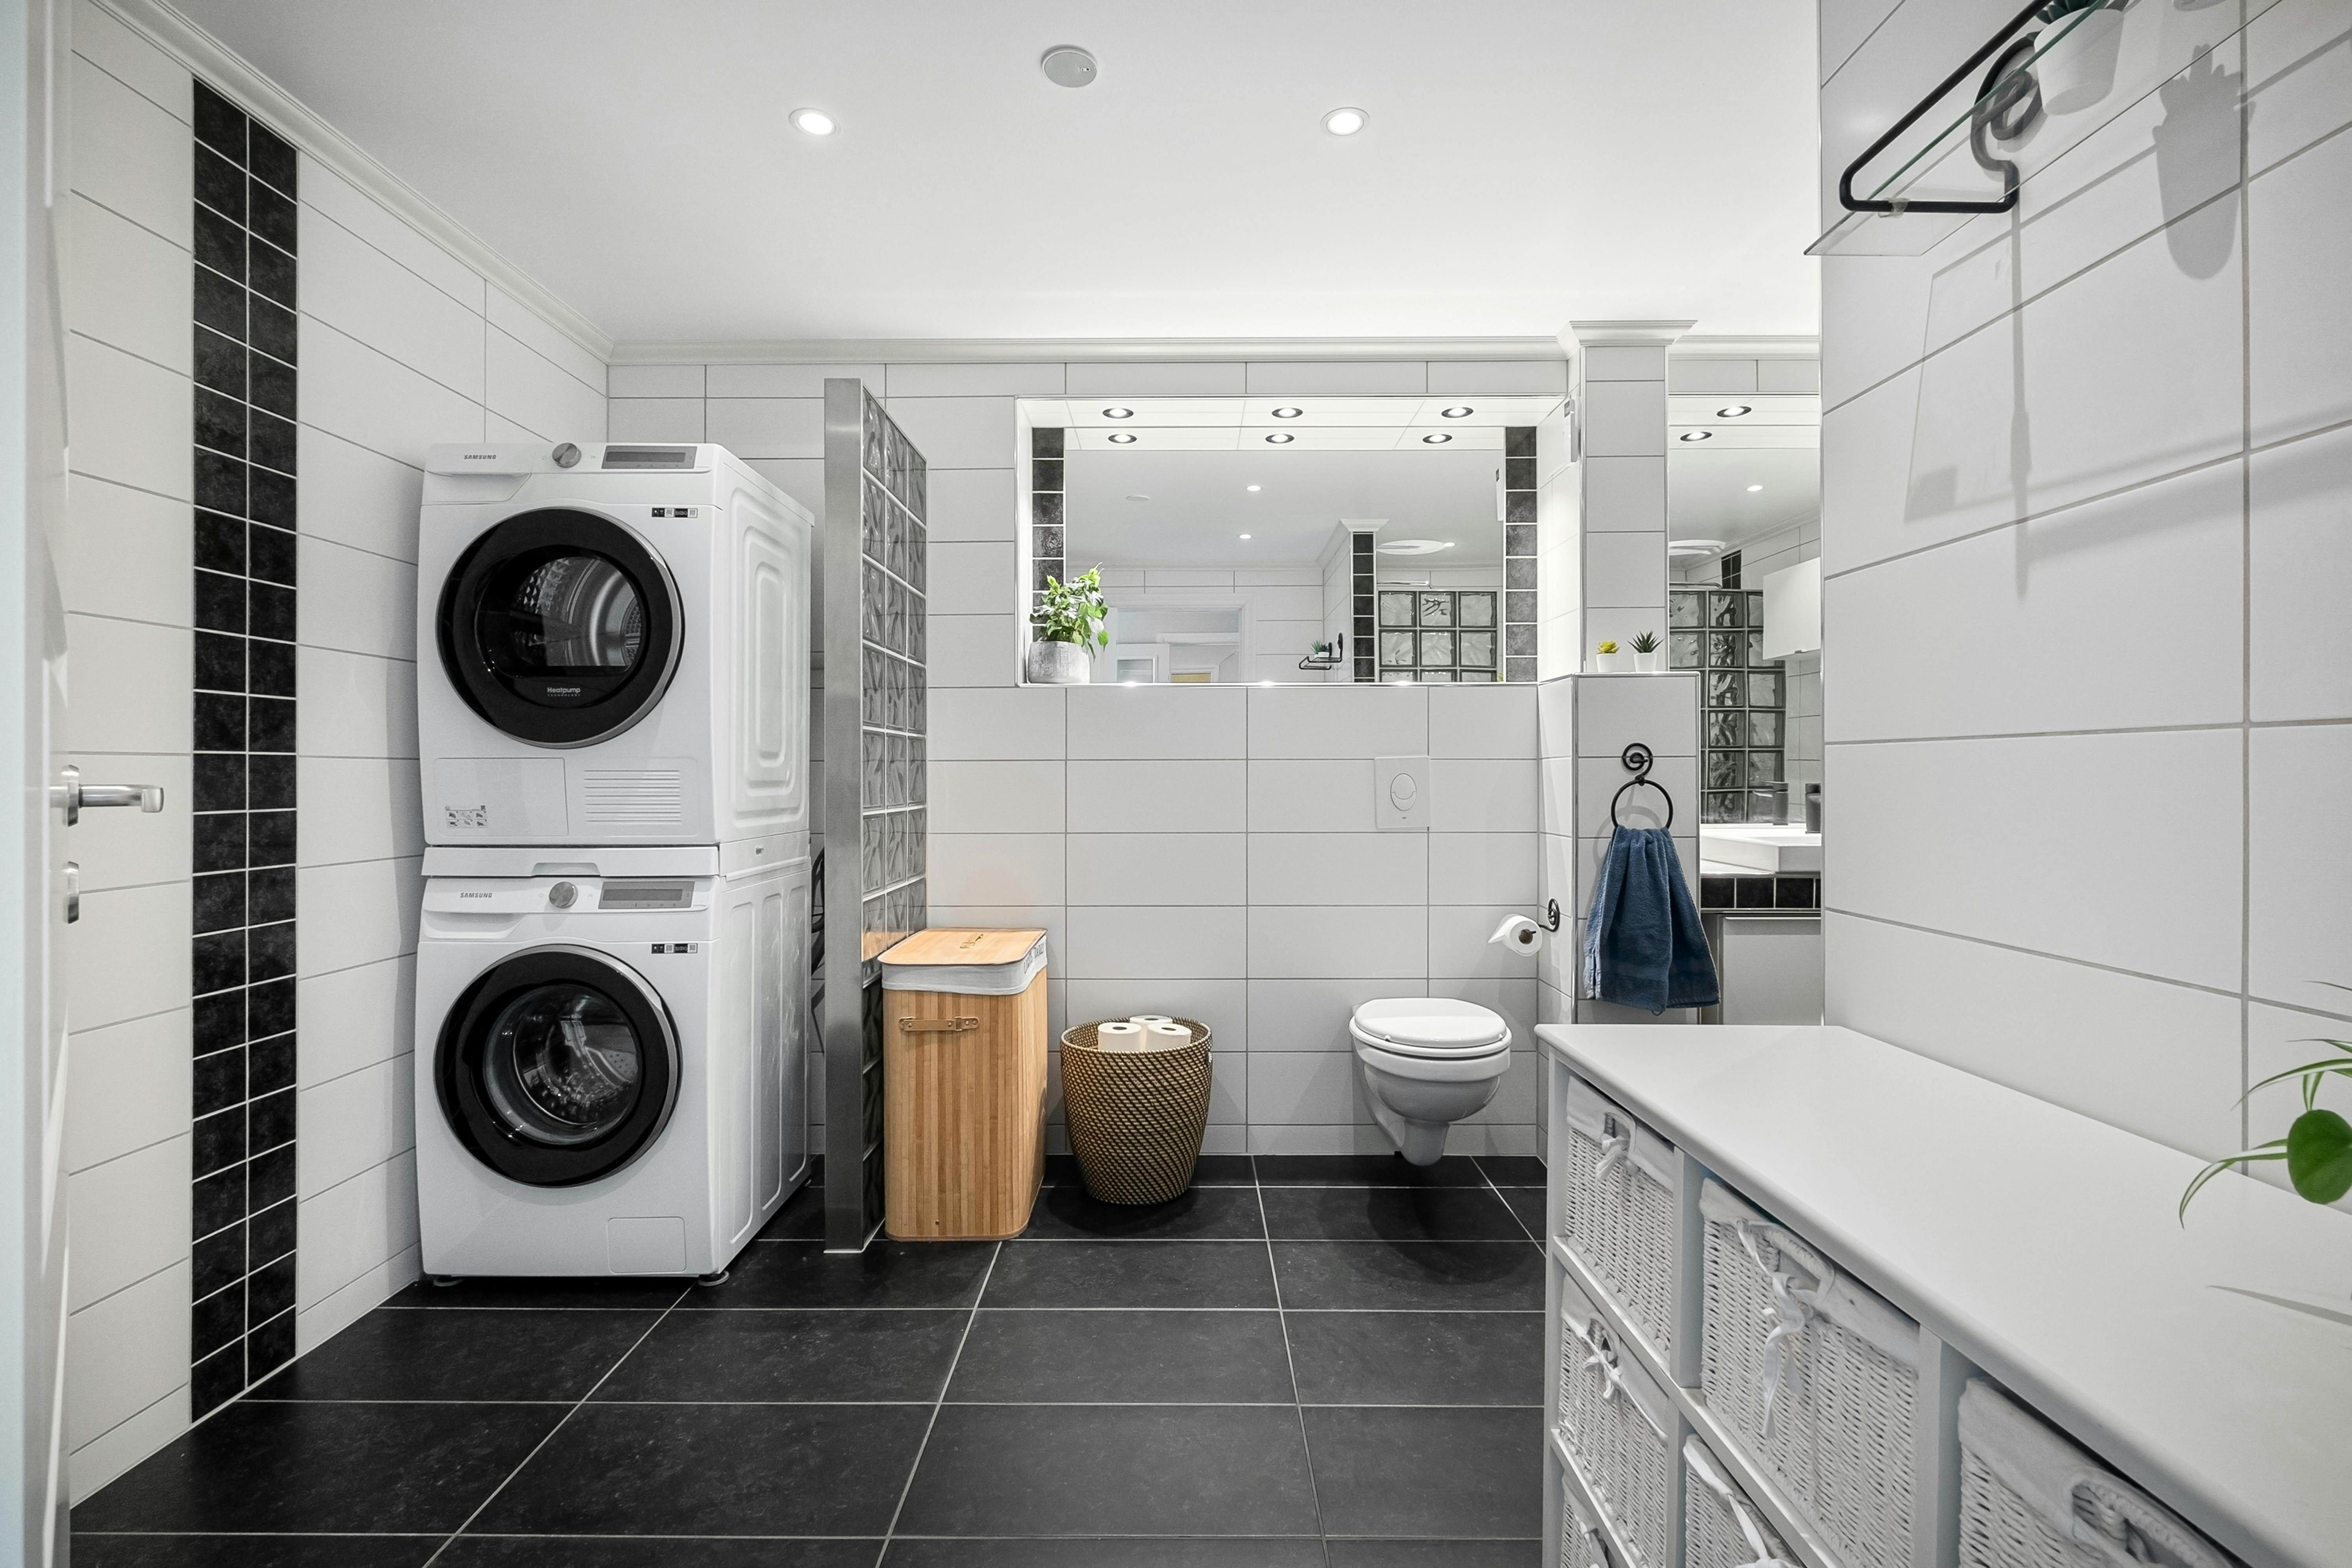
White wall tiles paired with dark floor tiles in a bright bathroom with laundry appliances.
LAYER 01 — FORMAT
Start with the size of the tile, not the colour
Format sets how many grout lines cross the room and how much cutting is needed around the waste and niches. It also decides how flat the substrate must be. Bigger tiles mean fewer joints, but they’re less forgiving. The floor has to be flat and the fall to the waste planned before the first tile goes down.
A
Large format
Fewer grout lines and a calm, continuous surface. It suits walls, and walk-in showers with a linear drain, where one single fall means the tiles don’t need envelope cuts.
B
Subway and rectangular
A familiar shape you can lay horizontally, vertically or in brick bond. The layout changes the feel of the room more than the tile does.
C
Mosaic
Small sheets follow the falls of a shower floor around a centre waste, and all those grout lines add grip underfoot. They also work as a narrow feature band.
D
Stone and timber look
Porcelain made to look like marble, stone or timber. Run it across the floor and walls for an unbroken finish, a common choice in luxury bathrooms.
LAYER 02 — FINISH
Matte, gloss and what happens underfoot
Where does gloss belong?
Gloss reflects light and wipes clean easily, so it suits walls, splashbacks and niches. On a wet floor it can get slippery, which is why most bathrooms keep gloss above floor level.
Why do matte floors make sense?
Matte and textured finishes hide water marks and grip better when wet. They also soften the look of large-format tile across a big floor.
What should I check on a floor tile?
Ask for the slip resistance rating of every floor tile. Choose a higher-grip option for shower floors, especially in step-free walk-in showers. A wet sample in your hand tells you more than a dry display board.
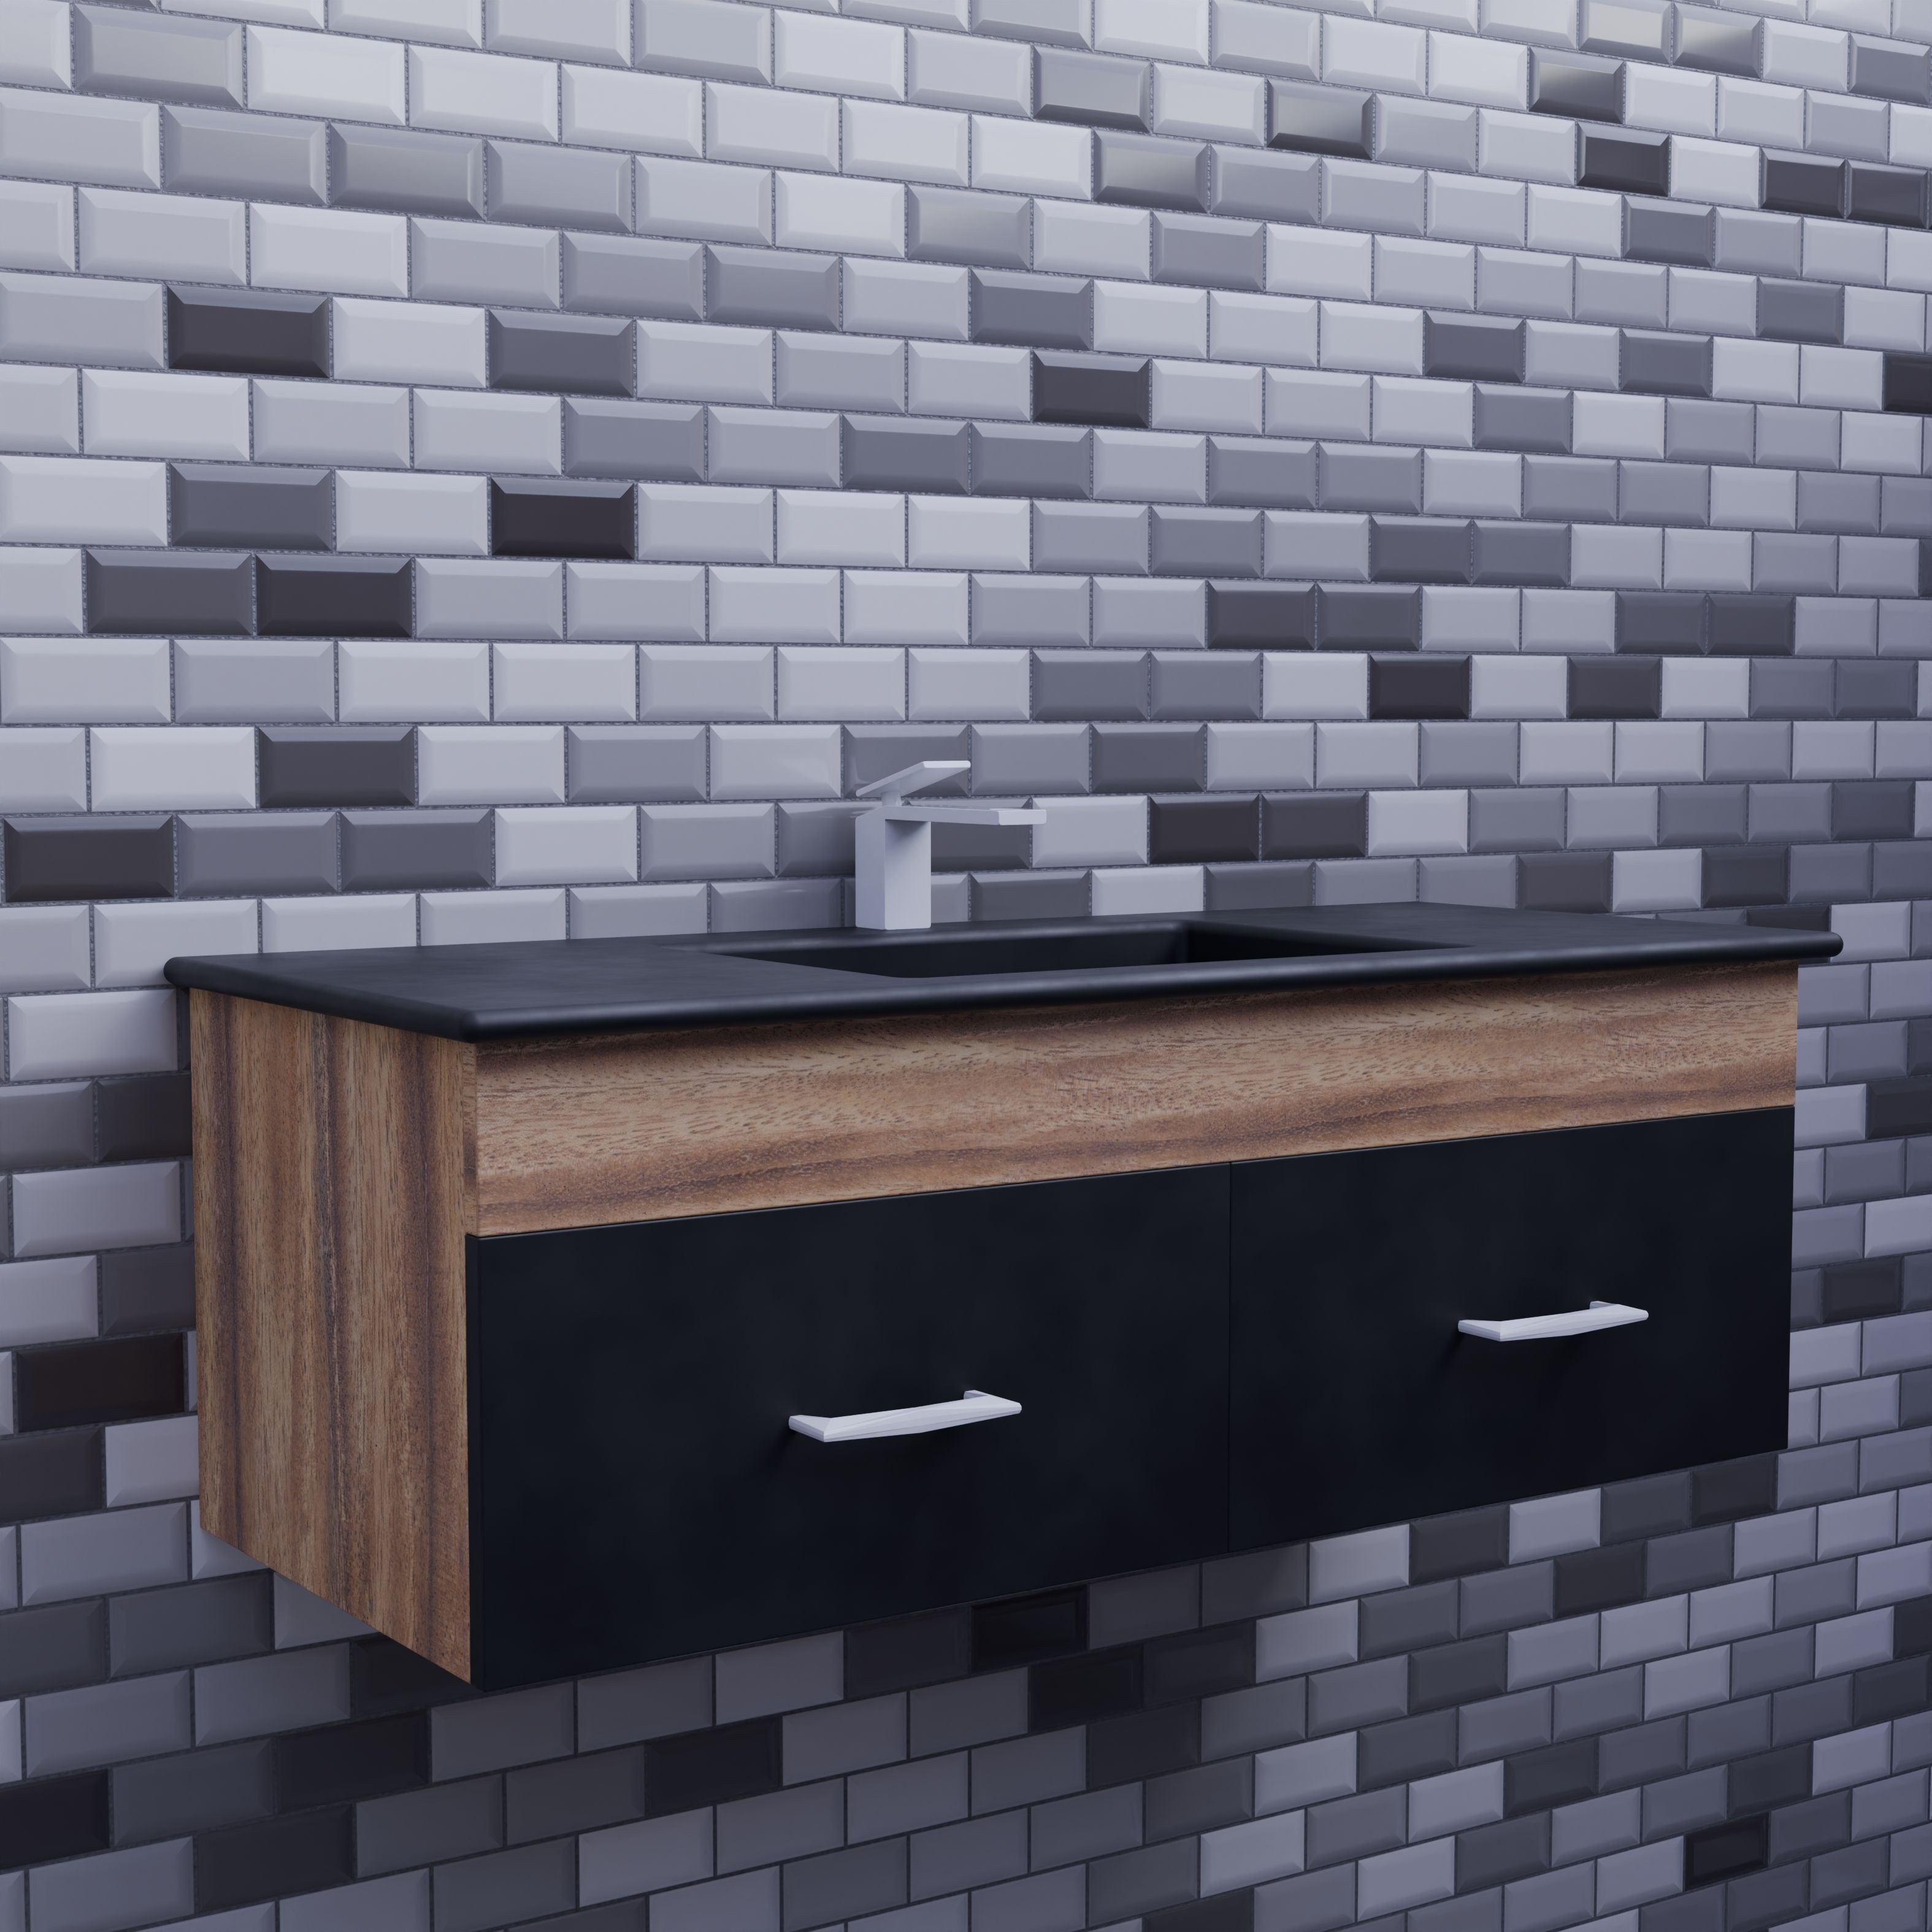
Raised subway tile behind a dark vanity. The texture does the work of a feature wall.
LAYER 03 — FEATURE AND GROUT
One feature wall, and grout chosen on purpose
A feature works best where the eye already lands: the wall behind the vanity, the back of the shower or the inside of a niche. Keep it to one surface so the room isn’t competing with itself.
Grout changes a tile more than most people expect. Matching grout makes the surface read as one plane. Contrasting grout draws out the pattern and shows every line, so the setting out has to be exact. On floors, mid-grey grout is forgiving, while pale grout shows wear first.
LAYER 04 — LAYOUT
Laying patterns, and pairing floor with wall
Straight stack — Clean grid lines that suit large-format tile and modern rooms. The walls must be laid dead square.
Brick bond — The traditional offset for subway tile. It’s more forgiving on older walls.
Vertical stack — Rectangular tiles stood upright to make a low ceiling feel taller.
Herringbone — A detailed pattern with more cuts. Best kept to a floor or one feature wall.
Pairing rules that hold up
— Pick one hero tile and let everything else support it.
— Use the same tile on the floor and shower walls to make a small bathroom feel larger.
— Keep tile, grout and vanity in one tone family, either warm or cool.
— Decide where floor and wall tiles meet before ordering, so the cuts land on the least visible edge.
LAYER 05 — UNDER THE TILE
Every tile idea sits on a membrane
A finish only lasts if the layers beneath it are right. Waterproofing goes on before tiling, and the bedding and falls under the tile decide how water leaves the room. Read the Bathroom Waterproofing Guide before you settle on a floor tile. Then see how Bathroom Tiling handles setting out and grout, or how Luxury Bathroom Renovations use stone-look and large-format finishes. For general questions, visit the contact page.
Before you choose tiles
□ Samples of the floor and wall tiles you like
□ The one wall you’d like as a feature
□ Where the shower waste sits now
□ Whether you want gloss anywhere at all